Using Table Storage
Sign in during Public Preview to get the Team plan free, plus an early-adopter discount when we launch. Sign in
Using Table Storage
This guide shows you how to use Azure Table Storage against Locally. We'll create a table in a Storage Account, then insert, query, update and delete entities through its data plane with the Azure CLI.
Before you start
- The Azure CLI (
az) installed. - Locally installed, with Locally Setup completed.
1. Start Locally
Firstly, we need to launch Locally which we can do from a terminal by running:
                $


            locally build
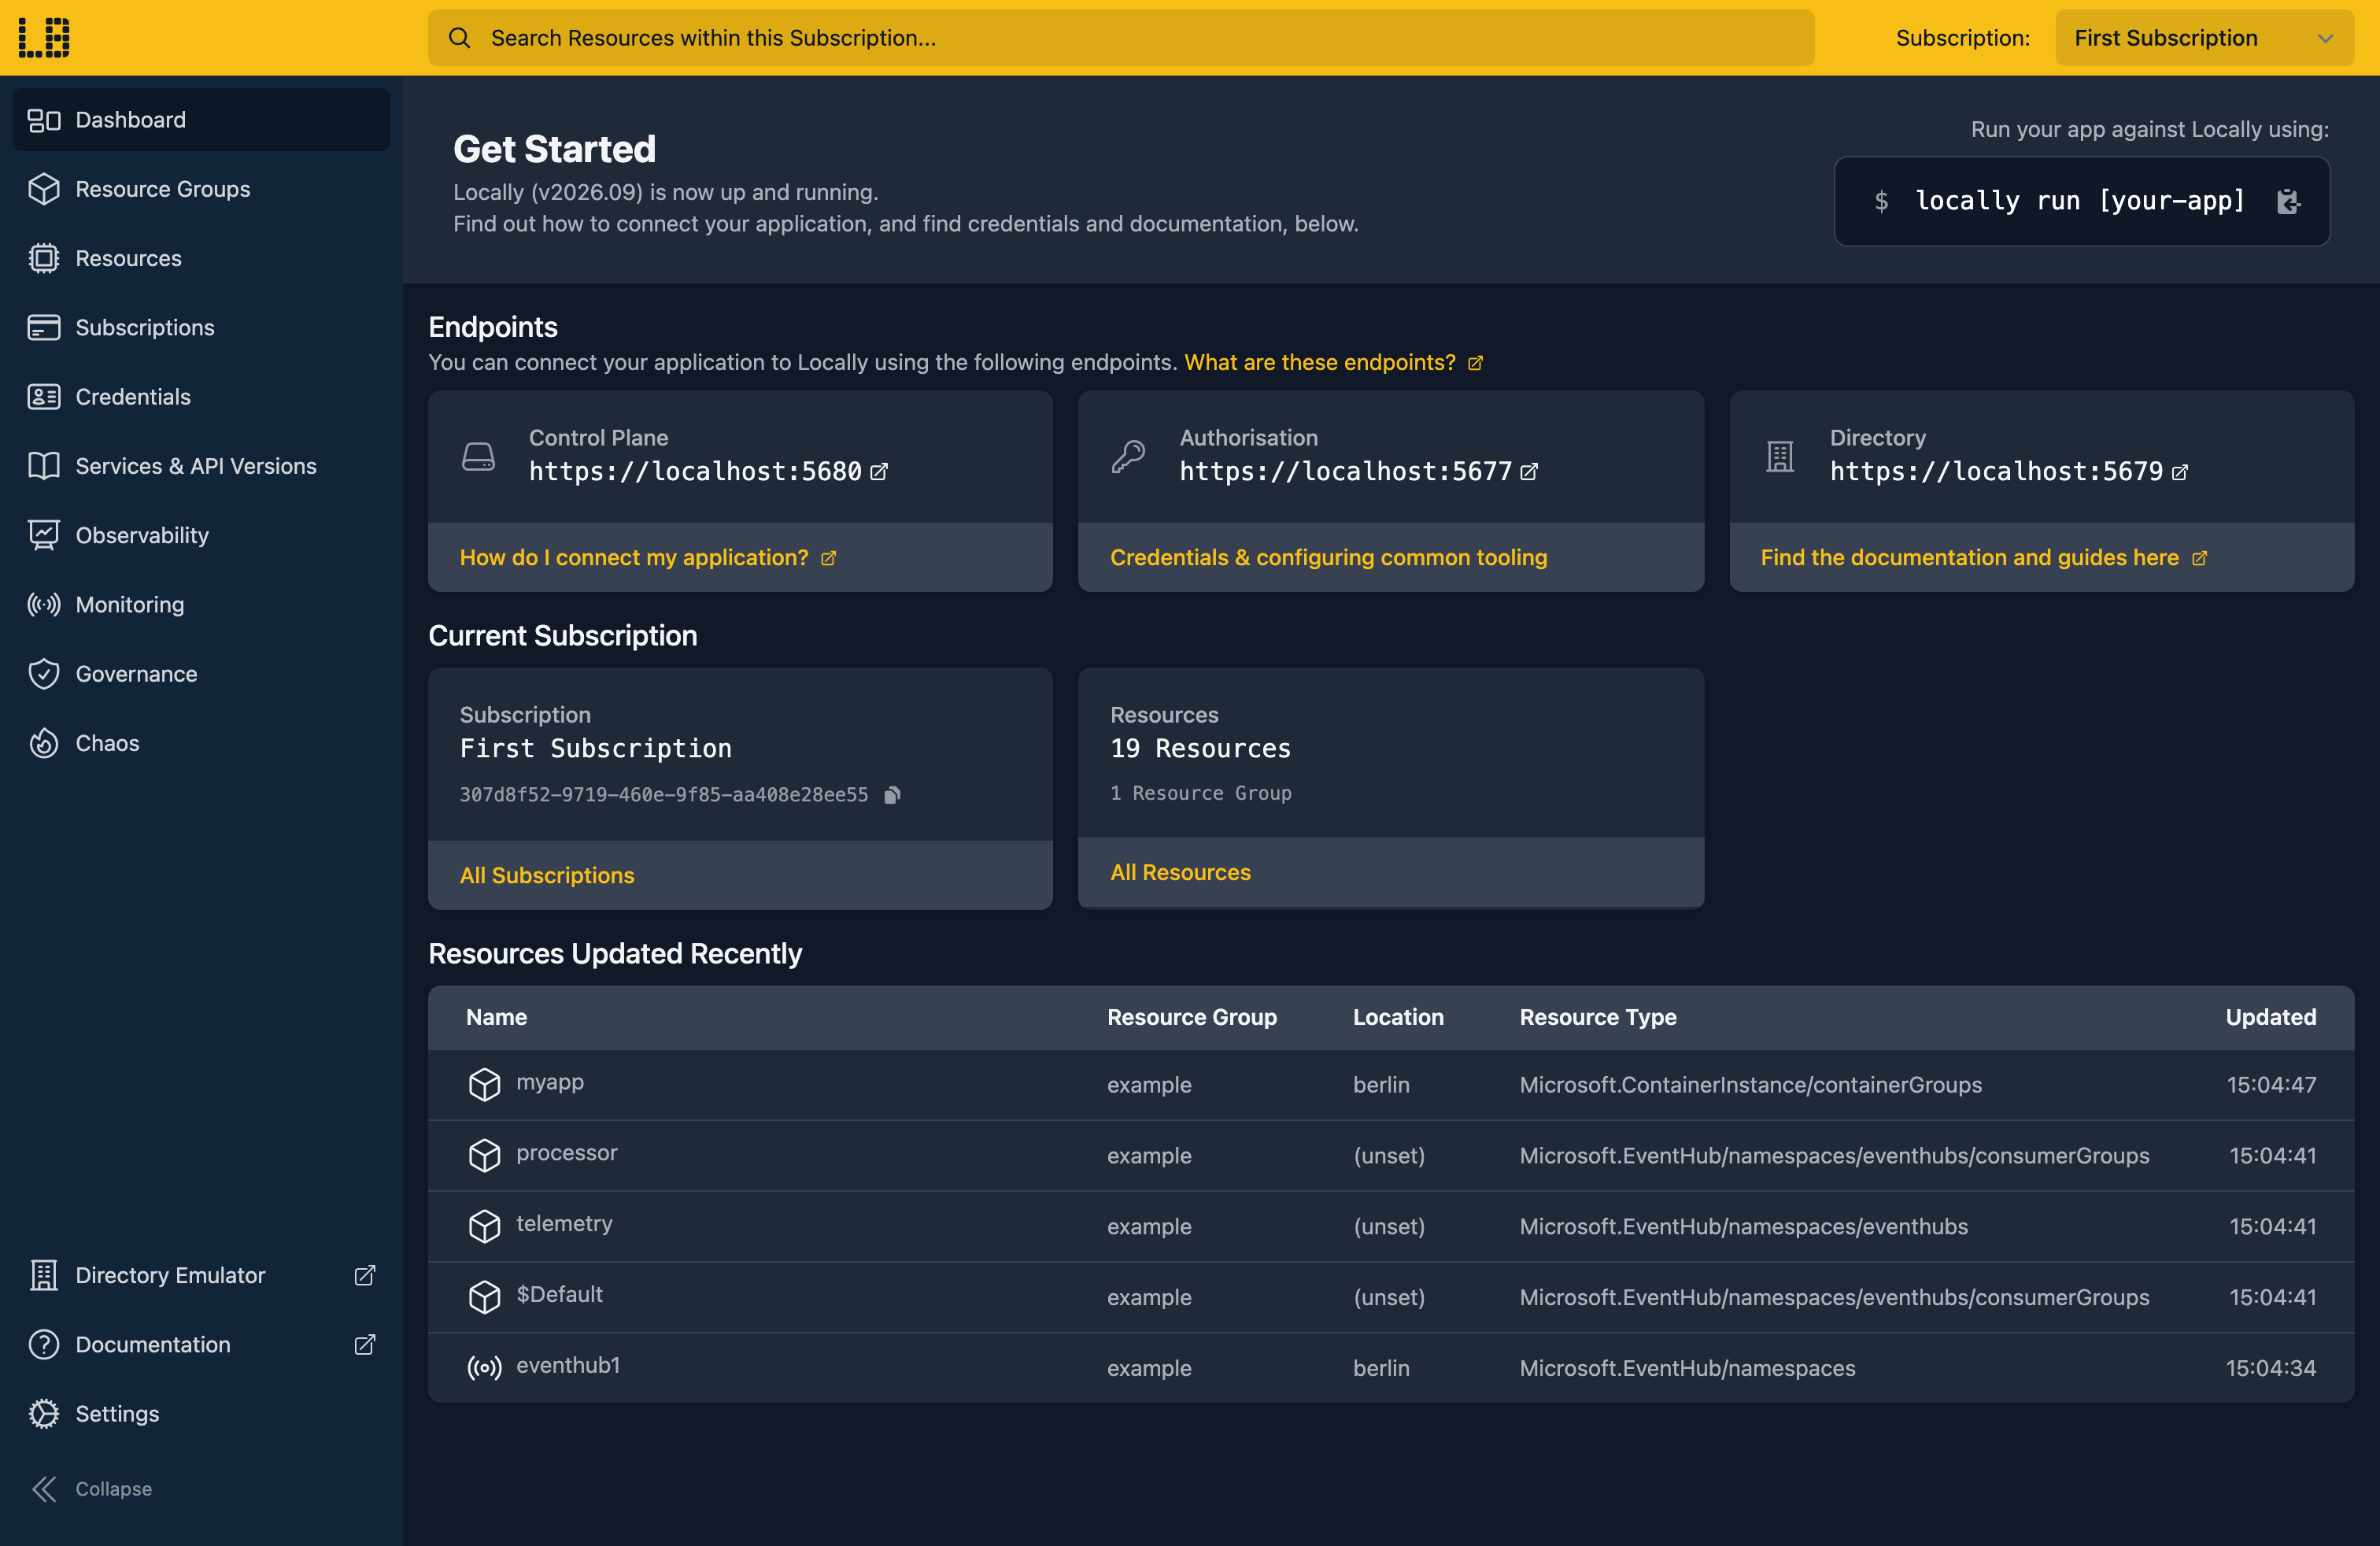
Once Locally has started, the Locally Dashboard will open automatically:
2. Create a Resource Group
Next we can create the Resource Group to hold the Storage Account:
                $


            locally run az group create -n sample-table-storage -l berlin
There's two things to note here:
- The Azure CLI supports Automatic Configuration, meaning that it can automatically be configured to work against Locally just by prefixing commands with
locally run. - Locally intentionally uses a different set of locations to Azure as a safety precaution, so that you can be confident you're deploying against Locally rather than regular Azure. You can also configure Locally to use the Azure locations too, but you'll want to be extra sure that you're prefixing commands with
locally runwhen you do.
3. Create the Storage Account
Tables live in a Storage Account, so let's create one:
                $


            locally run az storage account create --name sampletables1 --resource-group sample-table-storage --location berlin --sku Standard_LRS --query "{name:name, provisioningState:provisioningState, tableEndpoint:primaryEndpoints.table}"
{
  "name": "sampletables1",
  "provisioningState": "Succeeded",
  "tableEndpoint": "https://sampletables1.table.core.storage.locally:5660/"
}
That table endpoint is served by the Storage Emulator running on your machine.
4. Create a table
Now we can create a table called products:
                $


            locally storage table create --account sampletables1 --name products
And check it's there:
                $


            locally storage table list --account sampletables1
NAME
products
Note
locally storage is part of Locally itself, so it doesn't take the locally run prefix. Every az command does.5. Insert some entities
The az storage entity commands need the account's connection string. Putting it in AZURE_STORAGE_CONNECTION_STRING means we don't have to pass it to each one:
                $


            export AZURE_STORAGE_CONNECTION_STRING=$(locally storage connection-string --account sampletables1)
Every entity needs a PartitionKey and a RowKey. We'll give Price and Stock a type too, so they're stored as numbers rather than strings:
                $


            locally run az storage entity insert --table-name products --entity PartitionKey=kitchen RowKey=kettle-01 Name="Electric kettle" Price=34.99 [email protected]=Edm.Double Stock=12 [email protected]=Edm.Int32 -o none
                $


            locally run az storage entity insert --table-name products --entity PartitionKey=kitchen RowKey=toaster-01 Name="Two-slice toaster" Price=27.50 [email protected]=Edm.Double Stock=5 [email protected]=Edm.Int32 -o none
                $


            locally run az storage entity insert --table-name products --entity PartitionKey=garden RowKey=hose-01 Name="Garden hose" Price=19.00 [email protected]=Edm.Double Stock=0 [email protected]=Edm.Int32 -o none
Note
PartitionKey and RowKey pair has to be unique, so inserting a second kitchen / kettle-01 fails with The specified entity already exists. To change an entity that's already there, merge or replace it instead.6. Query the table
Let's see everything in the table:
                $


            locally run az storage entity query --table-name products --query "items[].{PartitionKey:PartitionKey, RowKey:RowKey, Name:Name, Price:Price, Stock:Stock}" -o table
PartitionKey    RowKey      Name               Price    Stock
--------------  ----------  -----------------  -------  -------
garden          hose-01     Garden hose        19.0     0
kitchen         kettle-01   Electric kettle    34.99    12
kitchen         toaster-01  Two-slice toaster  27.5     5
A filter narrows that down on the server. Here we only want the kitchen partition:
                $


            locally run az storage entity query --table-name products --filter "PartitionKey eq 'kitchen'" --query "items[].{RowKey:RowKey, Name:Name, Stock:Stock}" -o table
RowKey      Name               Stock
----------  -----------------  -------
kettle-01   Electric kettle    12
toaster-01  Two-slice toaster  5
7. Update an entity
The kettles have sold out. A merge only touches the properties we pass, so we can set Stock without resending the rest:
                $


            locally run az storage entity merge --table-name products --entity PartitionKey=kitchen RowKey=kettle-01 Stock=0 [email protected]=Edm.Int32 -o none
The name and price are still there:
                $


            locally run az storage entity show --table-name products --partition-key kitchen --row-key kettle-01 --query "{Name:Name, Price:Price, Stock:Stock}"
{
  "Name": "Electric kettle",
  "Price": 34.99,
  "Stock": 0
}
Filters work on our own properties too, so we can ask for what's still in stock:
                $


            locally run az storage entity query --table-name products --filter "Stock gt 0" --query "items[].{PartitionKey:PartitionKey, RowKey:RowKey, Name:Name, Stock:Stock}" -o table
PartitionKey    RowKey      Name               Stock
--------------  ----------  -----------------  -------
kitchen         toaster-01  Two-slice toaster  5
Note
az storage entity replace swaps the whole entity instead, so any property you leave out is removed.8. Delete an entity
We've stopped selling the garden hose, so let's delete it:
                $


            locally run az storage entity delete --table-name products --partition-key garden --row-key hose-01 -o none
And it's gone from the table:
                $


            locally run az storage entity query --table-name products --query "items[].{PartitionKey:PartitionKey, RowKey:RowKey, Name:Name}" -o table
PartitionKey    RowKey      Name
--------------  ----------  -----------------
kitchen         kettle-01   Electric kettle
kitchen toaster-01 Two-slice toasterDoing this with other tooling
Whilst this guide used the Azure CLI, the Storage Account and its tables work the same way through any of the tooling that Locally supports - Microsoft.Storage/storageAccounts and Microsoft.Storage/storageAccounts/tableServices/tables resources in HashiCorp Terraform or OpenTofu, Pulumi, Bicep or an ARM Template all provision against Locally in the same way.
The same is true of the data plane: hand the connection string to the Azure SDK for .NET, Go or Python and your application reads and writes entities against Locally.
Next steps
To pass messages between parts of your app using the same kind of account, see Storage Queues. If you'd rather use the Table API on Cosmos DB, see Cosmos DB for Table.
Should you encounter any issues, please take a look at the troubleshooting section.
Resource types this guide uses
These are the Azure resource types this guide creates in Locally:
- Microsoft.Storage/storageAccounts/tableServices/tables
- Microsoft.Storage/storageAccounts
Sign in during Public Preview to get the Team plan free, plus an early-adopter discount when we launch. Sign in
