Provisioning a Private DNS Zone
Sign in during Public Preview to get the Team plan free, plus an early-adopter discount when we launch. Sign in
Provisioning a Private DNS Zone
This guide shows you how to provision a Private DNS Zone against Locally. As with the other guides we're going to use the Azure CLI, but the same resources can be provisioned with HashiCorp Terraform, Pulumi or Bicep too.
Before you start
- The Azure CLI (
az) installed. - Locally installed, with Locally Setup completed.
1. Start Locally
Firstly, we need to launch Locally which we can do from a terminal by running:
                $


            locally build
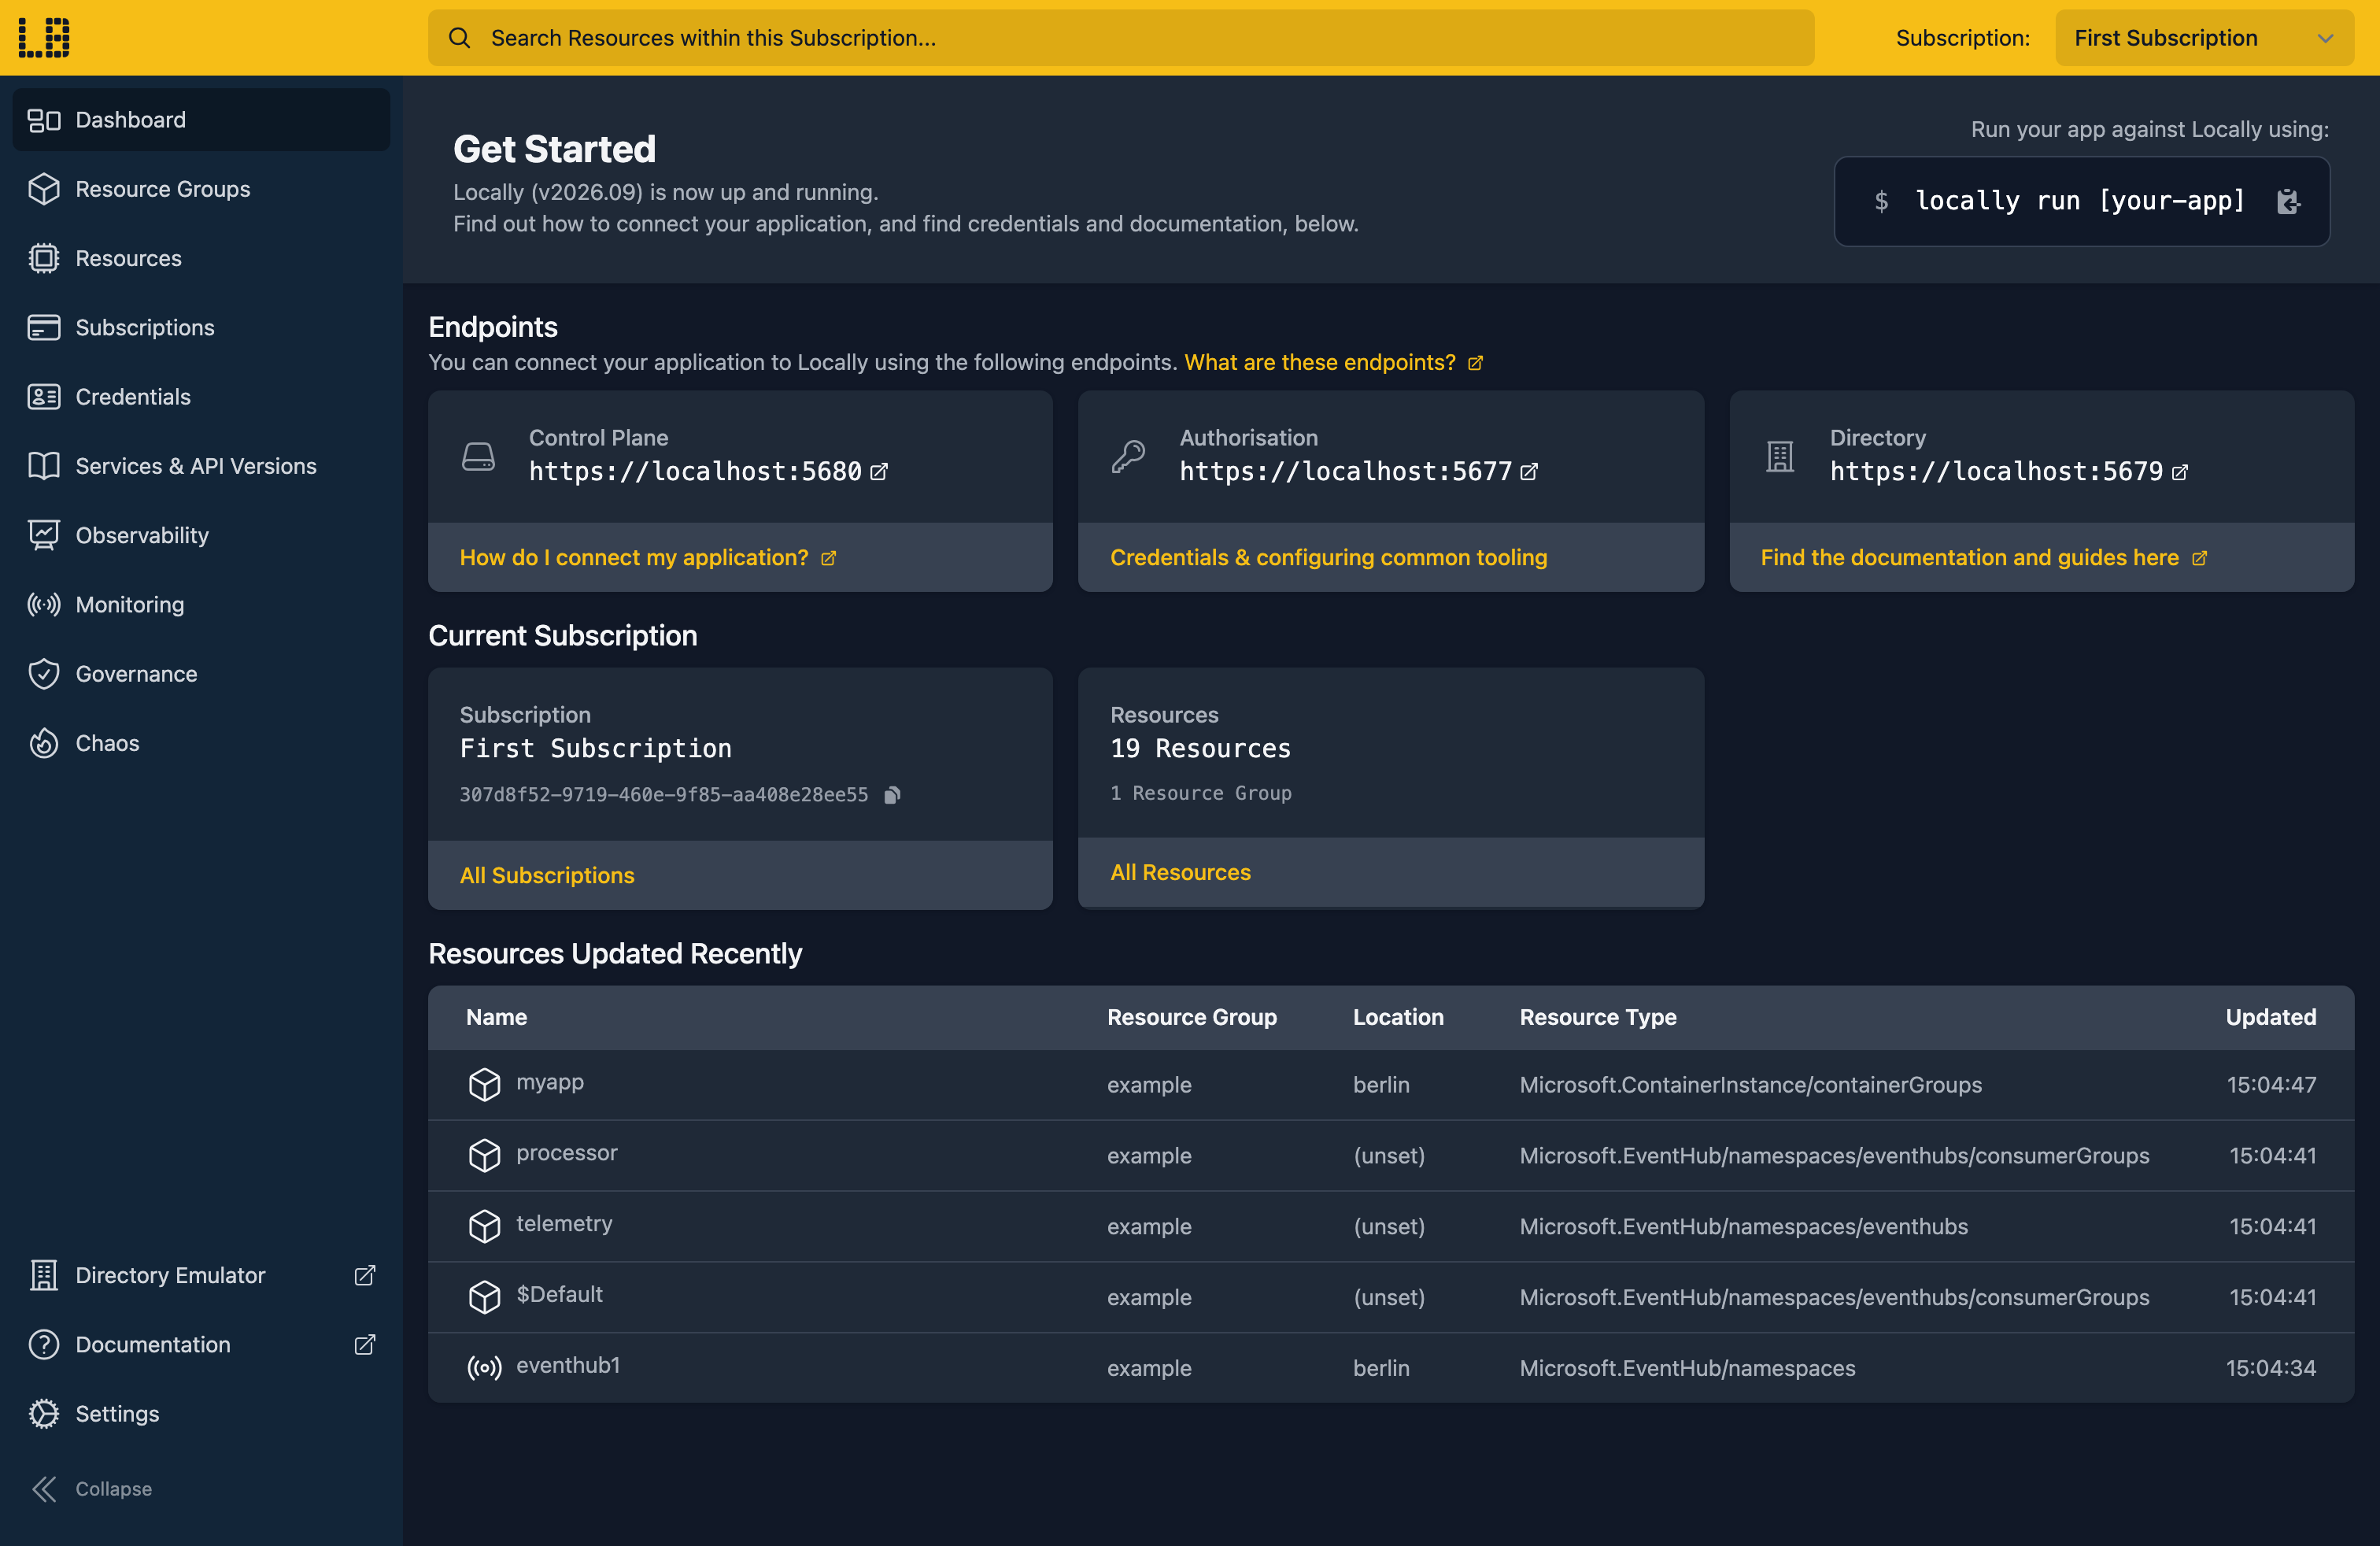
Once Locally has started, the Locally Dashboard will open automatically:
2. Create a Resource Group
Next we can create the Resource Group:
                $


            locally run az group create -n sample-resources -l berlin
There's two things to note here:
- The Azure CLI supports Automatic Configuration, meaning that it can automatically be configured to work against Locally just by prefixing commands with
locally run. - Locally intentionally uses a different set of locations to Azure as a safety precaution, so that you can be confident you're deploying against Locally rather than regular Azure. You can also configure Locally to use the Azure locations too, but you'll want to be extra sure that you're prefixing commands with
locally runwhen you do.
3. Create a Virtual Network
Private DNS Zones are linked to virtual networks, so we'll create one to link to:
                $


            locally run az network vnet create -g sample-resources -n sample-vnet --address-prefixes 10.0.0.0/16 --subnet-name internal --subnet-prefixes 10.0.1.0/24
Then the zone itself. The name is a domain you control the resolution of within your own networks - it doesn't need to be registered anywhere:
                $


            locally run az network private-dns zone create -g sample-resources -n sample.internal
{
  "name": "sample.internal",
  "state": "Succeeded"
}
4. Create the Private DNS Zone and a record
A zone with no records doesn't resolve anything, so let's add an A record pointing at an address inside the subnet:
                $


            locally run az network private-dns record-set a add-record -g sample-resources -z sample.internal -n api -a 10.0.1.10
{
  "fqdn": "api.sample.internal.",
  "records": [
    "10.0.1.10"
  ]
}
Note
api in sample.internal gives api.sample.internal., with the trailing dot marking it as fully qualified.5. Link the zone to the network
Finally, the zone has to be linked to a virtual network before anything in that network can resolve names from it. This is the step that's easy to forget, and the symptom - names that simply don't resolve - gives you little to go on:
                $


            locally run az network private-dns link vnet create -g sample-resources -z sample.internal -n vnet-link -v sample-vnet -e false
{
  "name": "vnet-link",
  "registration": false,
  "state": "Succeeded"
}
The -e false disables auto-registration, meaning records are managed by you rather than created automatically as VMs join the network.
We can confirm the zone and its record count:
                $


            locally run az network private-dns zone list -g sample-resources --query "[].{Name:name, Records:numberOfRecordSets}" -o table
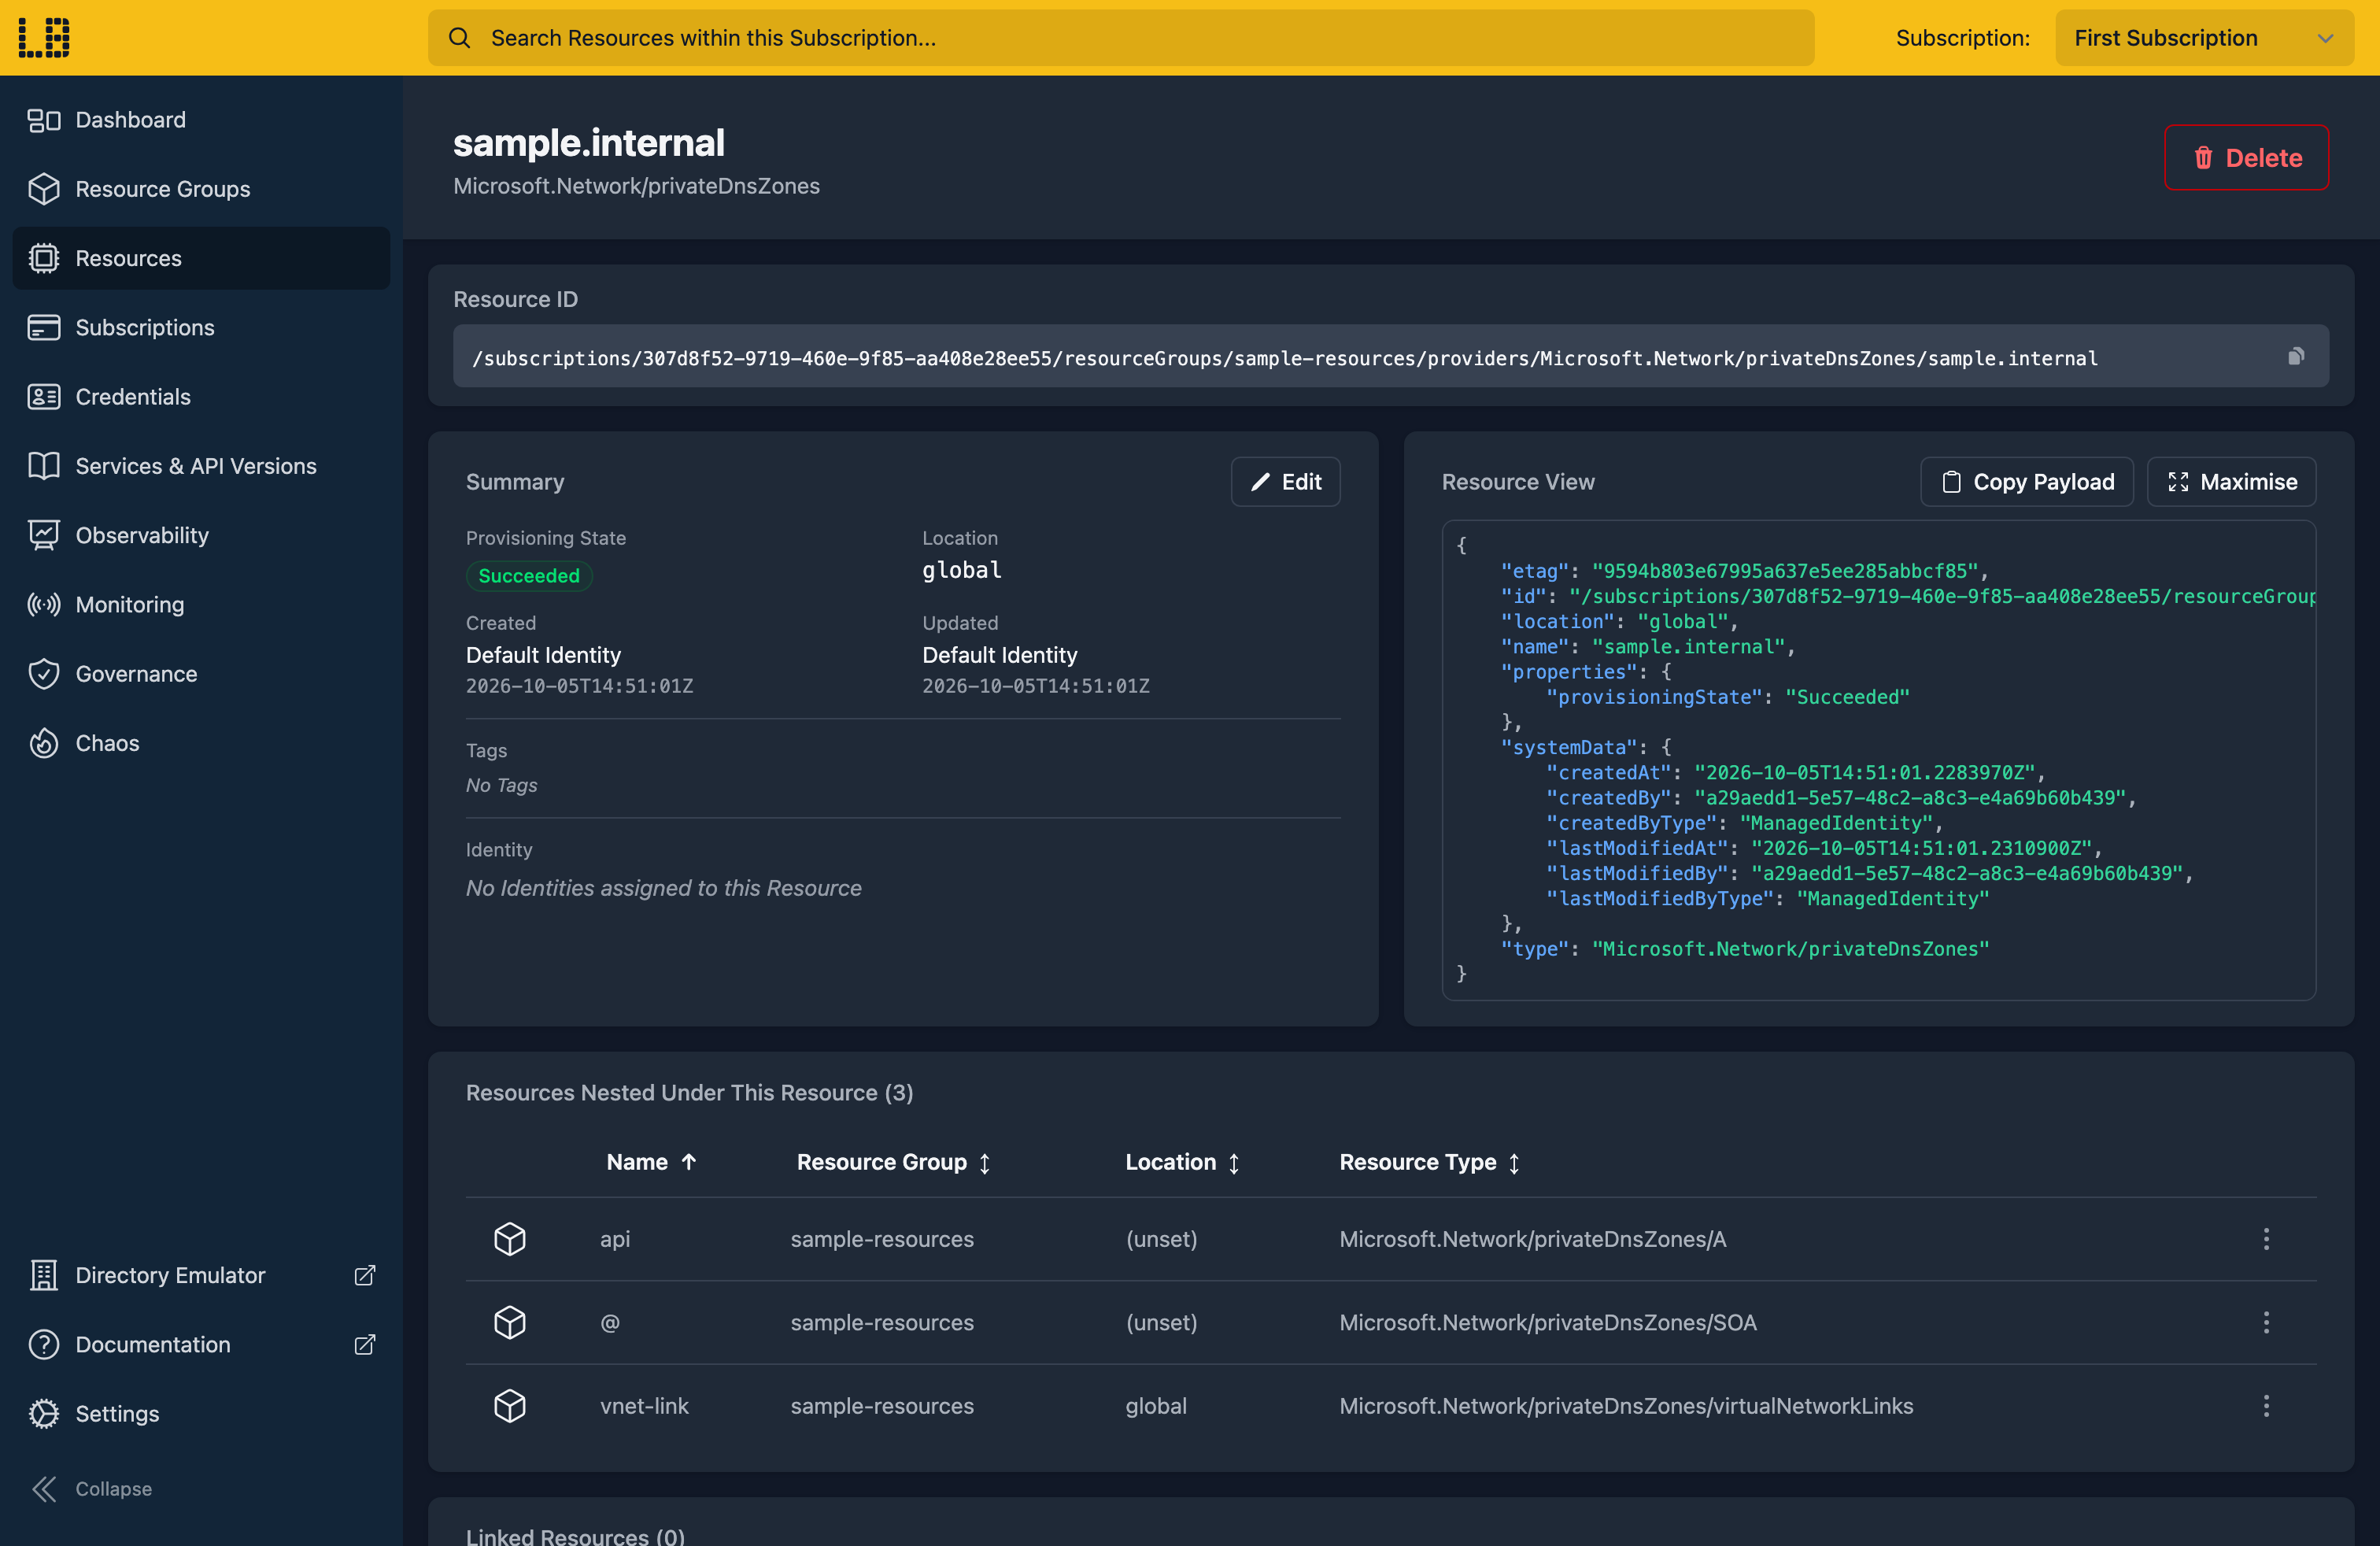
We can see the Private DNS Zone in the Locally Dashboard too:
6. Tidy up
Finally, we can tidy up. To remove the Resource Group and everything within it:
                $


            locally run az group delete -n sample-resources --yes
There's nothing billable to clean up, since everything ran on your machine, but it's still worth checking your teardown scripts work here before you run them against Azure.
Doing this with other tooling
Whilst this guide used the Azure CLI, Private DNS Zones work the same way through any of the tooling that Locally supports - a Microsoft.Network/privateDnsZones resource in HashiCorp Terraform or OpenTofu, Pulumi, Bicep or an ARM Template all provision against Locally in the same way, with only the location changed.
Next steps
The DNS Server page covers how Locally resolves the records in your zones. For more on the network the zone is linked to, see Virtual Network.
Should you encounter any issues, please take a look at the troubleshooting section.
Sign in during Public Preview to get the Team plan free, plus an early-adopter discount when we launch. Sign in
