Provisioning Cosmos DB for Table
Sign in during Public Preview to get the Team plan free, plus an early-adopter discount when we launch. Sign in
Provisioning Cosmos DB for Table
This guide shows you how to use Azure Cosmos DB for Table against Locally. We'll create a Cosmos DB Account with the Table API turned on, add a table, then insert, query, update and delete entities through its data plane with the Azure CLI.
It speaks the same Table API as Table Storage, so the same code works against either. You'd pick Cosmos DB when you want what it adds on top, like indexing on every property and multi-region replication.
Before you start
- The Azure CLI (
az) installed. - Locally installed, with Locally Setup completed.
1. Start Locally
Firstly, we need to launch Locally which we can do from a terminal by running:
                $


            locally build
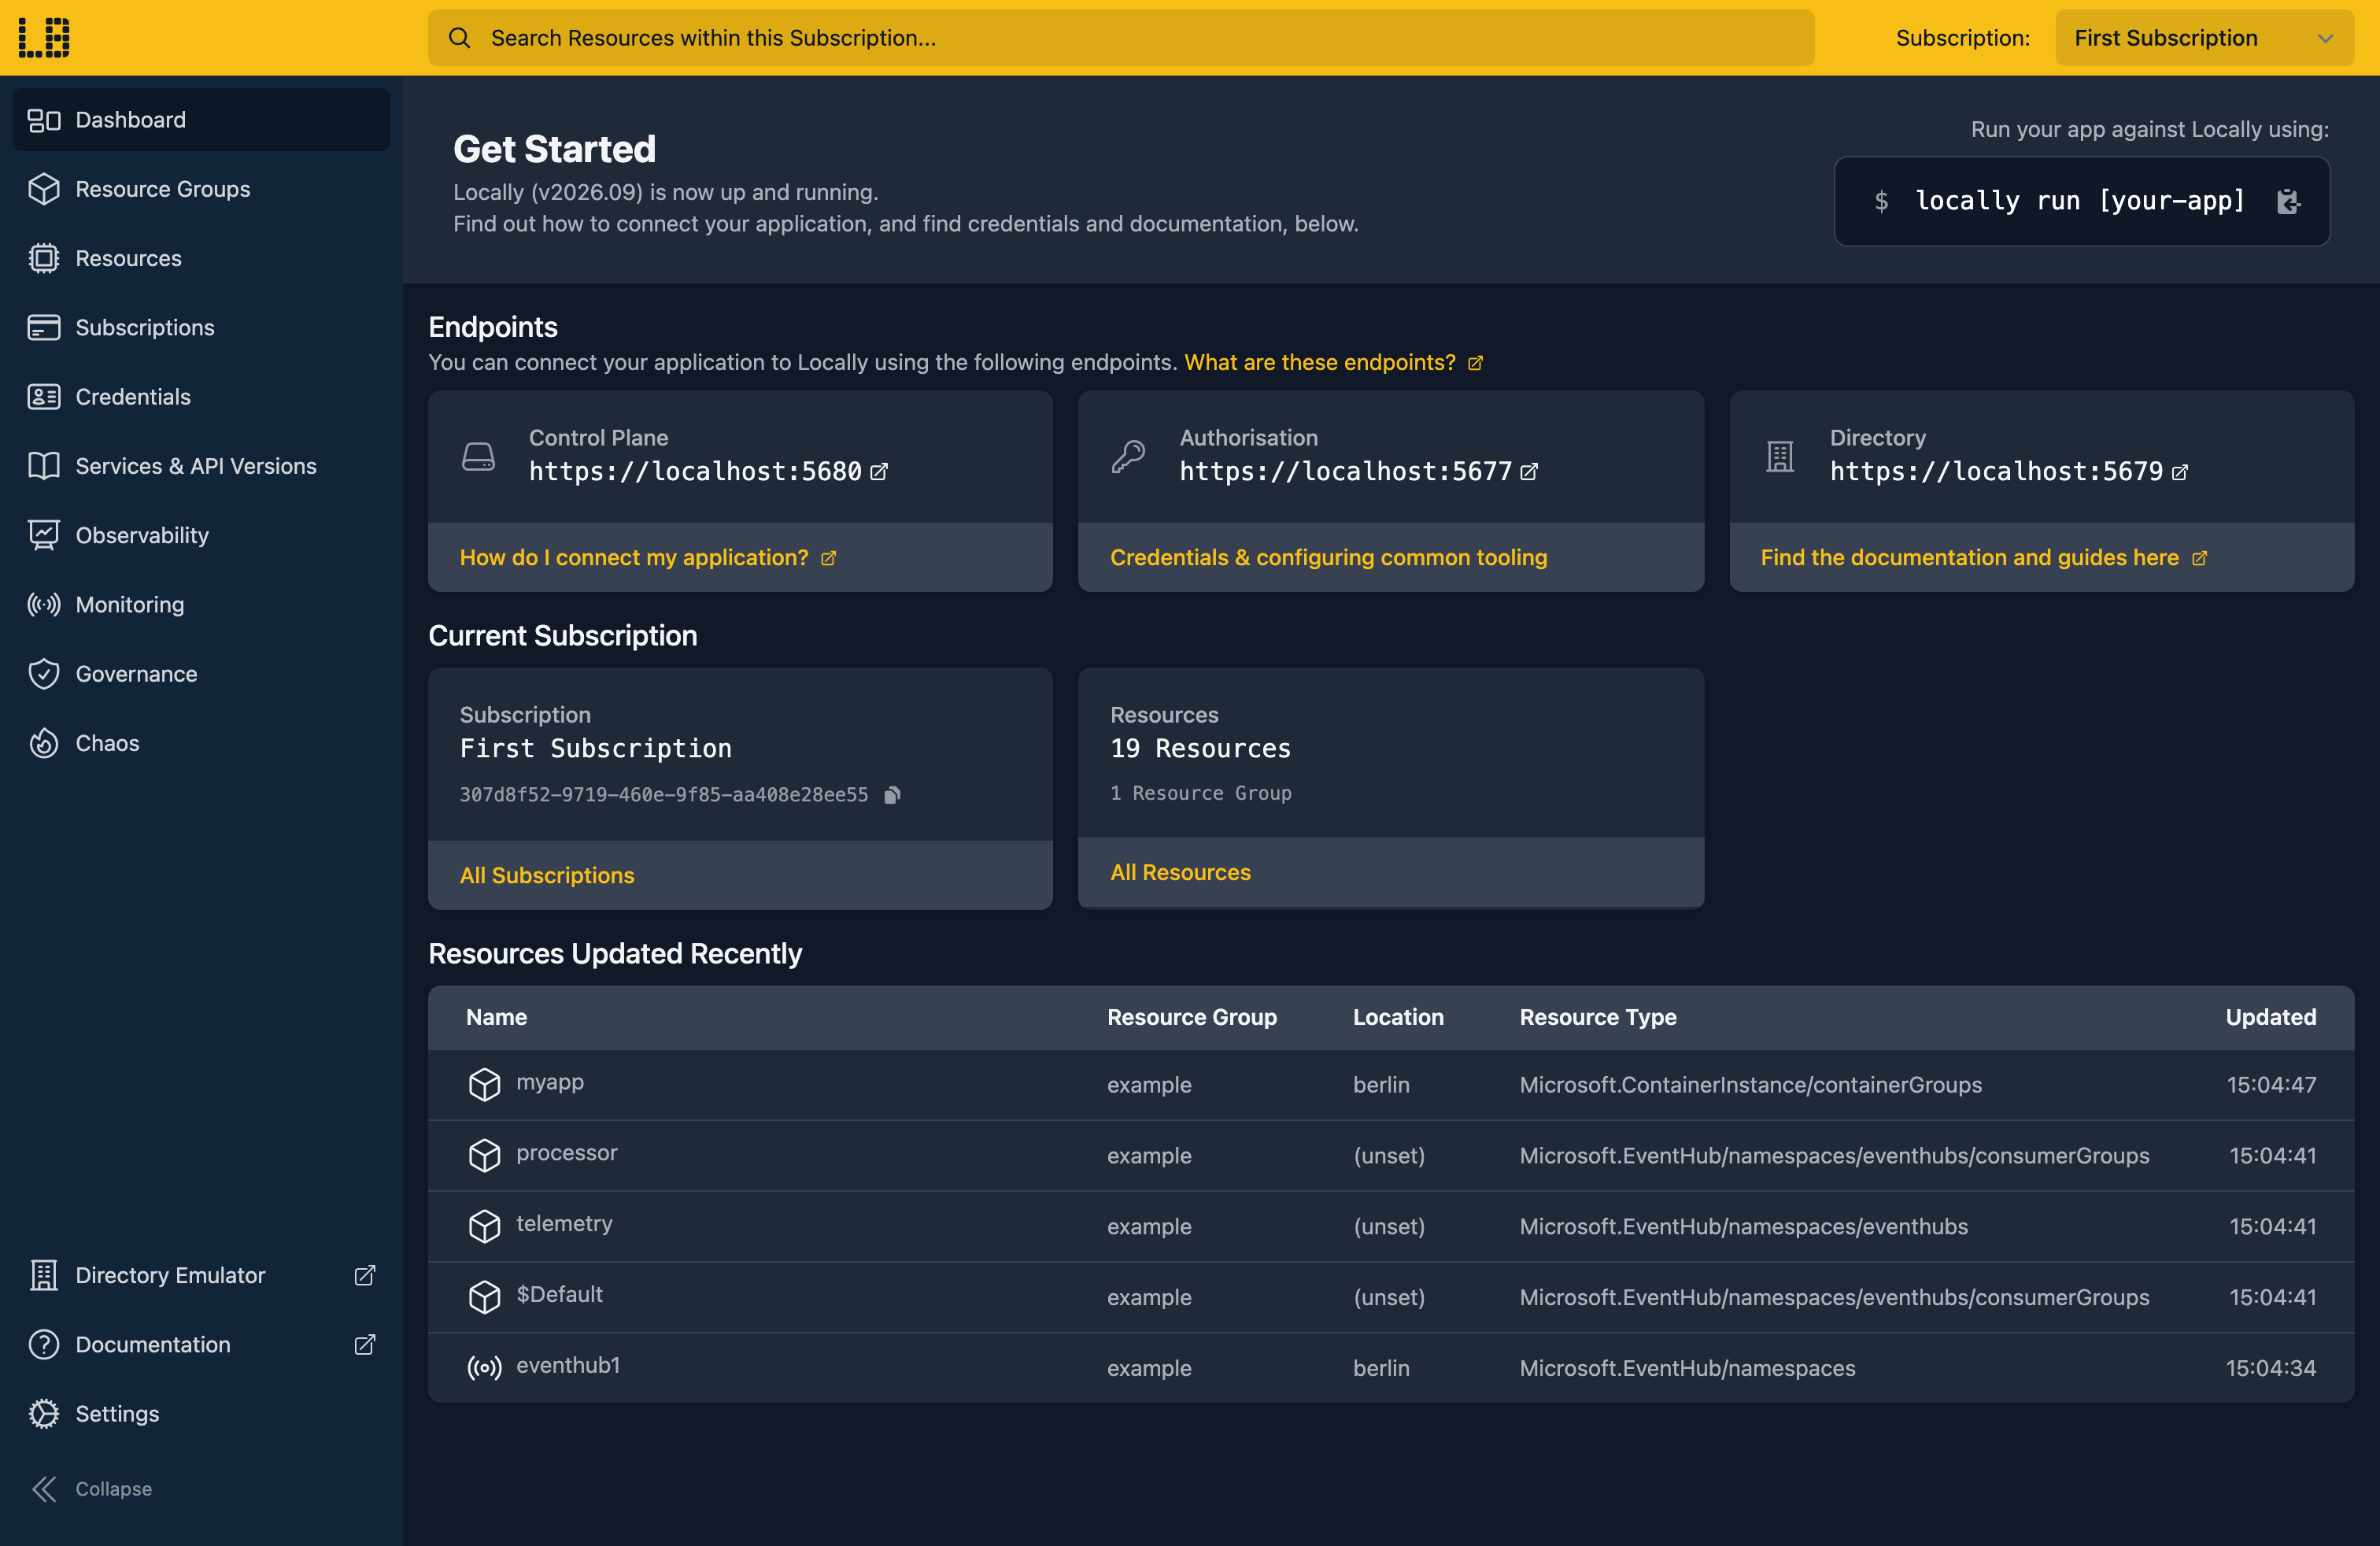
Once Locally has started, the Locally Dashboard will open automatically:
2. Create a Resource Group
Next we can create the Resource Group to hold the account:
                $


            locally run az group create -n sample-cosmos-db-for-table -l berlin
There's two things to note here:
- The Azure CLI supports Automatic Configuration, meaning that it can automatically be configured to work against Locally just by prefixing commands with
locally run. - Locally intentionally uses a different set of locations to Azure as a safety precaution, so that you can be confident you're deploying against Locally rather than regular Azure. You can also configure Locally to use the Azure locations too, but you'll want to be extra sure that you're prefixing commands with
locally runwhen you do.
3. Create the Cosmos DB Account
The Table API is a capability we turn on when creating the account, with --capabilities EnableTable:
                $


            locally run az cosmosdb create --name sample-cosmos-table-1 --resource-group sample-cosmos-db-for-table --locations regionName=berlin --capabilities EnableTable --query "{name:name, capabilities:capabilities[].name, provisioningState:provisioningState}"
{
  "capabilities": [
    "EnableTable"
  ],
  "name": "sample-cosmos-table-1",
  "provisioningState": "Succeeded"
}
4. Create a table
Now we can create a table called orders:
                $


            locally run az cosmosdb table create --account-name sample-cosmos-table-1 --resource-group sample-cosmos-db-for-table --name orders --query "{name:name, type:type}"
{
  "name": "orders",
  "type": "Microsoft.DocumentDB/databaseAccounts/tables"
}
And check it's there:
                $


            locally run az cosmosdb table list --account-name sample-cosmos-table-1 --resource-group sample-cosmos-db-for-table --query "[].{Name:name}" -o table
Name
------
orders
5. Get the Table connection string
The account hands out connection strings for both its SQL and Table APIs:
                $


            locally run az cosmosdb keys list --type connection-strings --name sample-cosmos-table-1 --resource-group sample-cosmos-db-for-table --query "connectionStrings[].{Description:description, Type:type}" -o table
Description                                  Type
-------------------------------------------  ------
Primary SQL Connection String                Sql
Secondary SQL Connection String              Sql
Primary Read-Only SQL Connection String      Sql
Secondary Read-Only SQL Connection String    Sql
Primary Table Connection String              Table
Secondary Table Connection String            Table
Primary Read-Only Table Connection String    Table
Secondary Read-Only Table Connection String  Table
The az storage entity commands want the Table one. Putting it in AZURE_STORAGE_CONNECTION_STRING means we don't have to pass it to each command:
                $


            export AZURE_STORAGE_CONNECTION_STRING=$(locally run az cosmosdb keys list --type connection-strings --name sample-cosmos-table-1 --resource-group sample-cosmos-db-for-table --query "connectionStrings[?description=='Primary Table Connection String'].connectionString" -o tsv)
Its TableEndpoint is https://sample-cosmos-table-1-tables.cosmonaut.locally:5665/, served by Locally's own DNS server and pointing at the Cosmos DB Emulator running on your machine.
6. Insert and query entities
Every entity needs a PartitionKey and a RowKey. We'll partition orders by customer, and mark Quantity as a number, since the Azure CLI sends everything else as a string:
                $


            locally run az storage entity insert --table-name orders --entity PartitionKey=customer-42 RowKey=order-1001 Product=Widget Quantity=3 [email protected]=Edm.Int32 -o none
                $


            locally run az storage entity insert --table-name orders --entity PartitionKey=customer-42 RowKey=order-1002 Product=Gadget Quantity=1 [email protected]=Edm.Int32 -o none
                $


            locally run az storage entity insert --table-name orders --entity PartitionKey=customer-7 RowKey=order-1003 Product=Widget Quantity=5 [email protected]=Edm.Int32 -o none
Filtering on the partition key gets one customer's orders:
                $


            locally run az storage entity query --table-name orders --filter "PartitionKey eq 'customer-42'" --query "items[].{RowKey:RowKey, Product:Product, Quantity:Quantity}" -o table
RowKey      Product    Quantity
----------  ---------  ----------
order-1001  Widget     3
order-1002  Gadget     1
And we can filter on any other property too, across every partition:
                $


            locally run az storage entity query --table-name orders --filter "Product eq 'Widget'" --query "items[].{PartitionKey:PartitionKey, RowKey:RowKey, Quantity:Quantity}" -o table
PartitionKey    RowKey      Quantity
--------------  ----------  ----------
customer-42     order-1001  3
customer-7      order-1003  5
7. Update and delete an entity
A merge updates the properties we pass and leaves the rest alone. Let's change the quantity on the first order:
                $


            locally run az storage entity merge --table-name orders --entity PartitionKey=customer-42 RowKey=order-1001 Quantity=4 [email protected]=Edm.Int32 -o none
                $


            locally run az storage entity show --table-name orders --partition-key customer-42 --row-key order-1001 --query "{Product:Product, Quantity:Quantity}"
{
  "Product": "Widget",
  "Quantity": 4
}
Then delete the second order:
                $


            locally run az storage entity delete --table-name orders --partition-key customer-42 --row-key order-1002 -o none
                $


            locally run az storage entity query --table-name orders --query "items[].{PartitionKey:PartitionKey, RowKey:RowKey, Product:Product, Quantity:Quantity}" -o table
PartitionKey    RowKey      Product    Quantity
--------------  ----------  ---------  ----------
customer-42     order-1001  Widget     4
customer-7      order-1003  Widget     5
8. Tidy up
Finally, we can tidy up. To remove just the table, and every entity in it:
                $


            locally run az cosmosdb table delete --account-name sample-cosmos-table-1 --resource-group sample-cosmos-db-for-table --name orders --yes
Or to remove the Resource Group and everything within it:
                $


            locally run az group delete -n sample-cosmos-db-for-table --yes
Doing this with other tooling
Whilst this guide used the Azure CLI, the account and its tables work the same way through any of the tooling that Locally supports - Microsoft.DocumentDB/databaseAccounts and Microsoft.DocumentDB/databaseAccounts/tables resources in HashiCorp Terraform or OpenTofu, Pulumi, Bicep or an ARM Template all provision against Locally in the same way.
The same is true of the data plane: hand the Table connection string to the Azure Tables SDK for .NET, Go or Python and your application reads and writes entities against Locally.
Next steps
To store JSON documents and query them with SQL instead, see Cosmos DB. For the same Table API in a Storage Account, see Table Storage. The Cosmos DB Emulator covers what the data plane supports.
Should you encounter any issues, please take a look at the troubleshooting section.
Resource types this guide uses
These are the Azure resource types this guide creates in Locally:
- Microsoft.DocumentDB/databaseAccounts/tables
- Microsoft.DocumentDB/databaseAccounts
Sign in during Public Preview to get the Team plan free, plus an early-adopter discount when we launch. Sign in
