Provisioning Azure Managed Redis
Sign in during Public Preview to get the Team plan free, plus an early-adopter discount when we launch. Sign in
Provisioning Azure Managed Redis
This guide shows you how to provision Azure Managed Redis against Locally, and then connect to it with redis-cli to write and read a key. As with the other guides we're going to use the Azure CLI, but the same resources can be provisioned with HashiCorp Terraform, Pulumi or Bicep too.
Azure Managed Redis is the successor to Azure Cache for Redis. If you're starting something new, this is the one to pick; if your app already uses Azure Cache for Redis, that guide is the one you want.
Before you start
- The Azure CLI (
az) installed. redis-cliinstalled, version 6 or later so that it can connect over TLS. It ships with Redis itself.- Locally installed, with Locally Setup completed.
The az redisenterprise commands live in an Azure CLI extension. Locally keeps its own set of extensions, so add it through locally run:
                $


            locally run az extension add --name redisenterprise
1. Start Locally
Firstly, we need to launch Locally which we can do from a terminal by running:
                $


            locally build
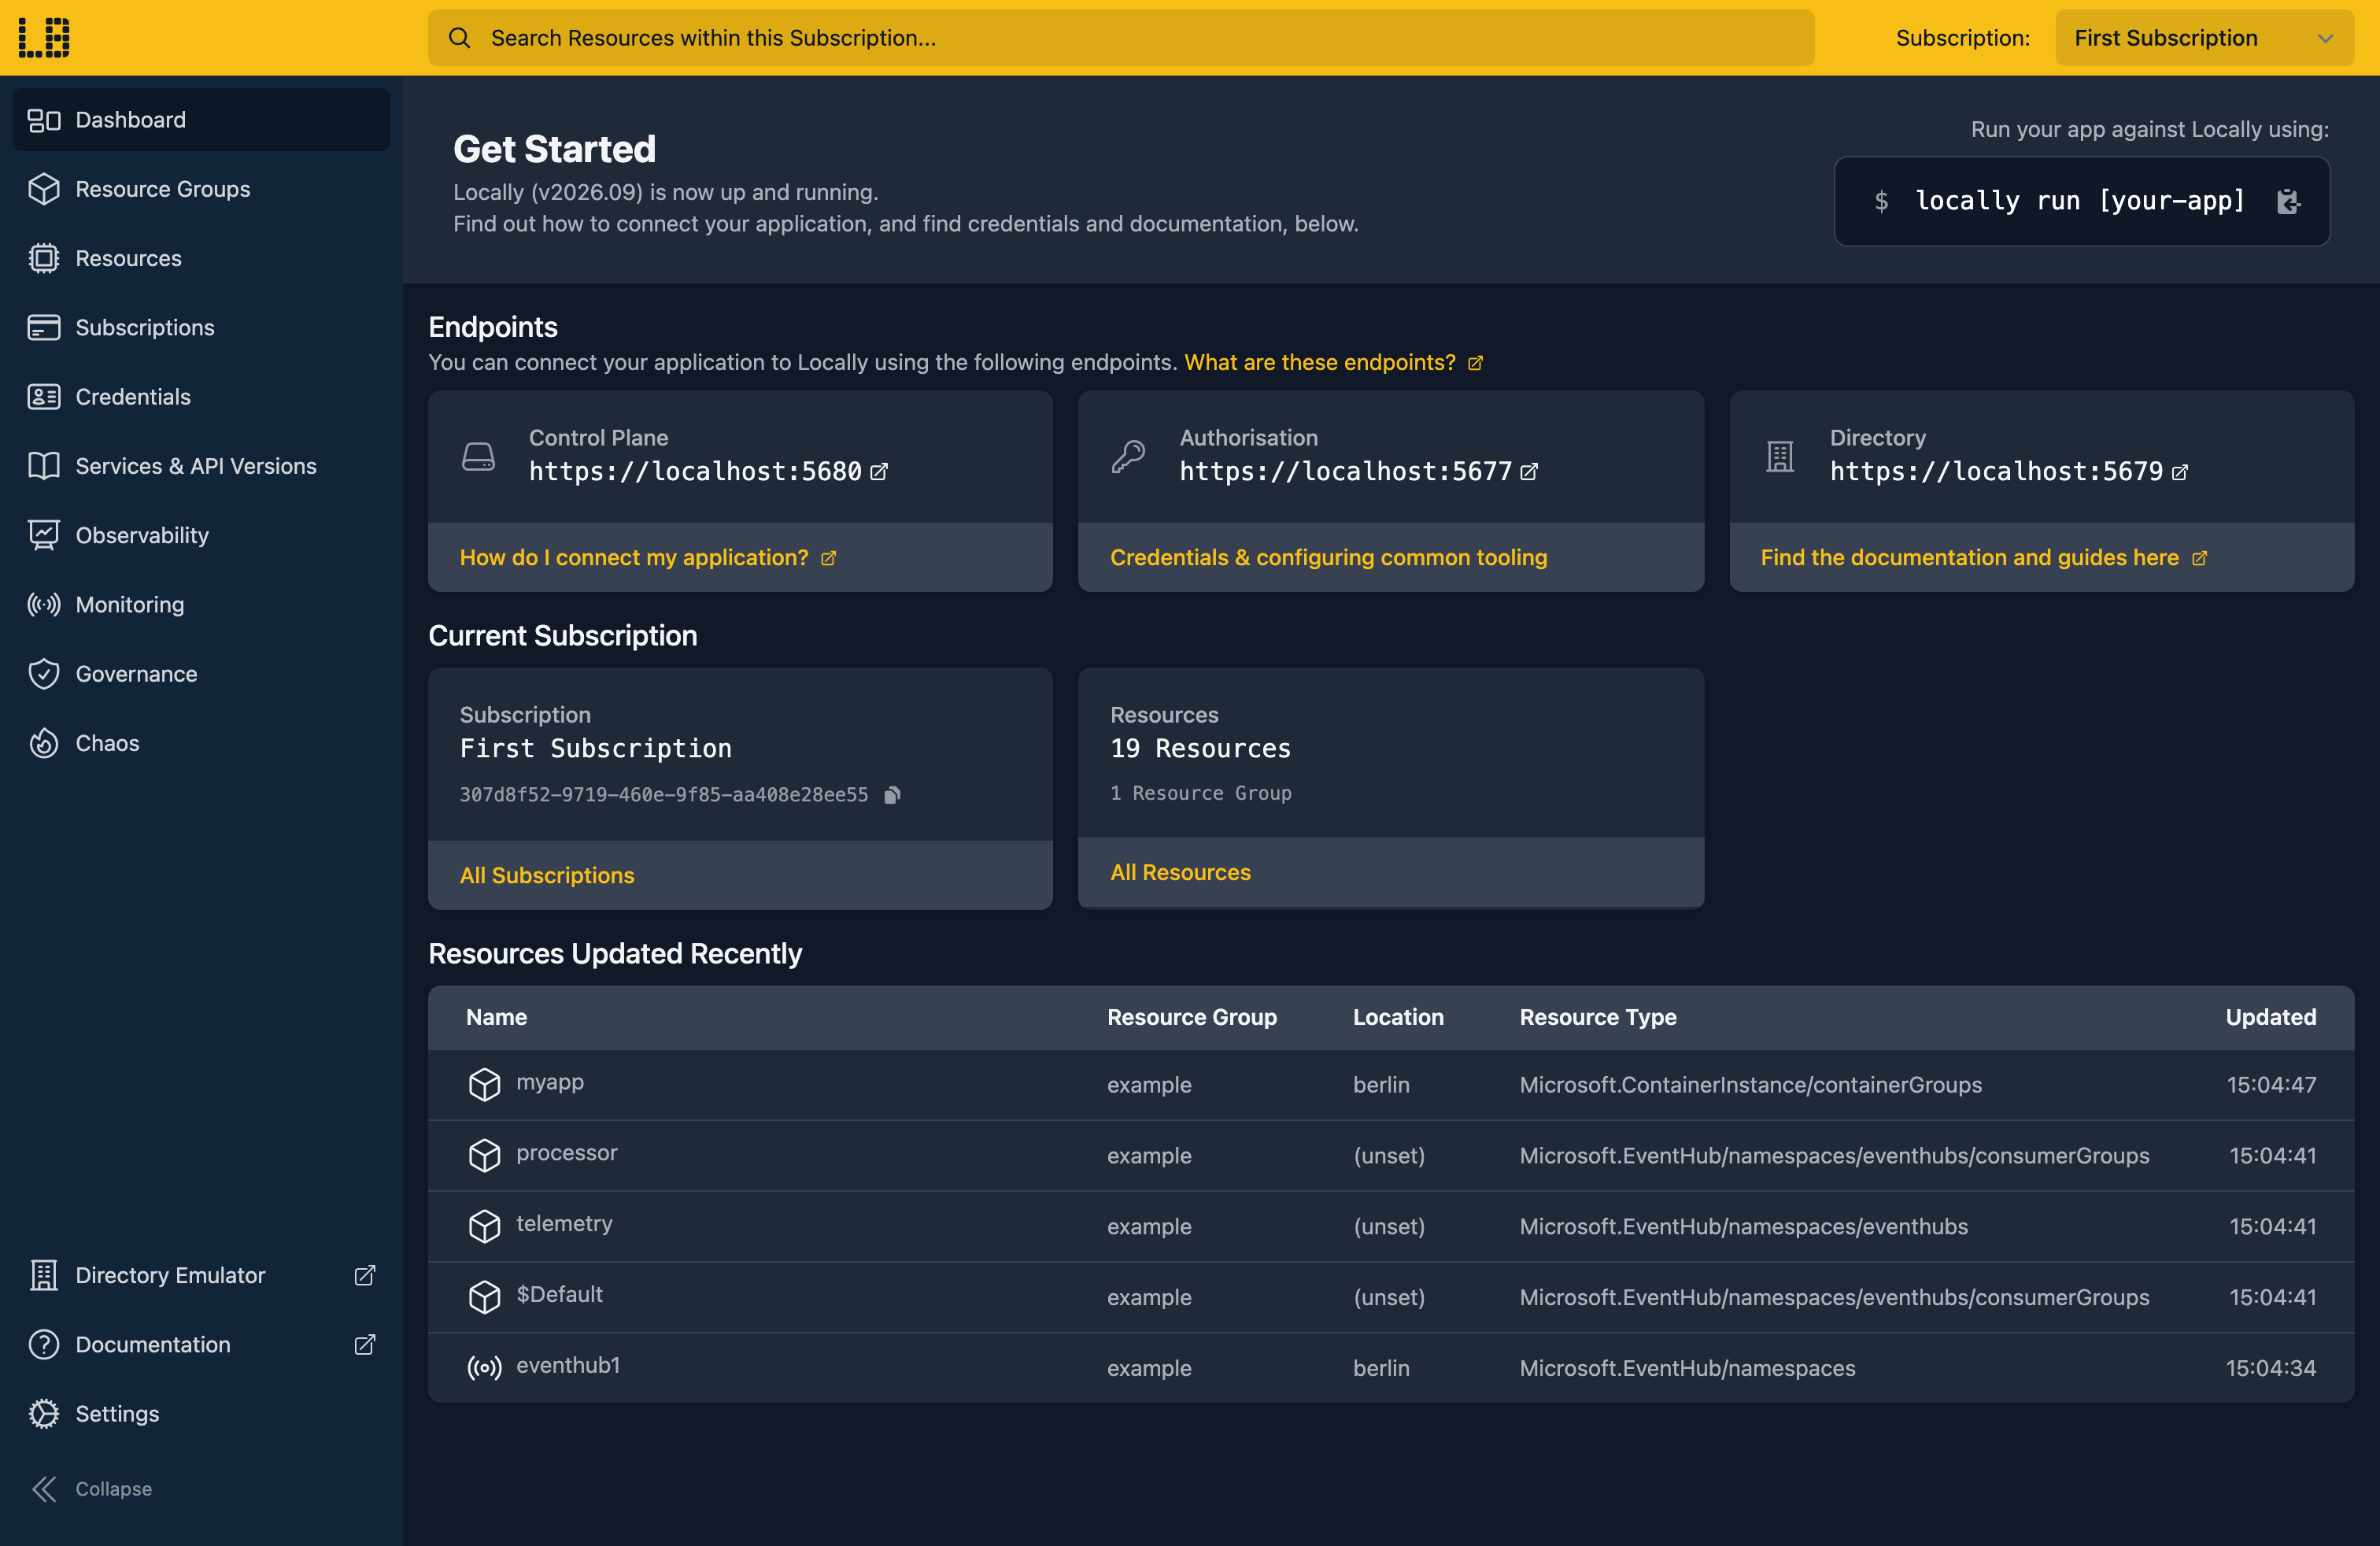
Once Locally has started, the Locally Dashboard will open automatically:
2. Create a Resource Group
Next we can create the Resource Group to hold the cluster:
                $


            locally run az group create -n sample-azure-managed-redis -l berlin
There's two things to note here:
- The Azure CLI supports Automatic Configuration, meaning that it can automatically be configured to work against Locally just by prefixing commands with
locally run. - Locally intentionally uses a different set of locations to Azure as a safety precaution, so that you can be confident you're deploying against Locally rather than regular Azure. You can also configure Locally to use the Azure locations too, but you'll want to be extra sure that you're prefixing commands with
locally runwhen you do.
3. Create the cluster
Azure Managed Redis comes in two parts: a cluster, which sets the size and the hostname, and a database inside it, which is what we'll actually connect to. Let's create the cluster first, using the smallest size, a Balanced B0:
                $


            locally run az redisenterprise create --name sample-managed-redis-1 --resource-group sample-azure-managed-redis --location berlin --sku Balanced_B0 --public-network-access Enabled --no-database --query "{name:name, type:type, hostName:hostName, sku:sku.name, provisioningState:provisioningState}"
Note
Which gives us the cluster's hostname:
{
  "hostName": "sample-managed-redis-1.redis.locally",
  "name": "sample-managed-redis-1",
  "provisioningState": "Succeeded",
  "sku": "Balanced_B0",
  "type": "Microsoft.Cache/redisEnterprise"
}
That redis.locally hostname is served by Locally's own DNS server. Without --no-database the CLI would create a database for us straight away, but doing it separately shows the settings that matter.
4. Create the database
Now we can add the database:
                $


            locally run az redisenterprise database create --cluster-name sample-managed-redis-1 --resource-group sample-azure-managed-redis --client-protocol Encrypted --clustering-policy EnterpriseCluster --access-keys-auth Enabled --query "{name:name, type:type, port:port, clientProtocol:clientProtocol, clusteringPolicy:clusteringPolicy, accessKeysAuthentication:accessKeysAuthentication, provisioningState:provisioningState}"
{
  "accessKeysAuthentication": "Enabled",
  "clientProtocol": "Encrypted",
  "clusteringPolicy": "EnterpriseCluster",
  "name": "default",
  "port": 62375,
  "provisioningState": "Succeeded",
  "type": "Microsoft.Cache/redisEnterprise/databases"
}
A few of those flags are worth explaining:
--client-protocol Encryptedmeans clients connect over TLS.--clustering-policy EnterpriseClustergives clients a single endpoint, so a plainredis-cliworks without cluster mode.--access-keys-auth Enabledturns on access keys, which is what we'll connect with. Newer versions of the Azure CLI default this toDisabled, so it's worth being explicit.
Behind the scenes Locally starts a real Redis server in a container, and handles TLS and the access key check in front of it. Azure always uses port 10000, but Locally picks a free port for each database, so read port from the response rather than hard-coding it.
5. Get the connection details
Connecting needs one of the database's access keys:
                $


            locally run az redisenterprise database list-keys --cluster-name sample-managed-redis-1 --resource-group sample-azure-managed-redis
{
  "primaryKey": "OAOXqDuGYTB9uh24BWPQ6huNiaPg/kxl0aqjqxJrZc39",
  "secondaryKey": "PSSVGXBhQLNbh/XsvmL+mP6MUJk+yNhHh17PBuB9CNpz"
}
Rather than copying values around, let's keep hold of the hostname, the port and the primary key:
                $


            export REDIS_HOST=$(locally run az redisenterprise show --name sample-managed-redis-1 --resource-group sample-azure-managed-redis --query hostName -o tsv)
                $


            export REDIS_PORT=$(locally run az redisenterprise database show --cluster-name sample-managed-redis-1 --resource-group sample-azure-managed-redis --query port -o tsv)
                $


            export REDISCLI_AUTH=$(locally run az redisenterprise database list-keys --cluster-name sample-managed-redis-1 --resource-group sample-azure-managed-redis --query primaryKey -o tsv)
redis-cli reads its password from REDISCLI_AUTH, which keeps the key off the command line.
6. Connect with redis-cli
Now we can talk to the database. Locally's certificates are signed by its own local CA, so we point redis-cli at that with --cacert. Let's write a key:
                $


            redis-cli --tls --cacert ~/.config/locally/local-ca.pem -h "$REDIS_HOST" -p "$REDIS_PORT" SET greeting "hello from Locally"
OKAnd read it back:
                $


            redis-cli --tls --cacert ~/.config/locally/local-ca.pem -h "$REDIS_HOST" -p "$REDIS_PORT" GET greeting
hello from LocallyIf the container is still starting, the first command can fail with an I/O error; give it a few seconds and try again. Leave off SET or GET to get an interactive prompt instead. Without the key, the database refuses commands with NOAUTH Authentication required.
Note
%LocalAppData%\locally\local-ca.pem.7. Tidy up
Finally, we can tidy up. To remove the Resource Group and everything within it, including the Redis container:
                $


            locally run az group delete -n sample-azure-managed-redis --yes
There's nothing billable to clean up, since everything ran on your machine, but it's still worth checking your teardown scripts work here before you run them against Azure.
Doing this with other tooling
Whilst this guide used the Azure CLI, Azure Managed Redis works the same way through any of the tooling that Locally supports - Microsoft.Cache/redisEnterprise and Microsoft.Cache/redisEnterprise/databases resources in HashiCorp Terraform or OpenTofu, Pulumi, Bicep or an ARM Template all provision against Locally in the same way, with only the location changed.
The same goes for your application: any Redis client that supports TLS can connect using the cluster's hostName, the database's port and an access key. Just take the port from your tooling's outputs rather than assuming 10000.
Next steps
To keep the access key out of your app's settings, store it in a Key Vault and read it with a Managed Identity.
Should you encounter any issues, please take a look at the troubleshooting section.
Resource types this guide uses
These are the Azure resource types this guide creates in Locally:
- Microsoft.Cache/redisEnterprise
- Microsoft.Cache/redisEnterprise/databases
Sign in during Public Preview to get the Team plan free, plus an early-adopter discount when we launch. Sign in
