Working with Key Vault Keys and Certificates
Sign in during Public Preview to get the Team plan free, plus an early-adopter discount when we launch. Sign in
Working with Key Vault Keys and Certificates
This guide shows you how to work with keys and certificates in a Key Vault against Locally. We'll create an RSA key, encrypt and decrypt a value with it, then issue a self-signed certificate and download it - all with the Azure CLI.
If you're after secrets, Provisioning a Key Vault covers those.
Before you start
- The Azure CLI (
az) installed. - Locally installed, with Locally Setup completed.
openssl, if you want to inspect the certificate at the end (optional).
1. Start Locally
Firstly, we need to launch Locally which we can do from a terminal by running:
                $


            locally build
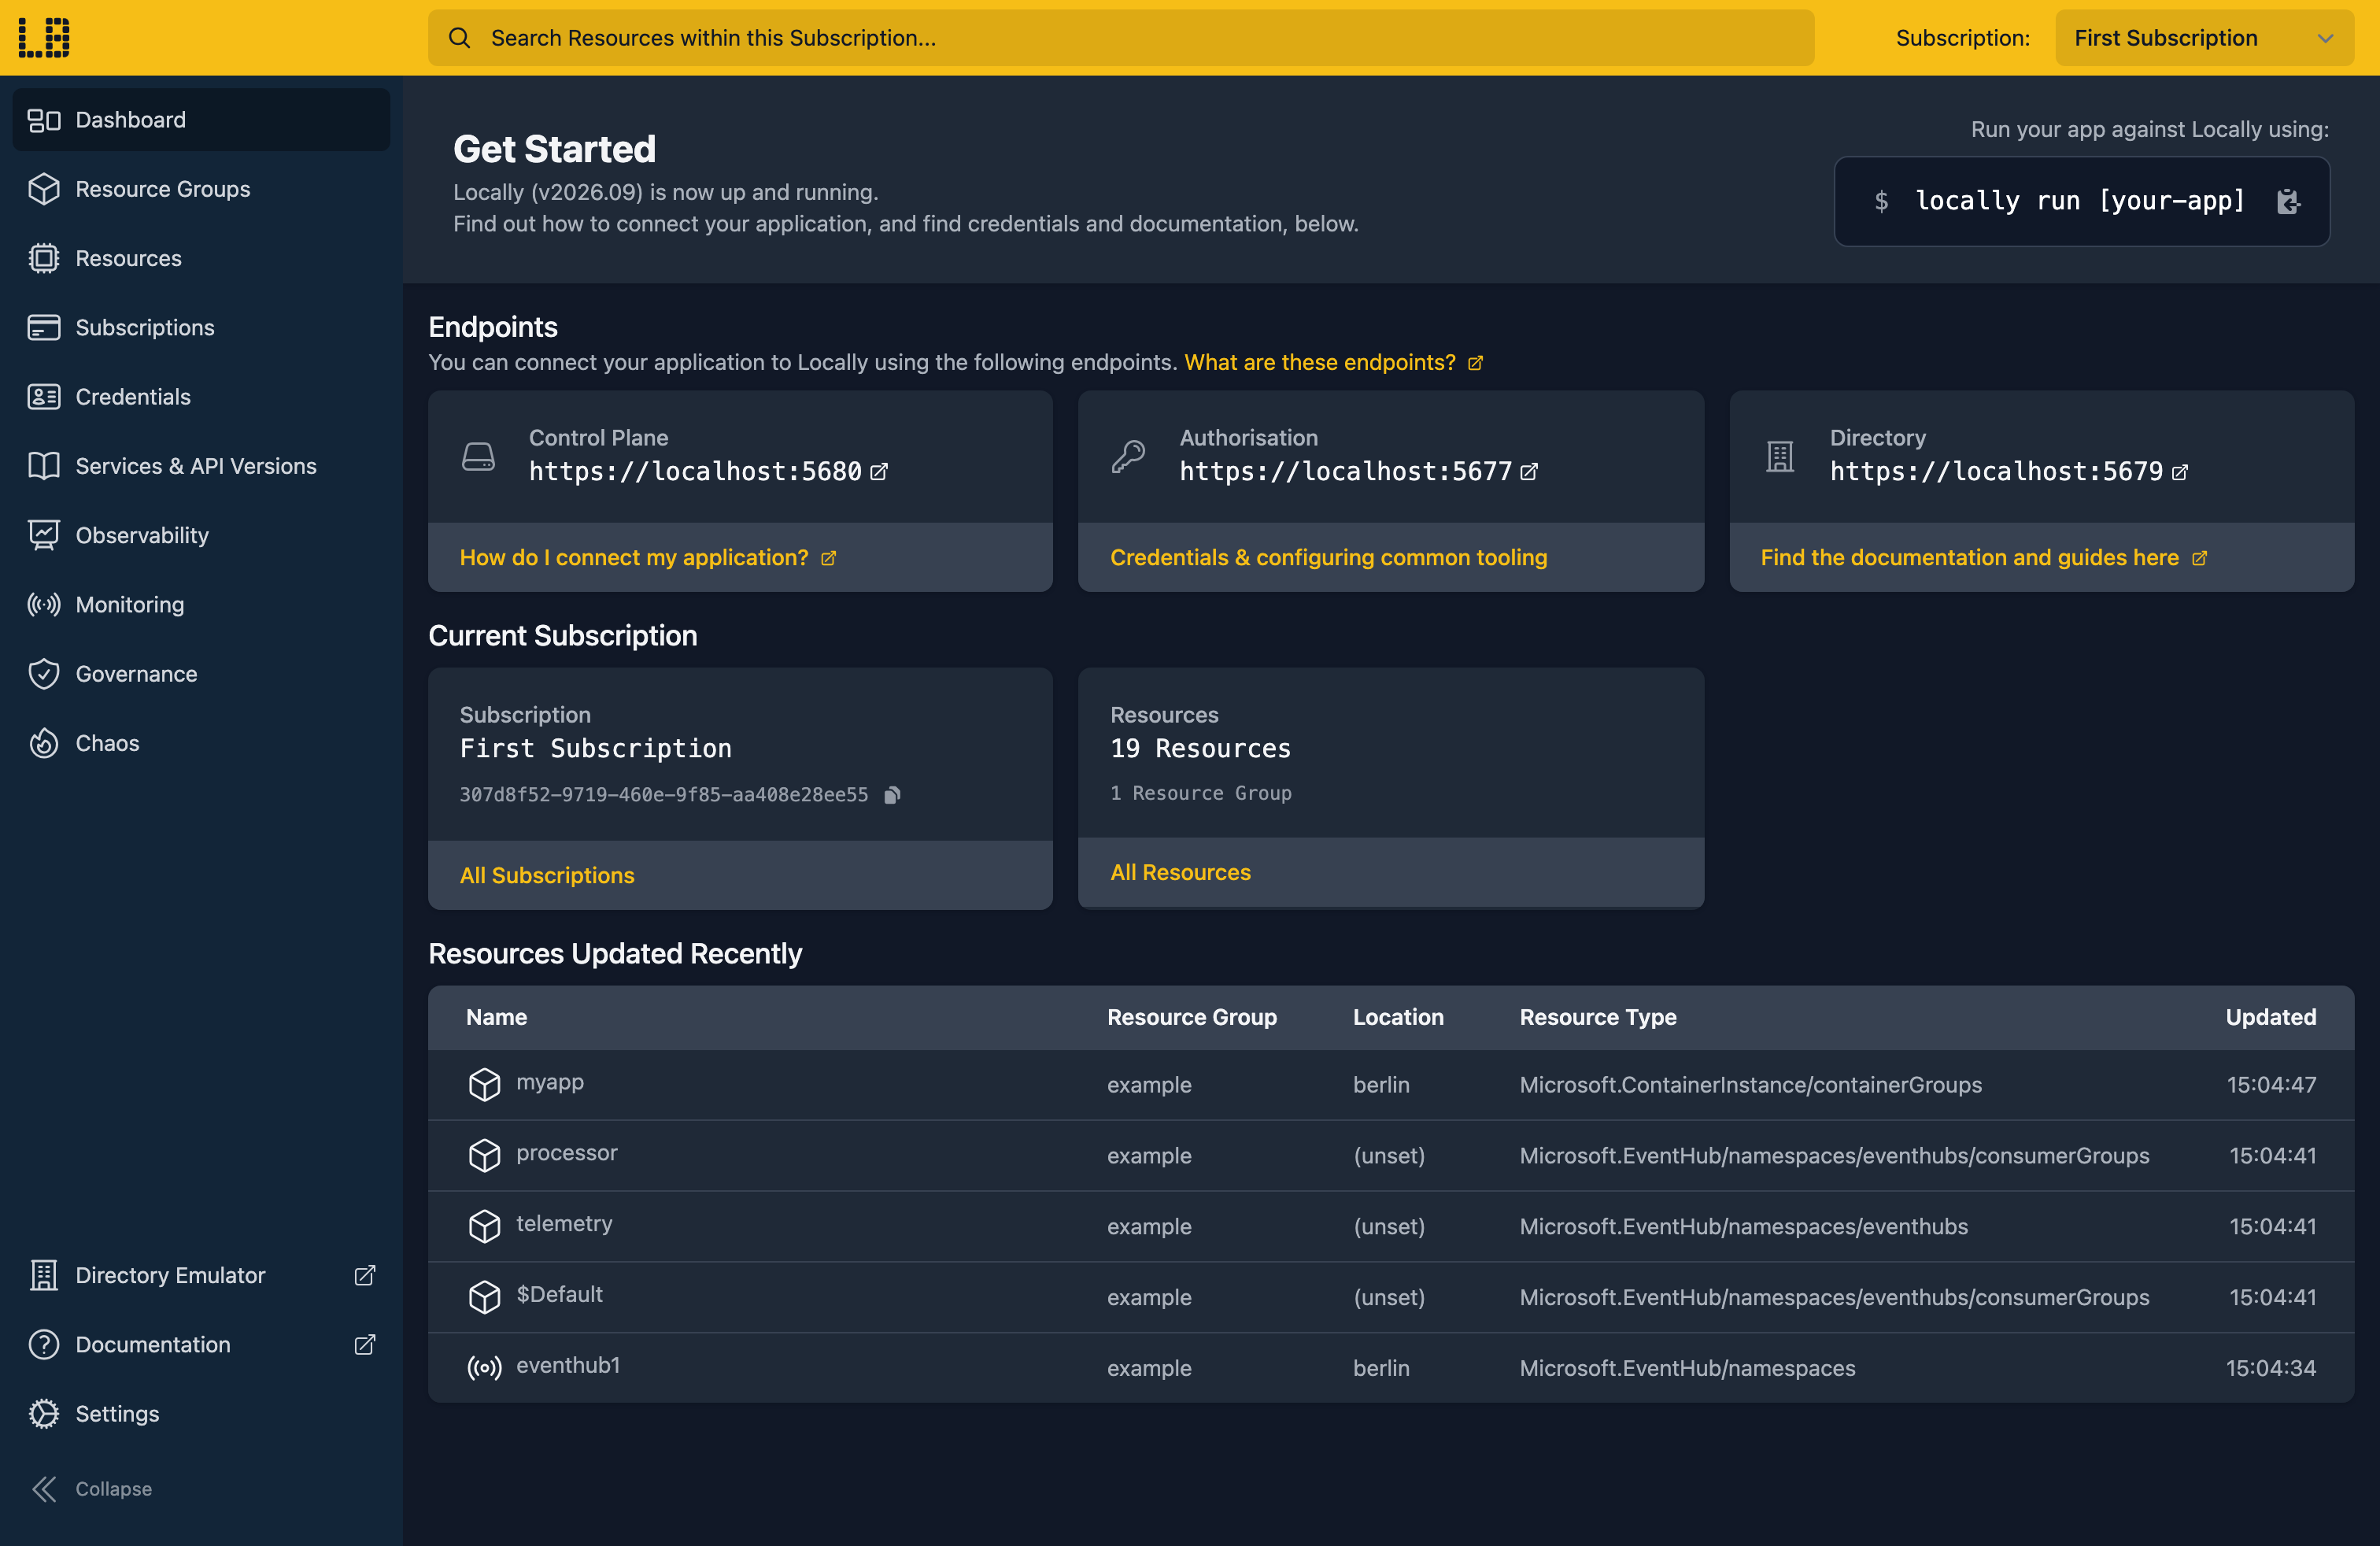
Once Locally has started, the Locally Dashboard will open automatically:
2. Create a Resource Group
Next we can create the Resource Group to hold the Key Vault:
                $


            locally run az group create -n sample-kv-keys -l berlin
There's two things to note here:
- The Azure CLI supports Automatic Configuration, meaning that it can automatically be configured to work against Locally just by prefixing commands with
locally run. - Locally intentionally uses a different set of locations to Azure as a safety precaution, so that you can be confident you're deploying against Locally rather than regular Azure. You can also configure Locally to use the Azure locations too, but you'll want to be extra sure that you're prefixing commands with
locally runwhen you do.
3. Create the Key Vault
With the Resource Group in place, we can create the Key Vault:
                $


            locally run az keyvault create --name samplekvkeys1 --resource-group sample-kv-keys --location berlin --query "{name:name, vaultUri:properties.vaultUri, softDelete:properties.enableSoftDelete, retentionDays:properties.softDeleteRetentionInDays}"
{
  "name": "samplekvkeys1",
  "retentionDays": 90,
  "softDelete": true,
  "vaultUri": "https://samplekvkeys1.vault.locally:5661/"
}
The vaultUri points at the Key Vault Emulator on your machine, which is where the keys and certificates below live. Soft-delete is on, as it is in Azure - we'll come back to that when we tidy up.
Note
4. Create a key
Let's create a 2048-bit RSA key:
                $


            locally run az keyvault key create --vault-name samplekvkeys1 --name app-key --kty RSA --size 2048 --query "{kid:key.kid, kty:key.kty, keyOps:key.keyOps, enabled:attributes.enabled}"
{
  "enabled": true,
  "keyOps": [
    "encrypt",
    "decrypt",
    "sign",
    "verify",
    "wrapKey",
    "unwrapKey"
  ],
  "kid": "https://samplekvkeys1.vault.locally:5661/keys/app-key/3eba1428-7fbb-40b5-bf54-e5069f87975f",
  "kty": "RSA"
}
The private half of the key never leaves the vault. The kid is the key's ID, ending in the version that was just created.
5. Encrypt and decrypt with it
We can ask the vault to encrypt a short value with the key, keeping the ciphertext in a variable:
                $


            export CIPHERTEXT=$(locally run az keyvault key encrypt --vault-name samplekvkeys1 --name app-key --algorithm RSA-OAEP-256 --data-type plaintext --value 'hello from Locally' --query result -o tsv)
$CIPHERTEXT now holds the encrypted value, base64-encoded - something like:
q+ir4Df0Au9zMaWtaDIEzsB0il/5KV9fTu5+eD7hhMG7dsxrr/6YnIQhhWlvLFtAhqvEe3CxteDhp1WZsmif2TKr/w0ckujn1jNxyU+ExVi5MC9H+6jy6PYPA1Z38K1jS0gS/h+0on7sI5rU4+bh4jkvOm60An8ZFacFTb70tK3BYufqqOePoO8FInGiX78WijLu+DhfB+HqvojfmyRuDsq1Lmyoa17jJHZBXd0veqB+BxqptCNCqDgE1VXoDy1vZhRt/OSDYmck+vU3pkj2BqZA/tdNZO1uZ2kuRAzVr8wGg+PDrDRKjiYZHwvUxACZbmlhCWHgBFs0BjH8RbCayA==Note
encrypt and decrypt as preview, so it prints a warning each time. That comes from the CLI rather than Locally, and you can ignore it.And then decrypt it again:
                $


            locally run az keyvault key decrypt --vault-name samplekvkeys1 --name app-key --algorithm RSA-OAEP-256 --data-type plaintext --value "$CIPHERTEXT"
Which gives us back what we put in:
{
  "algorithm": "RSA-OAEP-256",
  "kid": "https://samplekvkeys1.vault.locally:5661/keys/app-key/3eba1428-7fbb-40b5-bf54-e5069f87975f",
  "result": "hello from Locally"
}
This is real RSA-OAEP encryption, so a value encrypted with the key's public half elsewhere (with openssl, or an Azure SDK's crypto client) decrypts here too.
6. Create a self-signed certificate
A certificate needs a policy describing it. The Azure CLI can give us a default one, for a self-signed certificate valid for 12 months:
                $


            locally run az keyvault certificate get-default-policy > policy.json
The subject in there is CN=CLIGetDefaultPolicy - for a real certificate you'd edit it, but it's fine for this. Now we can create the certificate from that policy:
                $


            locally run az keyvault certificate create --vault-name samplekvkeys1 --name app-cert --policy @policy.json --query "{status:status, issuer:issuerParameters.name, target:target}"
{
  "issuer": "Self",
  "status": "completed",
  "target": "https://samplekvkeys1.vault.locally:5661/certificates/app-cert/724ad9c3-43f9-4eb9-a96b-338895733fbe"
}
A self-signed certificate is issued straight away, so the status is already completed. We can look at it with:
                $


            locally run az keyvault certificate show --vault-name samplekvkeys1 --name app-cert --query "{name:name, subject:policy.x509CertificateProperties.subject, issuer:policy.issuerParameters.name, thumbprint:x509ThumbprintHex, expires:attributes.expires}"
{
  "expires": "2027-10-05T15:46:34+00:00",
  "issuer": "Self",
  "name": "app-cert",
  "subject": "CN=CLIGetDefaultPolicy",
  "thumbprint": "03AC34425ED47FE1956D0EDB1F55D4583963AD6E"
}
7. Download the certificate
To get the public certificate as a PEM file:
                $


            locally run az keyvault certificate download --vault-name samplekvkeys1 --name app-cert --file app-cert.pem
It's a normal X.509 certificate, so any tool can read it. With openssl:
                $


            openssl x509 -in app-cert.pem -noout -subject -issuer -enddate
subject=CN=CLIGetDefaultPolicy
issuer=CN=CLIGetDefaultPolicy
notAfter=Oct  3 15:46:34 2027 GMT
The subject and issuer match, which is what makes it self-signed.
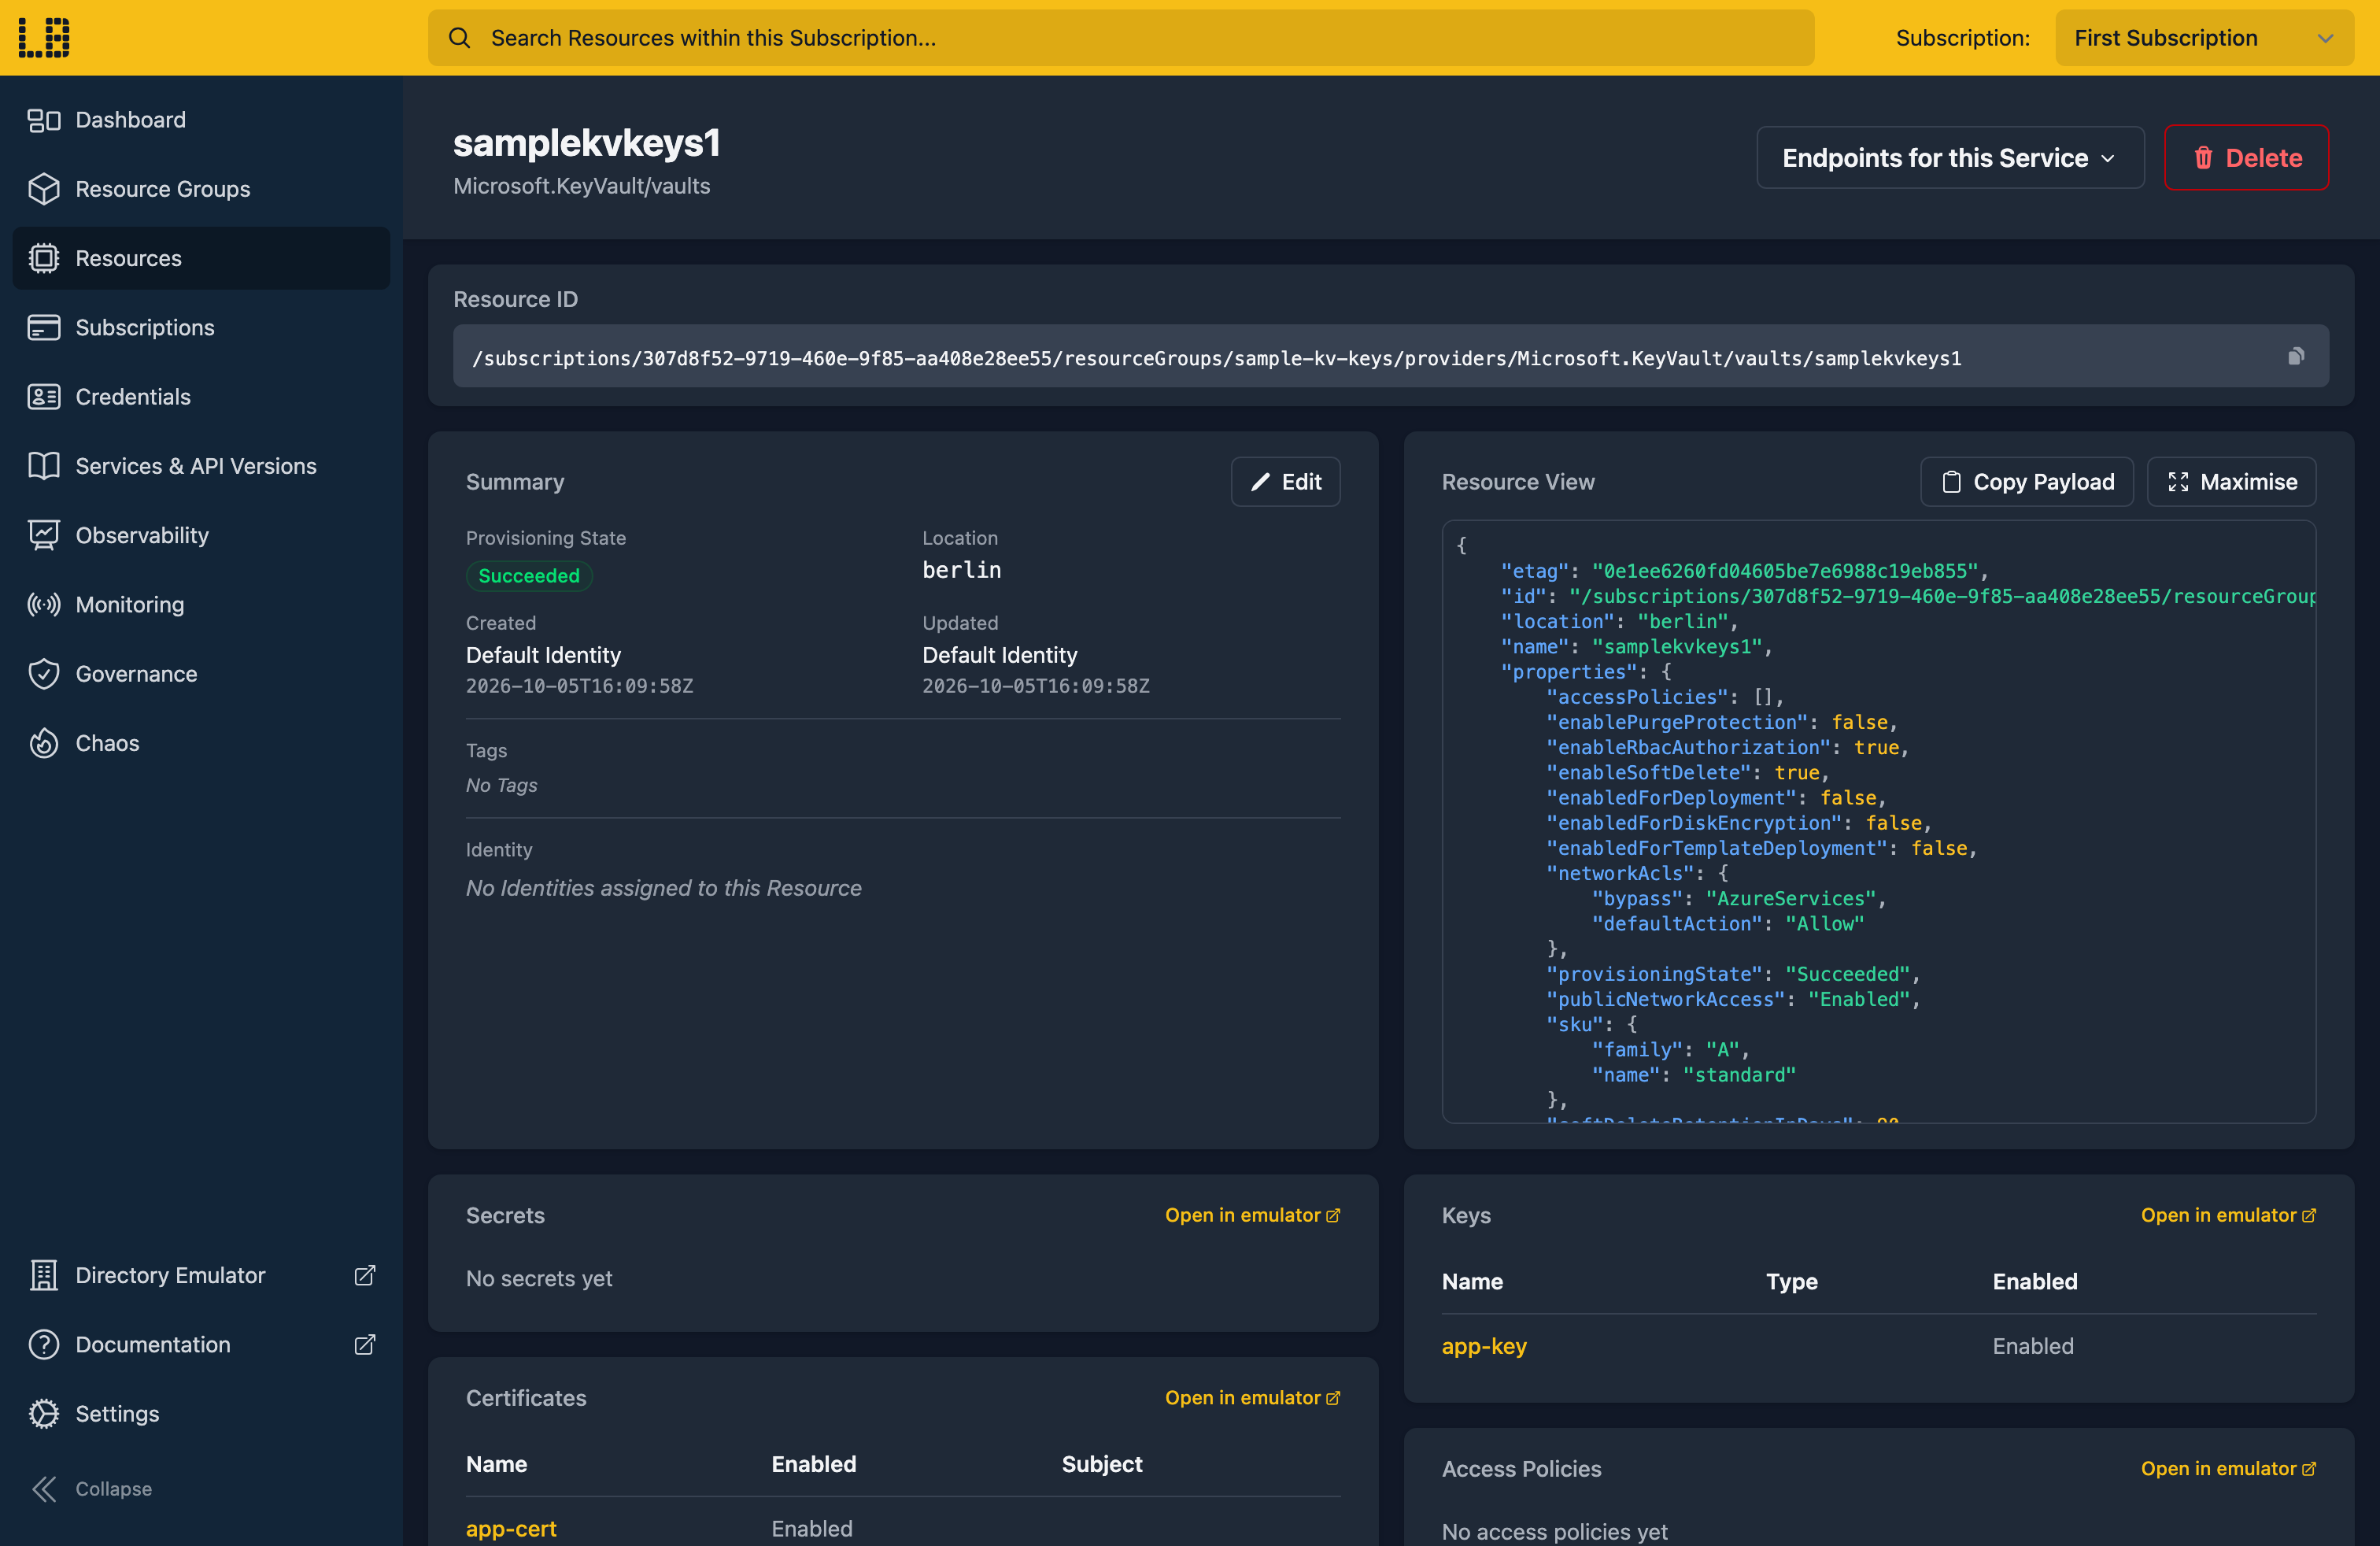
We can see the Key Vault in the Locally Dashboard too:
8. Tidy up
Finally, we can tidy up. To remove the Resource Group and everything within it:
                $


            locally run az group delete -n sample-kv-keys --yes
As in Azure, that soft-deletes the vault rather than removing it outright, so its name stays reserved:
                $


            locally run az keyvault list-deleted --query "[?name=='samplekvkeys1'].{Name:name, PurgeDate:properties.scheduledPurgeDate}" -o table
Name           PurgeDate
-------------  -------------------------
samplekvkeys1  2027-01-03T15:46:39+00:00
Creating another vault called samplekvkeys1 fails until the deleted one is purged. To purge it, along with its keys and certificates:
                $


            locally run az keyvault purge --name samplekvkeys1
Note
Doing this with other tooling
Whilst this guide used the Azure CLI, keys and certificates work the same way through any of the tooling that Locally supports - azurerm_key_vault_key and azurerm_key_vault_certificate in HashiCorp Terraform or OpenTofu, or Pulumi.
The same is true of your application: point the Azure SDK for .NET, Go or Python at the vaultUri above, and its key, crypto and certificate clients work against Locally as they would against Azure.
Next steps
To give an app access to a vault without credentials, see Managed Identity. To see how Locally enforces role-based access control, see Role Assignments.
Should you encounter any issues, please take a look at the troubleshooting section.
Sign in during Public Preview to get the Team plan free, plus an early-adopter discount when we launch. Sign in
