Provisioning a MySQL Flexible Server
Sign in during Public Preview to get the Team plan free, plus an early-adopter discount when we launch. Sign in
Provisioning a MySQL Flexible Server
This guide shows you how to provision an Azure Database for MySQL Flexible Server against Locally, add a database to it, and then connect with the mysql client to create and query a table. Locally runs a real MySQL server for it, so anything that talks MySQL can use it.
Before you start
- The Azure CLI (
az) installed. - Locally installed, with Locally Setup completed.
- Either Docker or Podman installed and running - Locally uses it to run the MySQL server.
- The
mysqlclient installed, to connect to the server in step 6.
1. Start Locally
Firstly, we need to launch Locally which we can do from a terminal by running:
                $


            locally build
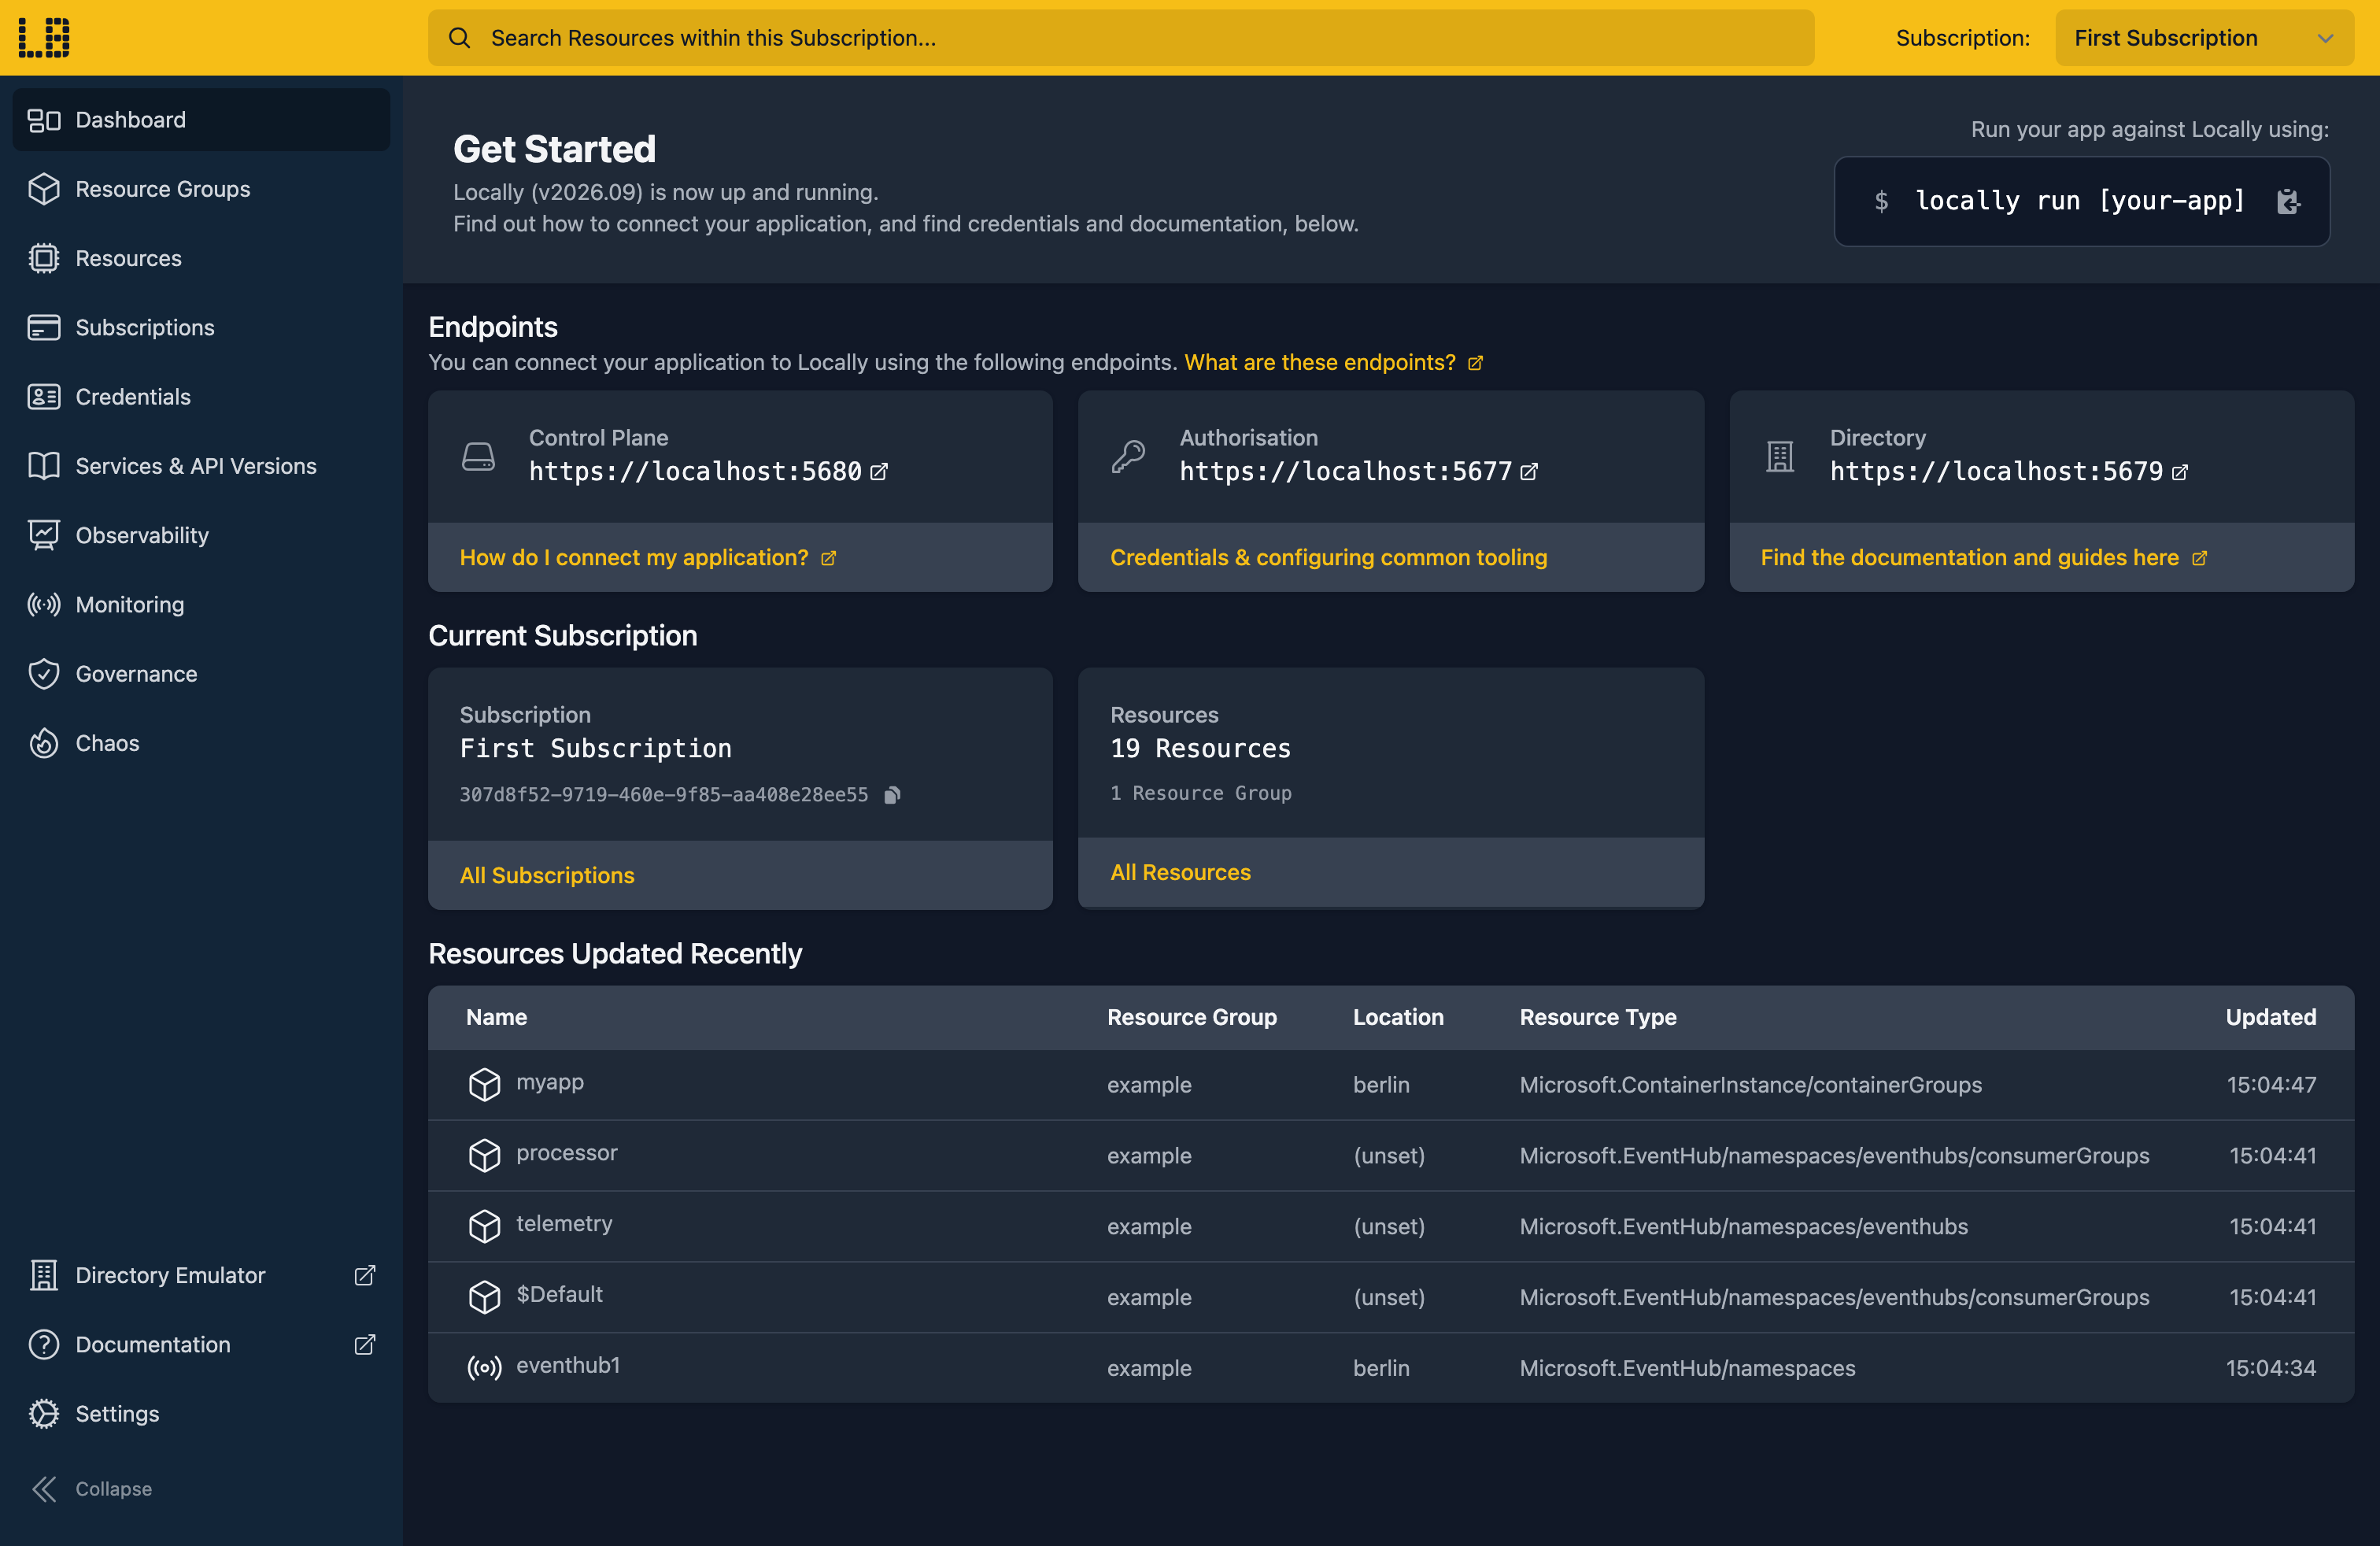
Once Locally has started, the Locally Dashboard will open automatically:
2. Create a Resource Group
Next we can create the Resource Group to hold the server:
                $


            locally run az group create -n sample-mysql -l berlin
There's two things to note here:
- The Azure CLI supports Automatic Configuration, meaning that it can automatically be configured to work against Locally just by prefixing commands with
locally run. - Locally intentionally uses a different set of locations to Azure as a safety precaution, so that you can be confident you're deploying against Locally rather than regular Azure. You can also configure Locally to use the Azure locations too, but you'll want to be extra sure that you're prefixing commands with
locally runwhen you do.
3. Create the Flexible Server
With the Resource Group in place, we can create the server, along with the admin login we'll connect with later:
                $


            locally run az mysql flexible-server create -g sample-mysql -n samplemysqldocs2 -l berlin --admin-user sampleadmin --admin-password 'Sample-Passw0rd!' --yes
Note
This takes a few seconds while Locally starts the MySQL server, and then returns:
{
  "connectionString": "mysql flexibleserverdb --host samplemysqldocs2.gondola.locally:58846 --user sampleadmin --password=Sample-Passw0rd!",
  "databaseName": "flexibleserverdb",
  "firewallName": "FirewallIPAddress_2026-10-1_11-14-58",
  "host": "samplemysqldocs2.gondola.locally:58846",
  "id": "/subscriptions/307d8f52-9719-460e-9f85-aa408e28ee55/resourceGroups/sample-mysql/providers/Microsoft.DBforMySQL/flexibleServers/samplemysqldocs2",
  "location": "berlin",
  "password": "Sample-Passw0rd!",
  "resourceGroup": "sample-mysql",
  "skuname": "Standard_B1ms",
  "username": "sampleadmin",
  "version": "8.0.21"
}
As it does in Azure, the CLI also adds a firewall rule for your IP address and creates a database called flexibleserverdb. We'll add one of our own next.
4. Create a database
To create a database called inventory on the server:
                $


            locally run az mysql flexible-server db create -g sample-mysql -s samplemysqldocs2 -d inventory
Which gives us:
{
  "note": "some fields skipped for brevity",

  "charset": "utf8mb4",
  "collation": "utf8mb4_0900_ai_ci",
  "id": "/subscriptions/307d8f52-9719-460e-9f85-aa408e28ee55/resourceGroups/sample-mysql/providers/Microsoft.DBforMySQL/flexibleServers/samplemysqldocs2/databases/inventory",
  "name": "inventory",
  "resourceGroup": "sample-mysql",
  "type": "Microsoft.DBforMySQL/flexibleServers/databases"
}
We can list the databases on the server with:
                $


            locally run az mysql flexible-server db list -g sample-mysql -s samplemysqldocs2 --query "[].{Name:name, Charset:charset}" -o table
Name              Charset
----------------  ---------
flexibleserverdb  utf8mb4
inventory         utf8mb4
5. Find the server's address
To connect, we need the server's address, which is in fullyQualifiedDomainName:
                $


            locally run az mysql flexible-server show -g sample-mysql -n samplemysqldocs2 --query "{name:name, state:state, version:version, admin:administratorLogin, fqdn:fullyQualifiedDomainName}"
Which gives us:
{
  "admin": "sampleadmin",
  "fqdn": "samplemysqldocs2.gondola.locally:58846",
  "name": "samplemysqldocs2",
  "state": "Ready",
  "version": "8.0.21"
}
There's one difference from Azure here. In Azure every server listens on port 3306, so fullyQualifiedDomainName is just a hostname. Locally gives each server its own port, picked when the server starts, so it adds the port to the end as host:port. The hostname itself is resolved by Locally's own DNS server.
Since the port can change, it's easiest to read the address into a variable rather than copy it:
                $


            export MYSQL_ENDPOINT=$(locally run az mysql flexible-server show -g sample-mysql -n samplemysqldocs2 --query fullyQualifiedDomainName -o tsv)
And check what we got:
                $


            echo "$MYSQL_ENDPOINT"
samplemysqldocs2.gondola.locally:588466. Connect with mysql
The mysql client takes the host and port separately, so we split $MYSQL_ENDPOINT at the colon. Let's create a table in the inventory database and add a couple of rows:
                $


            mysql -h "${MYSQL_ENDPOINT%:*}" -P "${MYSQL_ENDPOINT##*:}" -u sampleadmin -p'Sample-Passw0rd!' --ssl-mode=REQUIRED inventory -e "CREATE TABLE items (id INT PRIMARY KEY, name VARCHAR(50)); INSERT INTO items VALUES (1, 'widget'), (2, 'gadget');"
Then read them back:
                $


            mysql -h "${MYSQL_ENDPOINT%:*}" -P "${MYSQL_ENDPOINT##*:}" -u sampleadmin -p'Sample-Passw0rd!' --ssl-mode=REQUIRED inventory -t -e "SELECT * FROM items;"
Which prints:
mysql: [Warning] Using a password on the command line interface can be insecure.
+----+--------+
| id | name   |
+----+--------+
|  1 | widget |
|  2 | gadget |
+----+--------+
The warning is just mysql pointing out that the password is on the command line, which is fine for a sample like this one.
Note
--ssl-mode=REQUIRED. With --ssl-mode=DISABLED the connection is refused.The connectionString the CLI printed in step 3 puts the port on the end of --host, which mysql won't accept - so use the separate -h and -P flags as above.
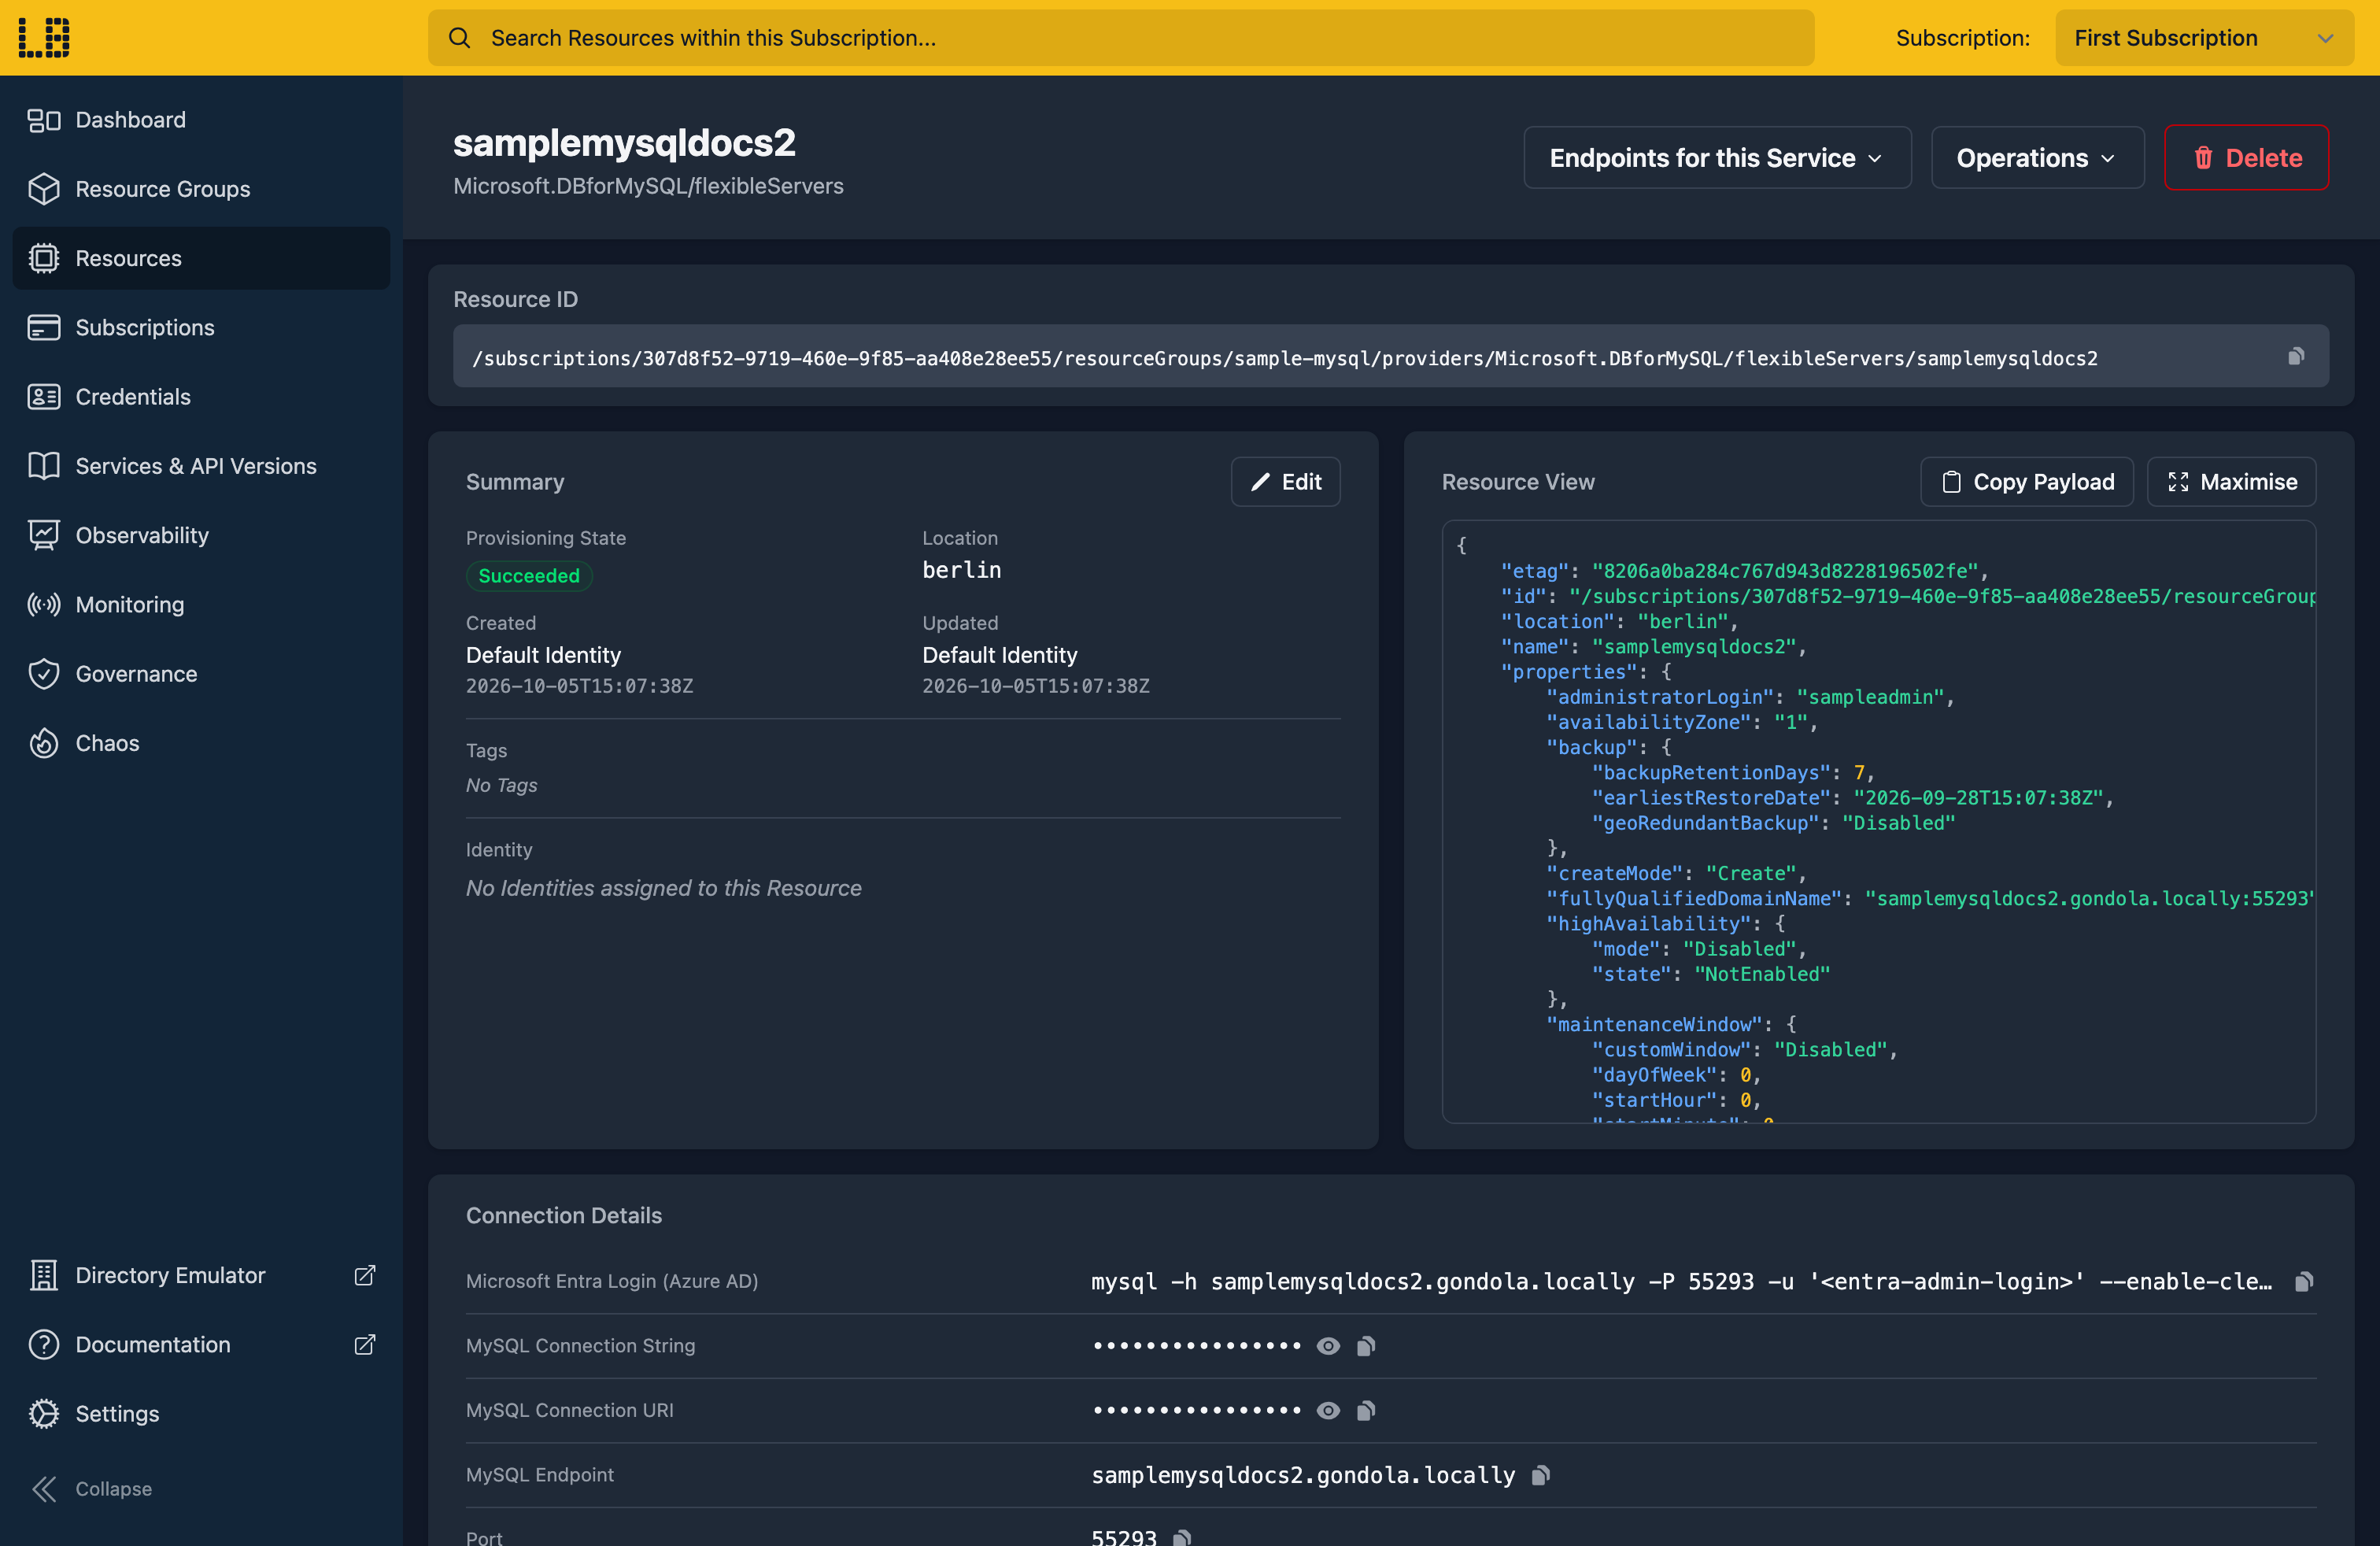
We can see the MySQL Flexible Server in the Locally Dashboard too:
Doing this with other tooling
Whilst this guide used the Azure CLI, MySQL Flexible Servers work the same way through any of the tooling that Locally supports - a Microsoft.DBforMySQL/flexibleServers resource in HashiCorp Terraform or OpenTofu, Pulumi, Bicep or an ARM Template all provision against Locally in the same way, with only the location changed.
Your application connects the same way too - any MySQL driver works, as long as it reads the port from fullyQualifiedDomainName rather than assuming 3306.
Next steps
If you're using PostgreSQL instead, see PostgreSQL Flexible Server. To host an app that connects to the server, see Web App.
Should you encounter any issues, please take a look at the troubleshooting section.
Sign in during Public Preview to get the Team plan free, plus an early-adopter discount when we launch. Sign in
