Provisioning an App Configuration Store
Sign in during Public Preview to get the Team plan free, plus an early-adopter discount when we launch. Sign in
Provisioning an App Configuration Store
This guide shows you how to provision an App Configuration store against Locally, and to put configuration and feature flags into it. As with the other guides we're going to use the Azure CLI, but the same resources can be provisioned with HashiCorp Terraform, Pulumi or Bicep too.
Before you start
- The Azure CLI (
az) installed. - Locally installed, with Locally Setup completed.
1. Start Locally
Firstly, we need to launch Locally which we can do from a terminal by running:
                $


            locally build
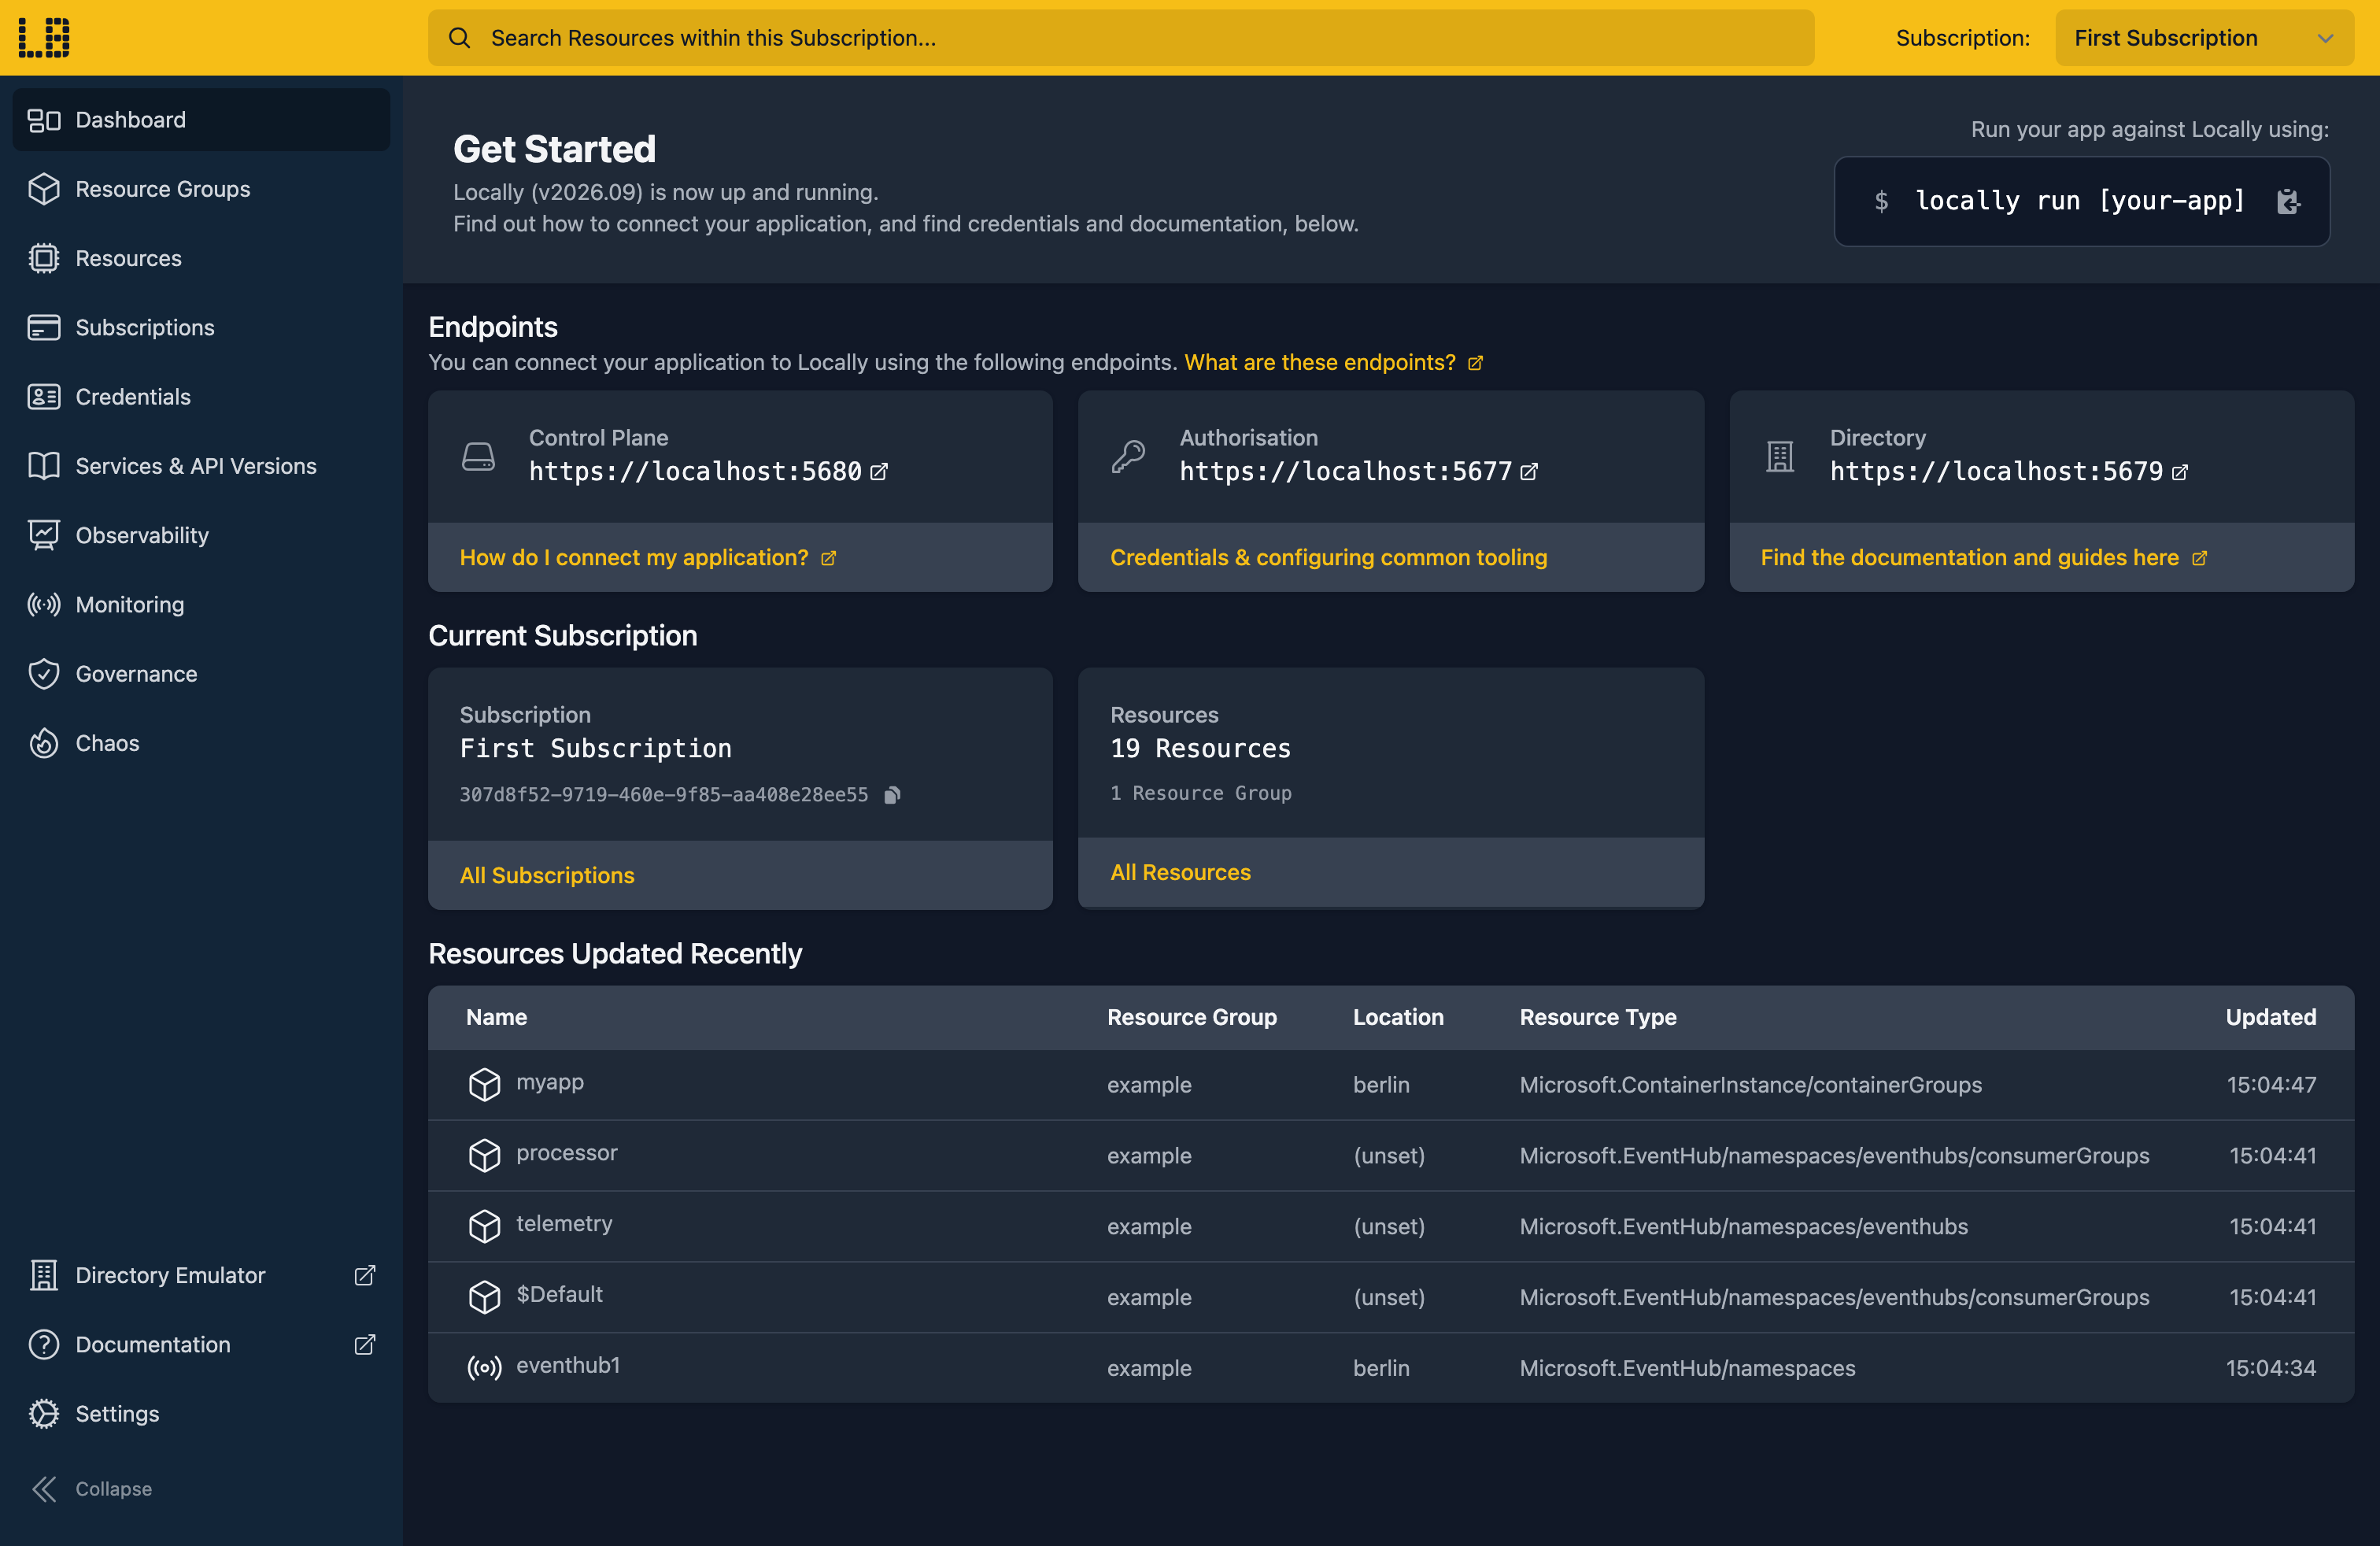
Once Locally has started, the Locally Dashboard will open automatically:
2. Create a Resource Group
Next we can create the Resource Group to hold the store:
                $


            locally run az group create -n sample-resources -l berlin
There's two things to note here:
- The Azure CLI supports Automatic Configuration, meaning that it can automatically be configured to work against Locally just by prefixing commands with
locally run. - Locally intentionally uses a different set of locations to Azure as a safety precaution, so that you can be confident you're deploying against Locally rather than regular Azure. You can also configure Locally to use the Azure locations too, but you'll want to be extra sure that you're prefixing commands with
locally runwhen you do.
3. Create the App Configuration store
With the Resource Group in place, we can create the App Configuration store:
                $


            locally run az appconfig create -g sample-resources -n sampleappconf1 -l berlin --sku Free
{
  "note": "some fields skipped for brevity",

  "endpoint": "https://sampleappconf1.config.locally:5664",
  "location": "berlin",
  "name": "sampleappconf1",
  "provisioningState": "Succeeded",
  "resourceGroup": "sample-resources",
  "sku": {
    "name": "Free"
  },
  "type": "Microsoft.AppConfiguration/configurationStores"
}
Note
That config.locally hostname is served by Locally's own DNS server and points at the App Configuration Emulator running on your machine.
4. Get the connection string
An application reaching the store needs a connection string, which comes from the store's access keys rather than from the store itself:
                $


            locally run az appconfig credential list -g sample-resources -n sampleappconf1 --query "[].{Name:name, ReadOnly:readOnly}" -o table
Name                 ReadOnly
-------------------  ----------
Primary              False
Secondary            False
Primary Read Only    True
Secondary Read Only  True
Four keys, the same set Azure gives you: a primary and secondary pair for reading and writing, and a read-only pair for the common case of an application that only ever reads its configuration. To get the connection string for one of them:
                $


            locally run az appconfig credential list -g sample-resources -n sampleappconf1 --query "[0].connectionString" -o tsv
Endpoint=https://sampleappconf1.config.locally:5664;Id=c91ecf85eee518ded884;Secret=U5yqWdmjhj7dBP8UvV4qVt4dMQzLzz/98OrsT88QzgU=Note
5. Set a key-value
A store with nothing in it isn't much use, so next we'll set a key-value:
                $


            locally run az appconfig kv set -n sampleappconf1 --key AppName --value "Sample App" --yes
{
  "contentType": "",
  "key": "AppName",
  "label": null,
  "locked": false,
  "value": "Sample App"
}
Keys are conventionally namespaced with a colon - Sample:Database:Timeout rather than Timeout - which is what lets an application load a whole section at once:
                $


            locally run az appconfig kv set -n sampleappconf1 --key "Sample:Database:Timeout" --value 30 --yes
And to see what's in the store:
                $


            locally run az appconfig kv list -n sampleappconf1 --query "[].{Key:key, Value:value, Label:label}" -o table
Key                      Value       Label
-----------------------  ----------  -------
AppName                  Sample App
Sample:Database:Timeout  30
6. Use labels per environment
The other half of App Configuration is labels, which is how the same key holds a different value per environment. A key set without a label - as both of ours were - has the null label, and a labelled one sits alongside it rather than replacing it:
                $


            locally run az appconfig kv set -n sampleappconf1 --key "Sample:Database:Timeout" --value 5 --label development --yes
                $


            locally run az appconfig kv list -n sampleappconf1 --key "Sample:Database:Timeout" --label "*" --query "[].{Key:key, Value:value, Label:label}" -o table
Key                      Value    Label
-----------------------  -------  -----------
Sample:Database:Timeout  30
Sample:Database:Timeout  5        development
Note
--label "*" is what asks for every label. Without it you get the null-label value only, which is the behaviour that surprises people the first time - a value they set is there, it just isn't the one they asked for.7. Add a feature flag
App Configuration also stores feature flags, which are key-values with a particular shape that the SDKs know how to read:
                $


            locally run az appconfig feature set -n sampleappconf1 --feature Beta --description "The new checkout flow" --yes
{
  "description": "The new checkout flow",
  "key": "Beta",
  "label": null,
  "locked": false,
  "name": "Beta",
  "state": "off"
}
A flag starts off, which is the right default - it means deploying the flag and enabling it are two separate decisions. Turning it on is its own command:
                $


            locally run az appconfig feature enable -n sampleappconf1 --feature Beta --yes
                $


            locally run az appconfig feature list -n sampleappconf1 --query "[].{Name:name, State:state, Description:description}" -o table
Name    State    Description
------  -------  ---------------------
Beta    on       The new checkout flow
Being able to flip a flag and watch your application pick it up - without a shared store, and without coordinating with anyone else using it - is most of the reason to run App Configuration locally at all.
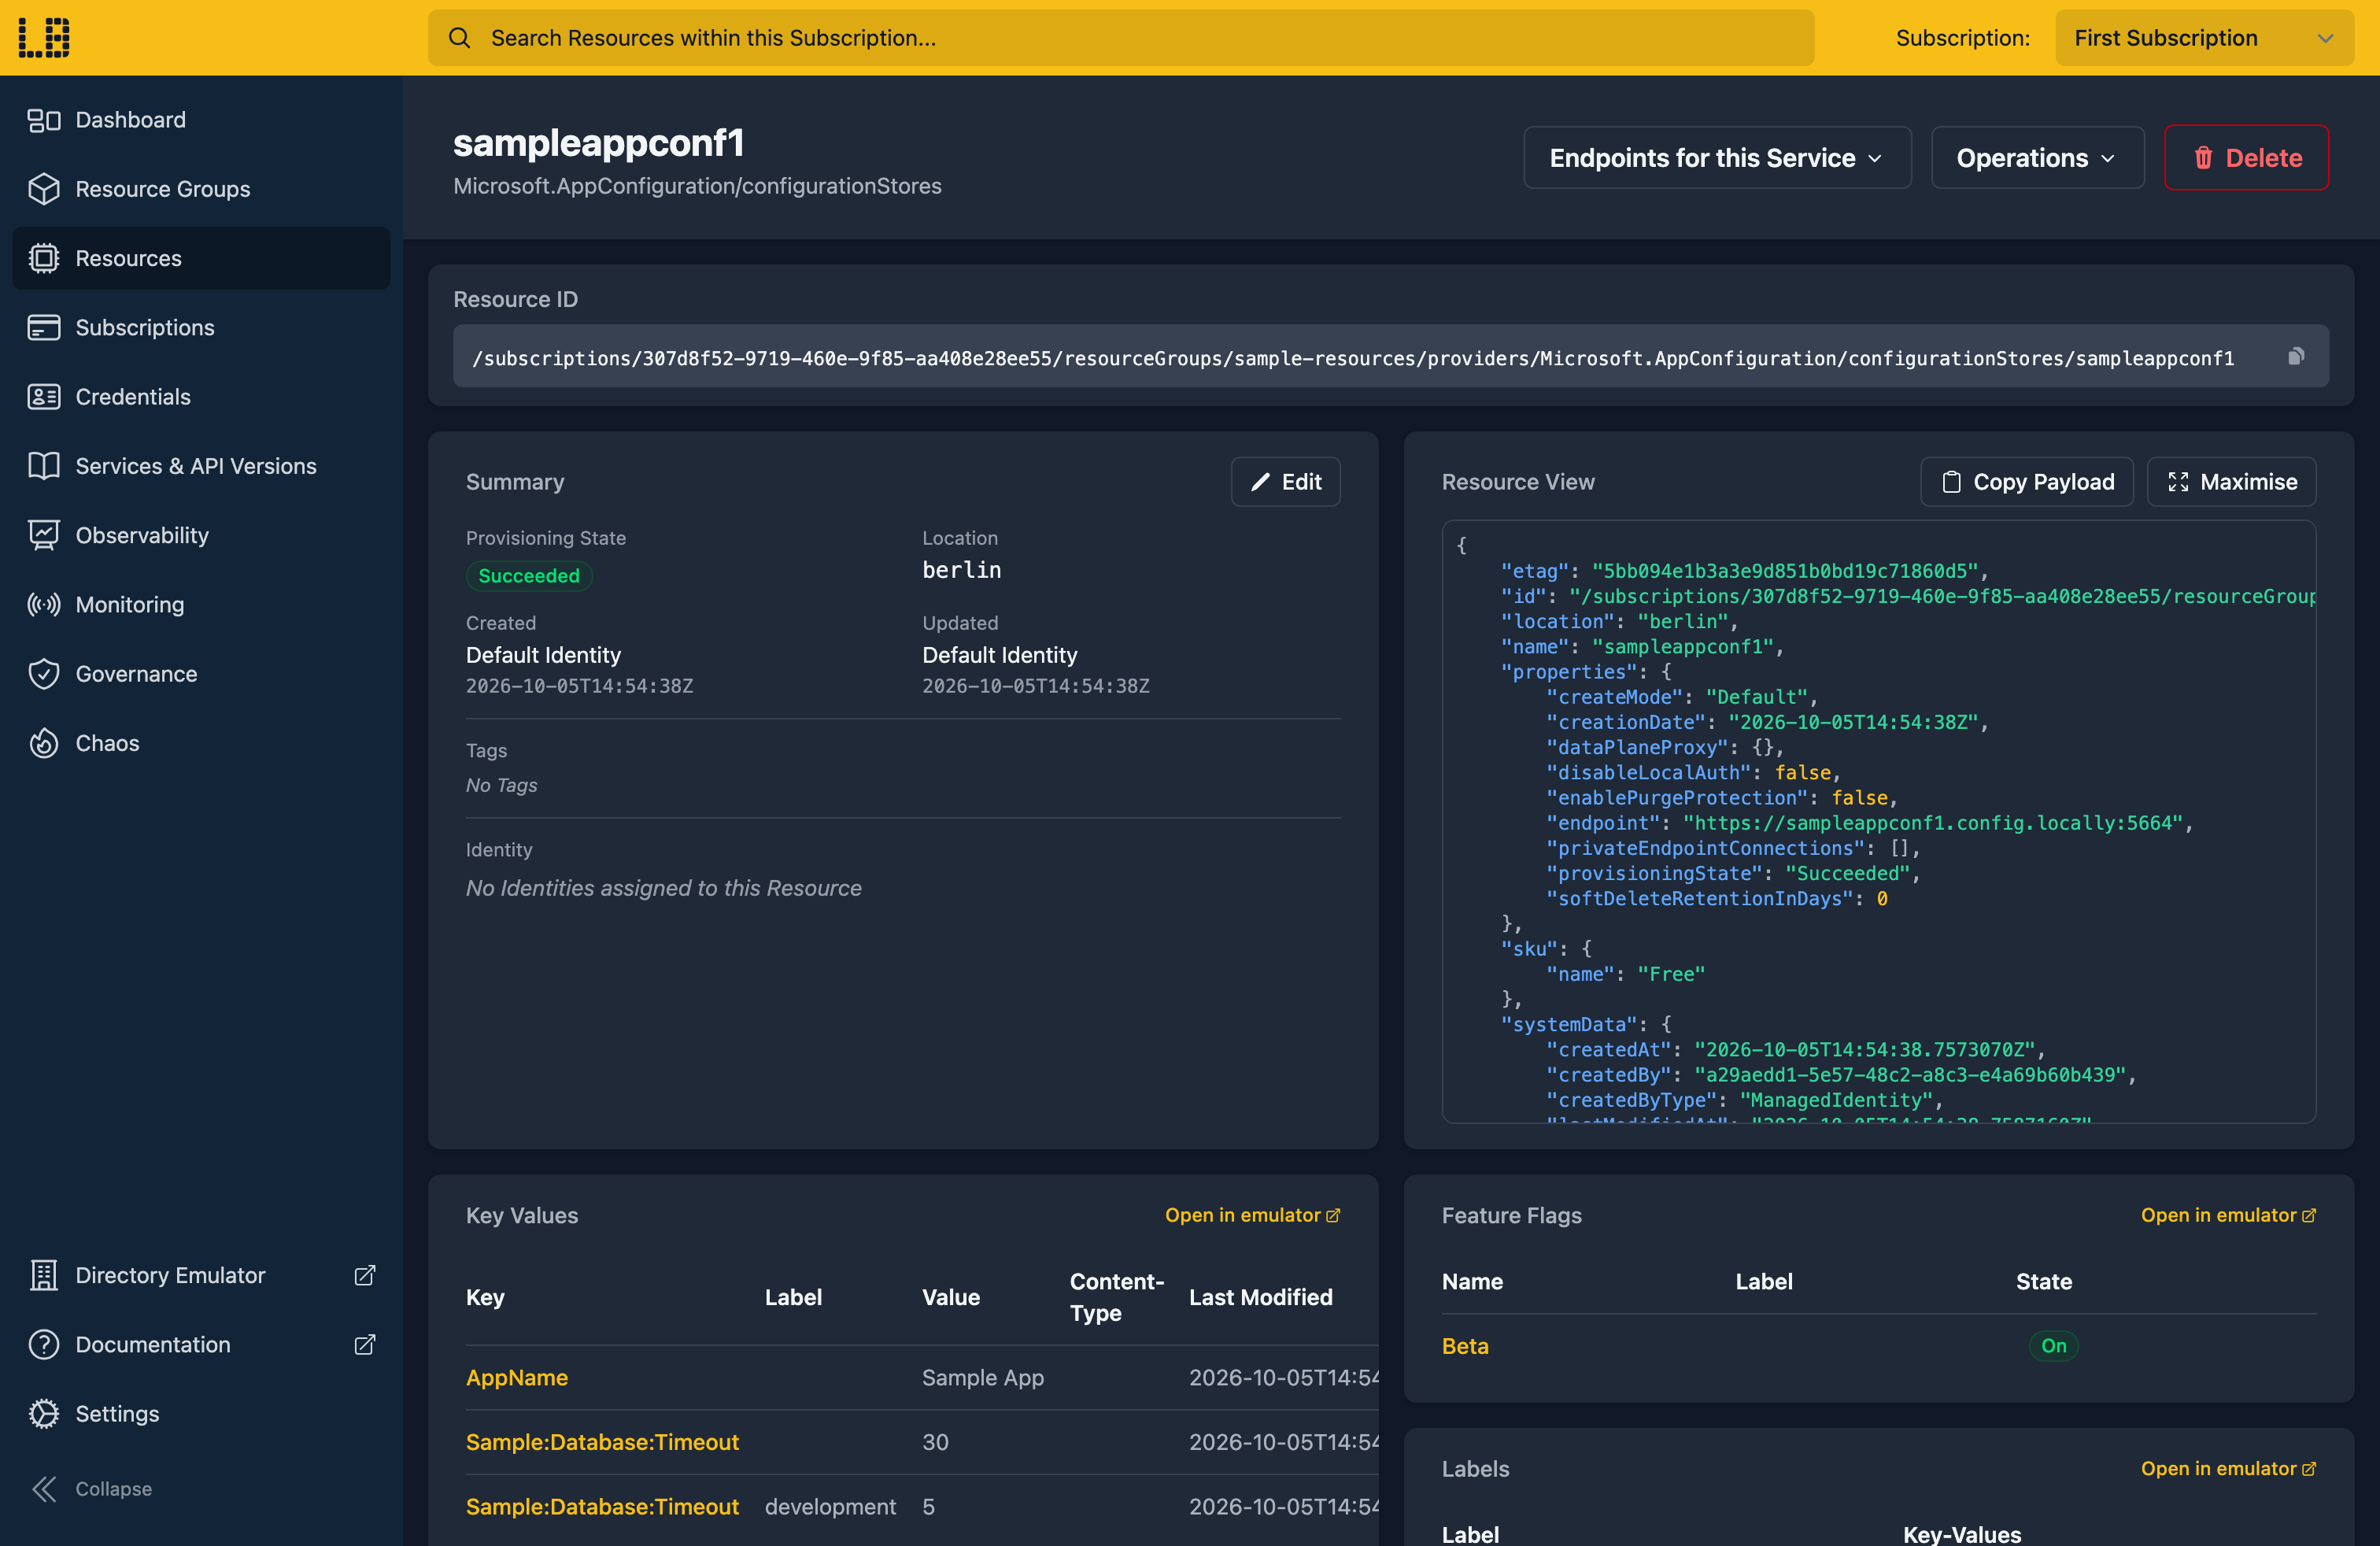
We can see the App Configuration store in the Locally Dashboard too:
8. Tidy up
Finally, we can tidy up. To remove the Resource Group and everything within it:
                $


            locally run az group delete -n sample-resources --yes
There's nothing billable to clean up, since everything ran on your machine, but it's still worth checking your teardown scripts work here before you run them against Azure.
Doing this with other tooling
Whilst this guide used the Azure CLI, App Configuration works the same way through any of the tooling that Locally supports - a Microsoft.AppConfiguration/configurationStores resource in HashiCorp Terraform or OpenTofu, Pulumi, Bicep or an ARM Template all provision against Locally in the same way, with only the location changed.
The data plane is the same story: point the Azure App Configuration SDKs at the connection string above and they read and write key-values and feature flags against Locally.
Next steps
Key-values can reference secrets in a Key Vault, which the configuration providers resolve for you. The App Configuration Emulator covers what else the data plane supports.
Should you encounter any issues, please take a look at the troubleshooting section.
Sign in during Public Preview to get the Team plan free, plus an early-adopter discount when we launch. Sign in
