Provisioning a Virtual Machine
Sign in during Public Preview to get the Team plan free, plus an early-adopter discount when we launch. Sign in
Provisioning a Virtual Machine
This guide shows you how to provision a Linux Virtual Machine against Locally, set it up with cloud-init, and then run a command on it to see what cloud-init did. As with the other guides we're going to use the Azure CLI, but the same resources can be provisioned with HashiCorp Terraform, Pulumi or Bicep too.
Before you start
- The Azure CLI (
az) installed. - Locally installed, with Locally Setup completed.
- Docker or Podman installed and running, since each Virtual Machine is backed by a container on your machine.
- Internet access, so the Virtual Machine can install cloud-init from the Ubuntu archive.
Network is needed because the Azure CLI creates a Virtual Network, Network Security Group, Public IP and Network Interface alongside the Virtual Machine.
1. Start Locally
Firstly, we need to launch Locally which we can do from a terminal by running:
                $


            locally build
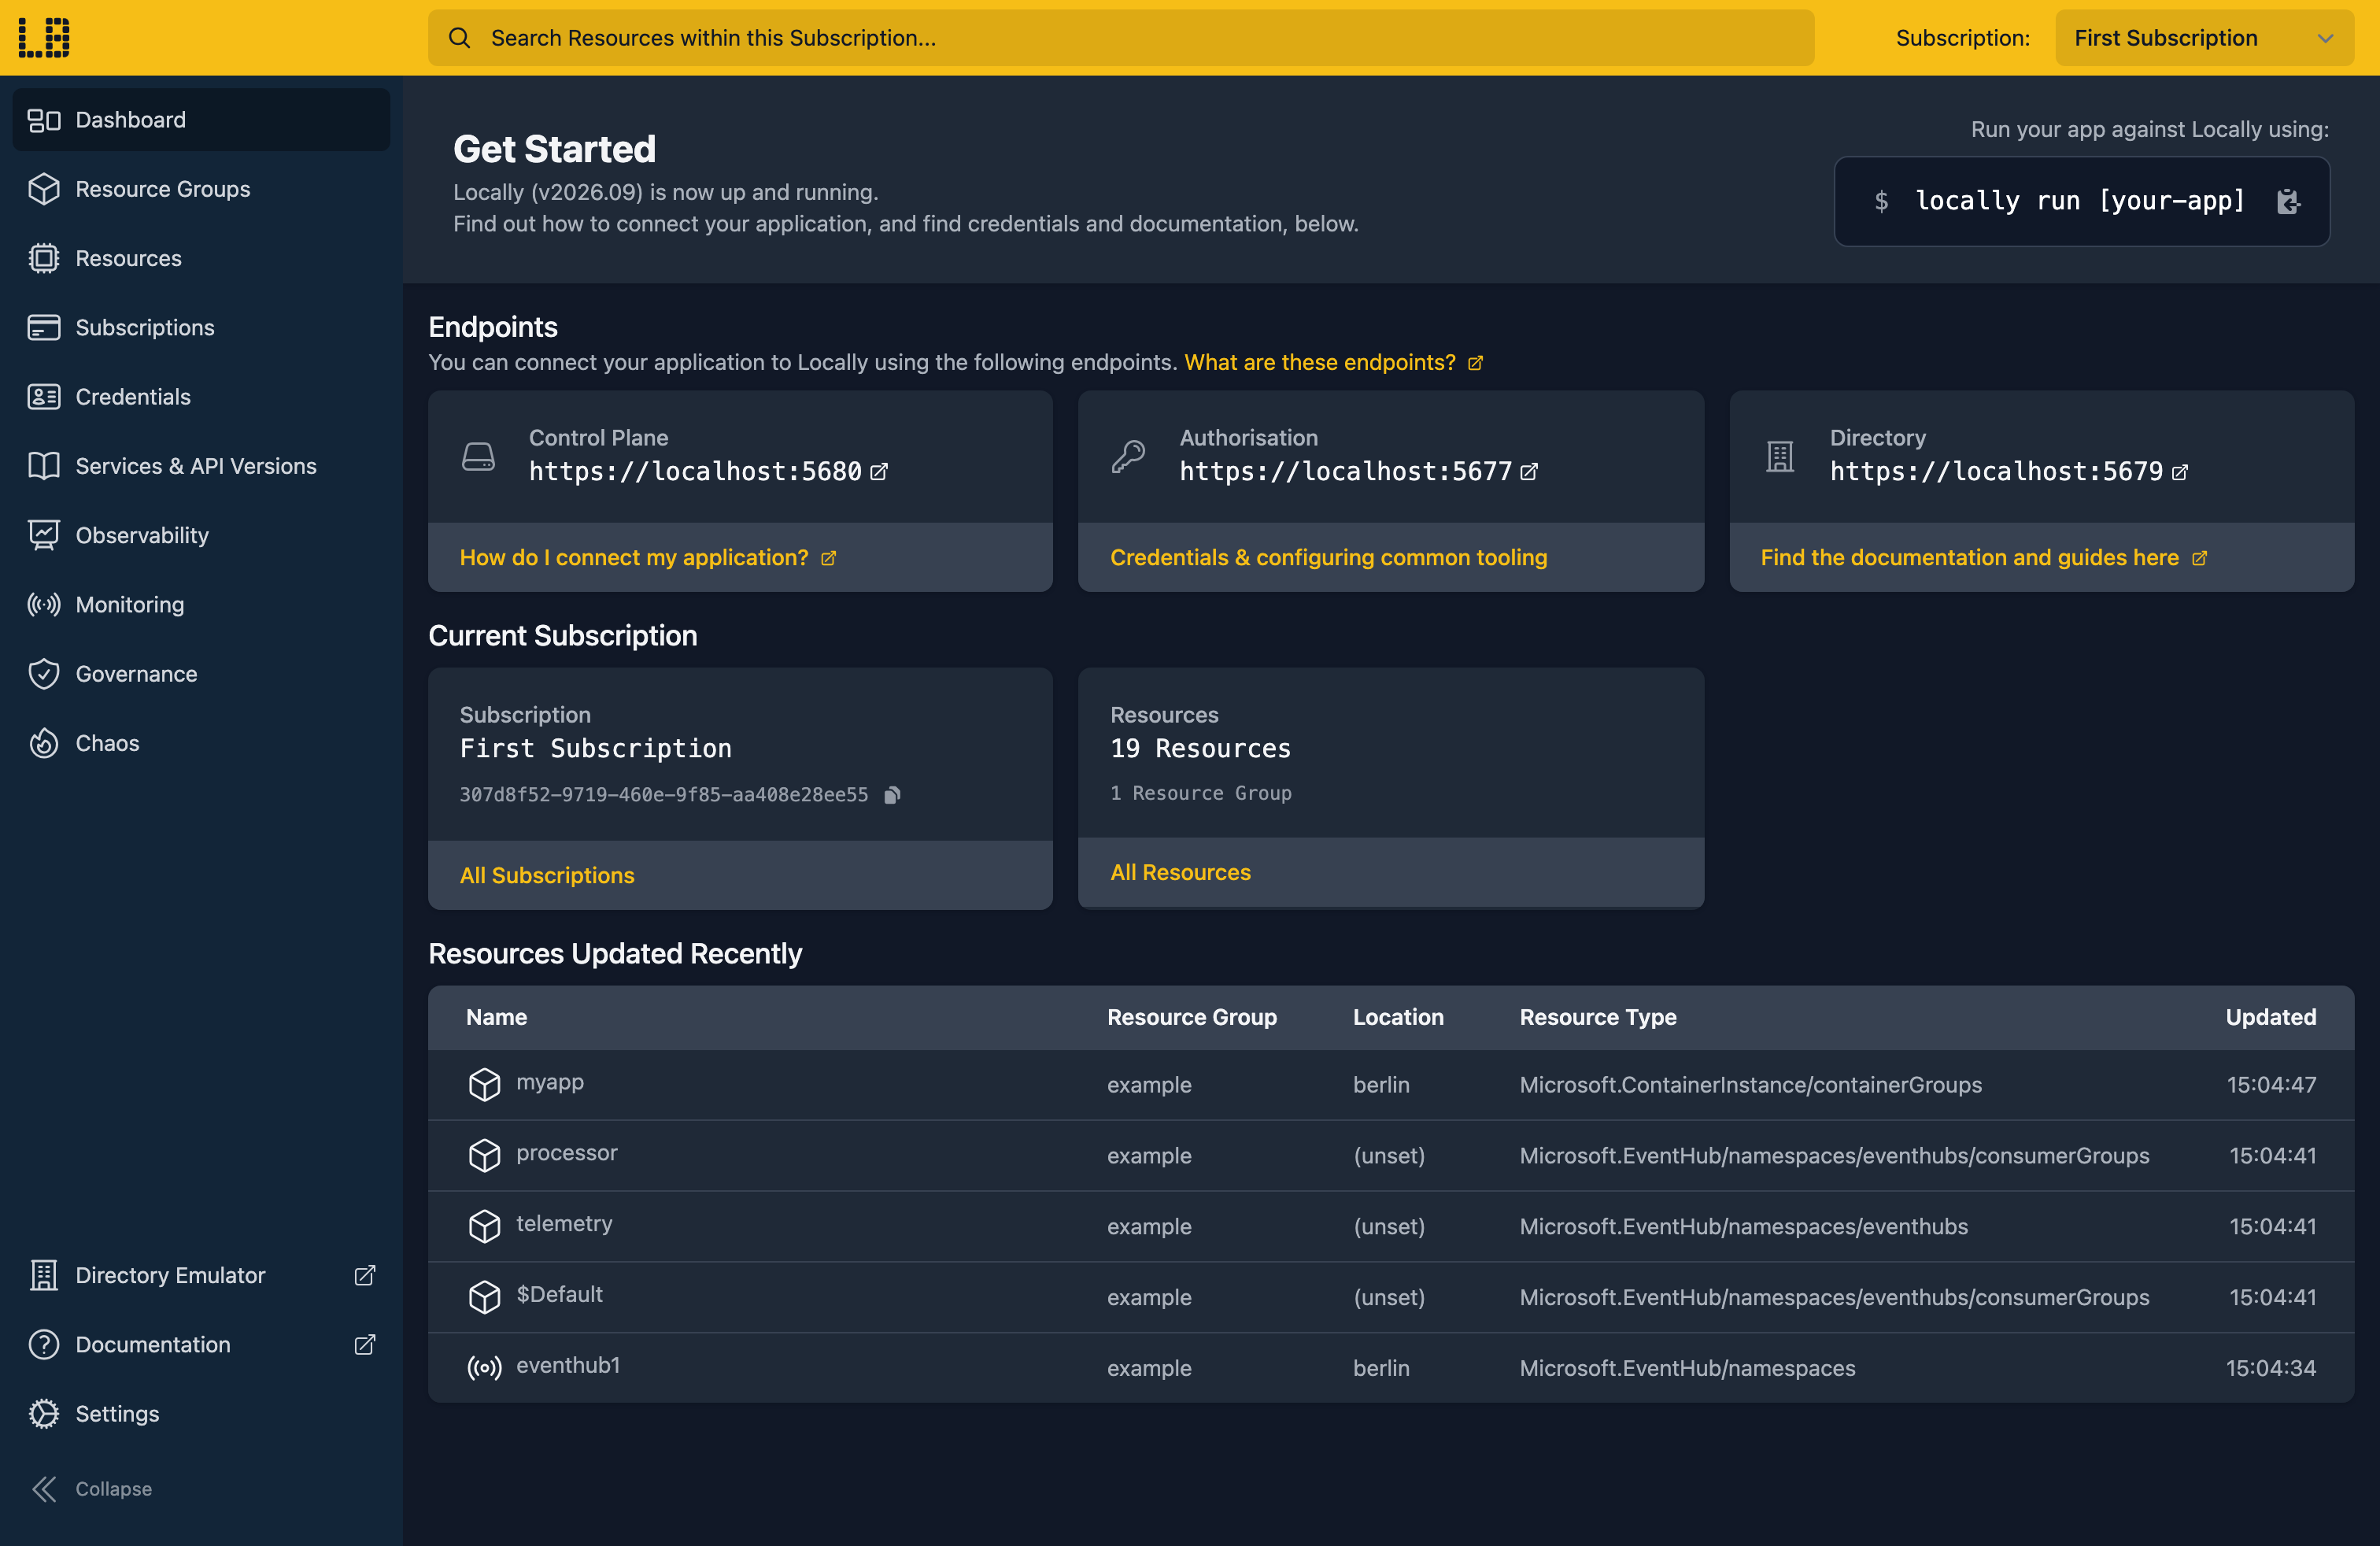
Once Locally has started, the Locally Dashboard will open automatically:
2. Create a Resource Group
Next we can create the Resource Group to hold the Virtual Machine:
                $


            locally run az group create -n sample-vm -l berlin
There's two things to note here:
- The Azure CLI supports Automatic Configuration, meaning that it can automatically be configured to work against Locally just by prefixing commands with
locally run. - Locally intentionally uses a different set of locations to Azure as a safety precaution, so that you can be confident you're deploying against Locally rather than regular Azure. You can also configure Locally to use the Azure locations too, but you'll want to be extra sure that you're prefixing commands with
locally runwhen you do.
3. Write a cloud-init file
We'll give the Virtual Machine some custom data, which cloud-init runs on its first boot. This one just writes a file, so we can check for it later:
                $


            printf '#cloud-config\nwrite_files:\n  - path: /var/www/hello.txt\n    content: |\n      Hello from cloud-init\n' > cloud-init.yaml
Which gives us a cloud-init.yaml containing:
#cloud-config
write_files:
  - path: /var/www/hello.txt
    content: |
      Hello from cloud-init
4. Create the Virtual Machine
Now we can create an Ubuntu Virtual Machine with a Public IP, passing in the cloud-init file as its custom data:
                $


            locally run az vm create -g sample-vm -n docsvm1 --image Ubuntu2404 --size Standard_B1s --admin-username azureuser --admin-password 'Sample-Passw0rd!' --authentication-type password --public-ip-address-dns-name docsvm1 --custom-data cloud-init.yaml
Which returns the Virtual Machine's addresses once it's running:
{
  "fqdns": "docsvm1-berlin.publicip.locally",
  "id": "/subscriptions/307d8f52-9719-460e-9f85-aa408e28ee55/resourceGroups/sample-vm/providers/Microsoft.Compute/virtualMachines/docsvm1",
  "location": "berlin",
  "macAddress": "00-0D-3A-CD-4A-27",
  "powerState": "VM running",
  "privateIpAddress": "10.0.0.5",
  "publicIpAddress": "127.1.0.2",
  "resourceGroup": "sample-vm"
}
The publicip.locally hostname is served by Locally's own DNS server. Behind the Virtual Machine is a container running Ubuntu 24.04 - see the Virtual Machines Emulator for what that does and doesn't cover.
Note
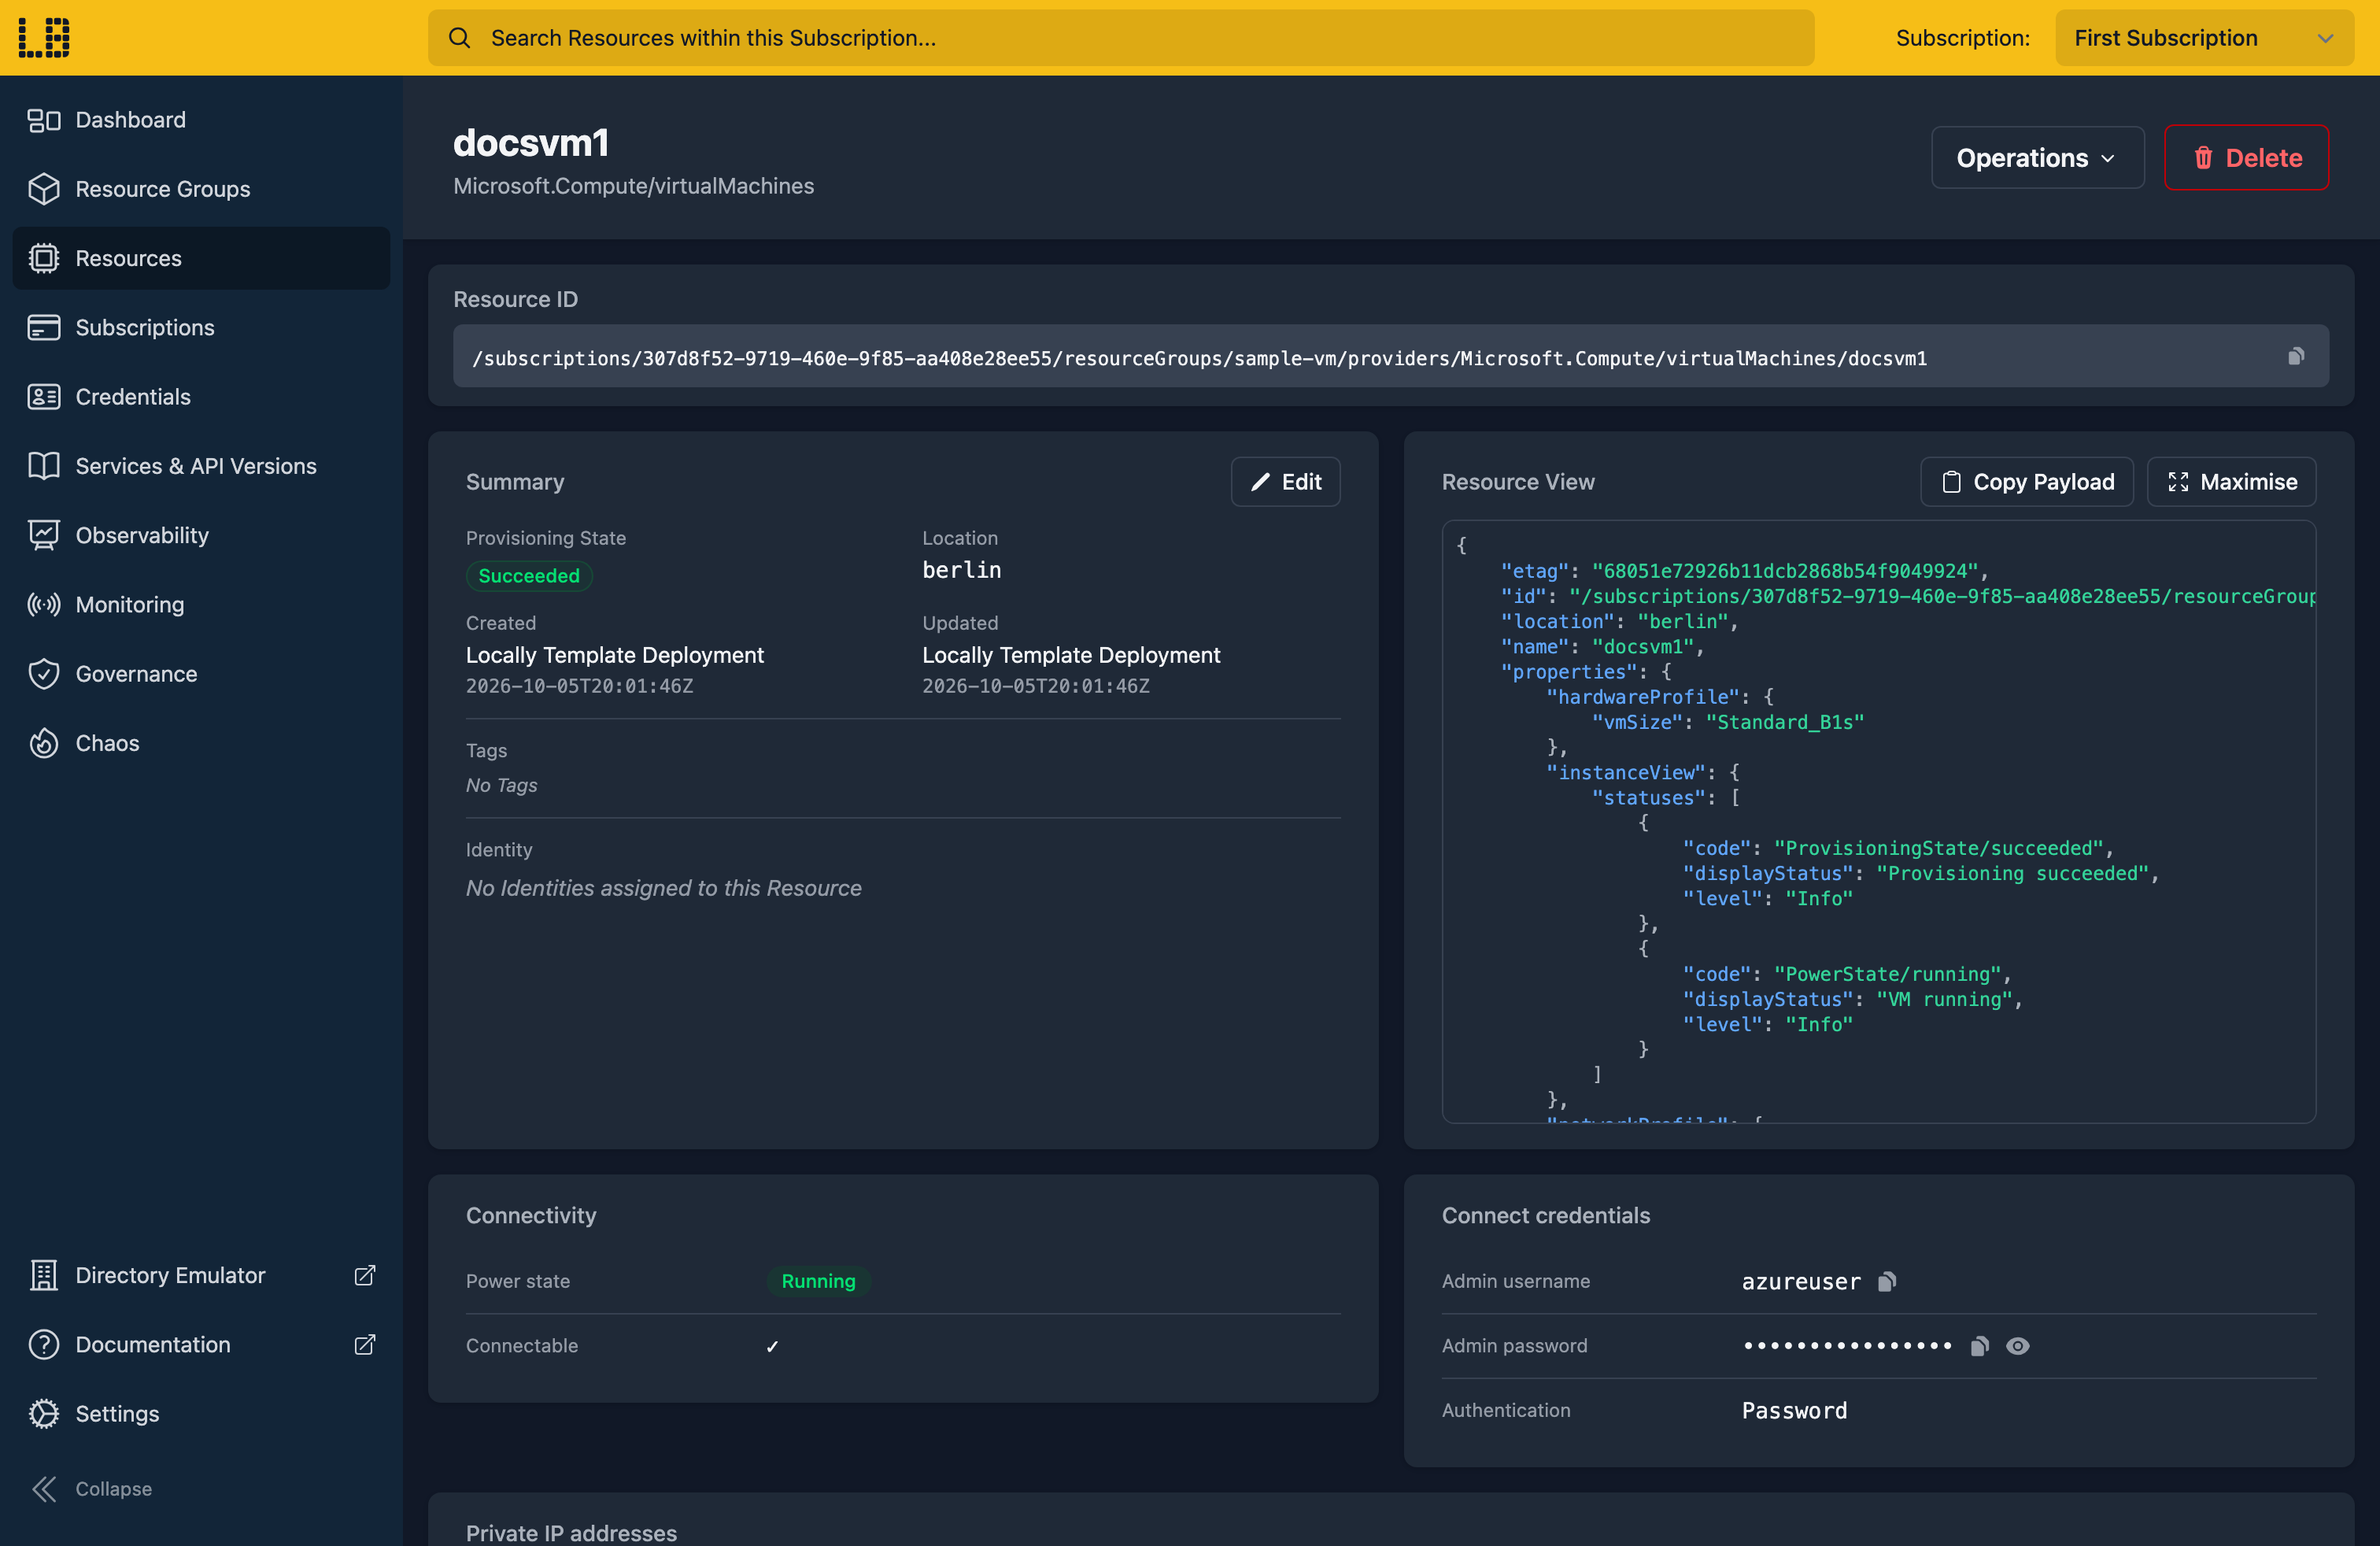
--admin-password and --authentication-type for --ssh-key-values ~/.ssh/id_rsa.pub.We can see the Virtual Machine in the Locally Dashboard too:
5. Wait for cloud-init
As in Azure, the create returns before cloud-init has finished - it carries on in the background. Locally also has to install cloud-init first, so this can take a minute or so. We can check on it with:
                $


            locally run az vm get-instance-view -g sample-vm -n docsvm1 --query "instanceView.statuses[].{Code:code, Status:displayStatus}" -o table
Straight after the create, it's still being installed:
Code                         Status
---------------------------  ----------------------
ProvisioningState/succeeded  Provisioning succeeded
PowerState/running           VM running
CloudInit/installing         Installing cloud-init
Give it a little while and run the same command again, until cloud-init has finished:
Code                         Status
---------------------------  ----------------------
ProvisioningState/succeeded  Provisioning succeeded
PowerState/running           VM running
CloudInit/succeeded          cloud-init finished
If it says cloud-init could not be installed instead, the Virtual Machine couldn't reach the Ubuntu archive - check your machine's internet access, then recreate it.
6. Run a command on the Virtual Machine
Now we can check cloud-init really did its job, by reading the file back with a Run Command:
                $


            locally run az vm run-command invoke -g sample-vm -n docsvm1 --command-id RunShellScript --scripts "cat /var/www/hello.txt && hostname" --query "value[0].message" -o tsv
The script runs inside the Virtual Machine, and we get its real output back:
Hello from cloud-init
docsvm1
7. Connect to the Virtual Machine
Since the Virtual Machine has a Public IP, we can also connect to it using the Locally CLI:
                $


            locally connect --virtual-machine docsvm1
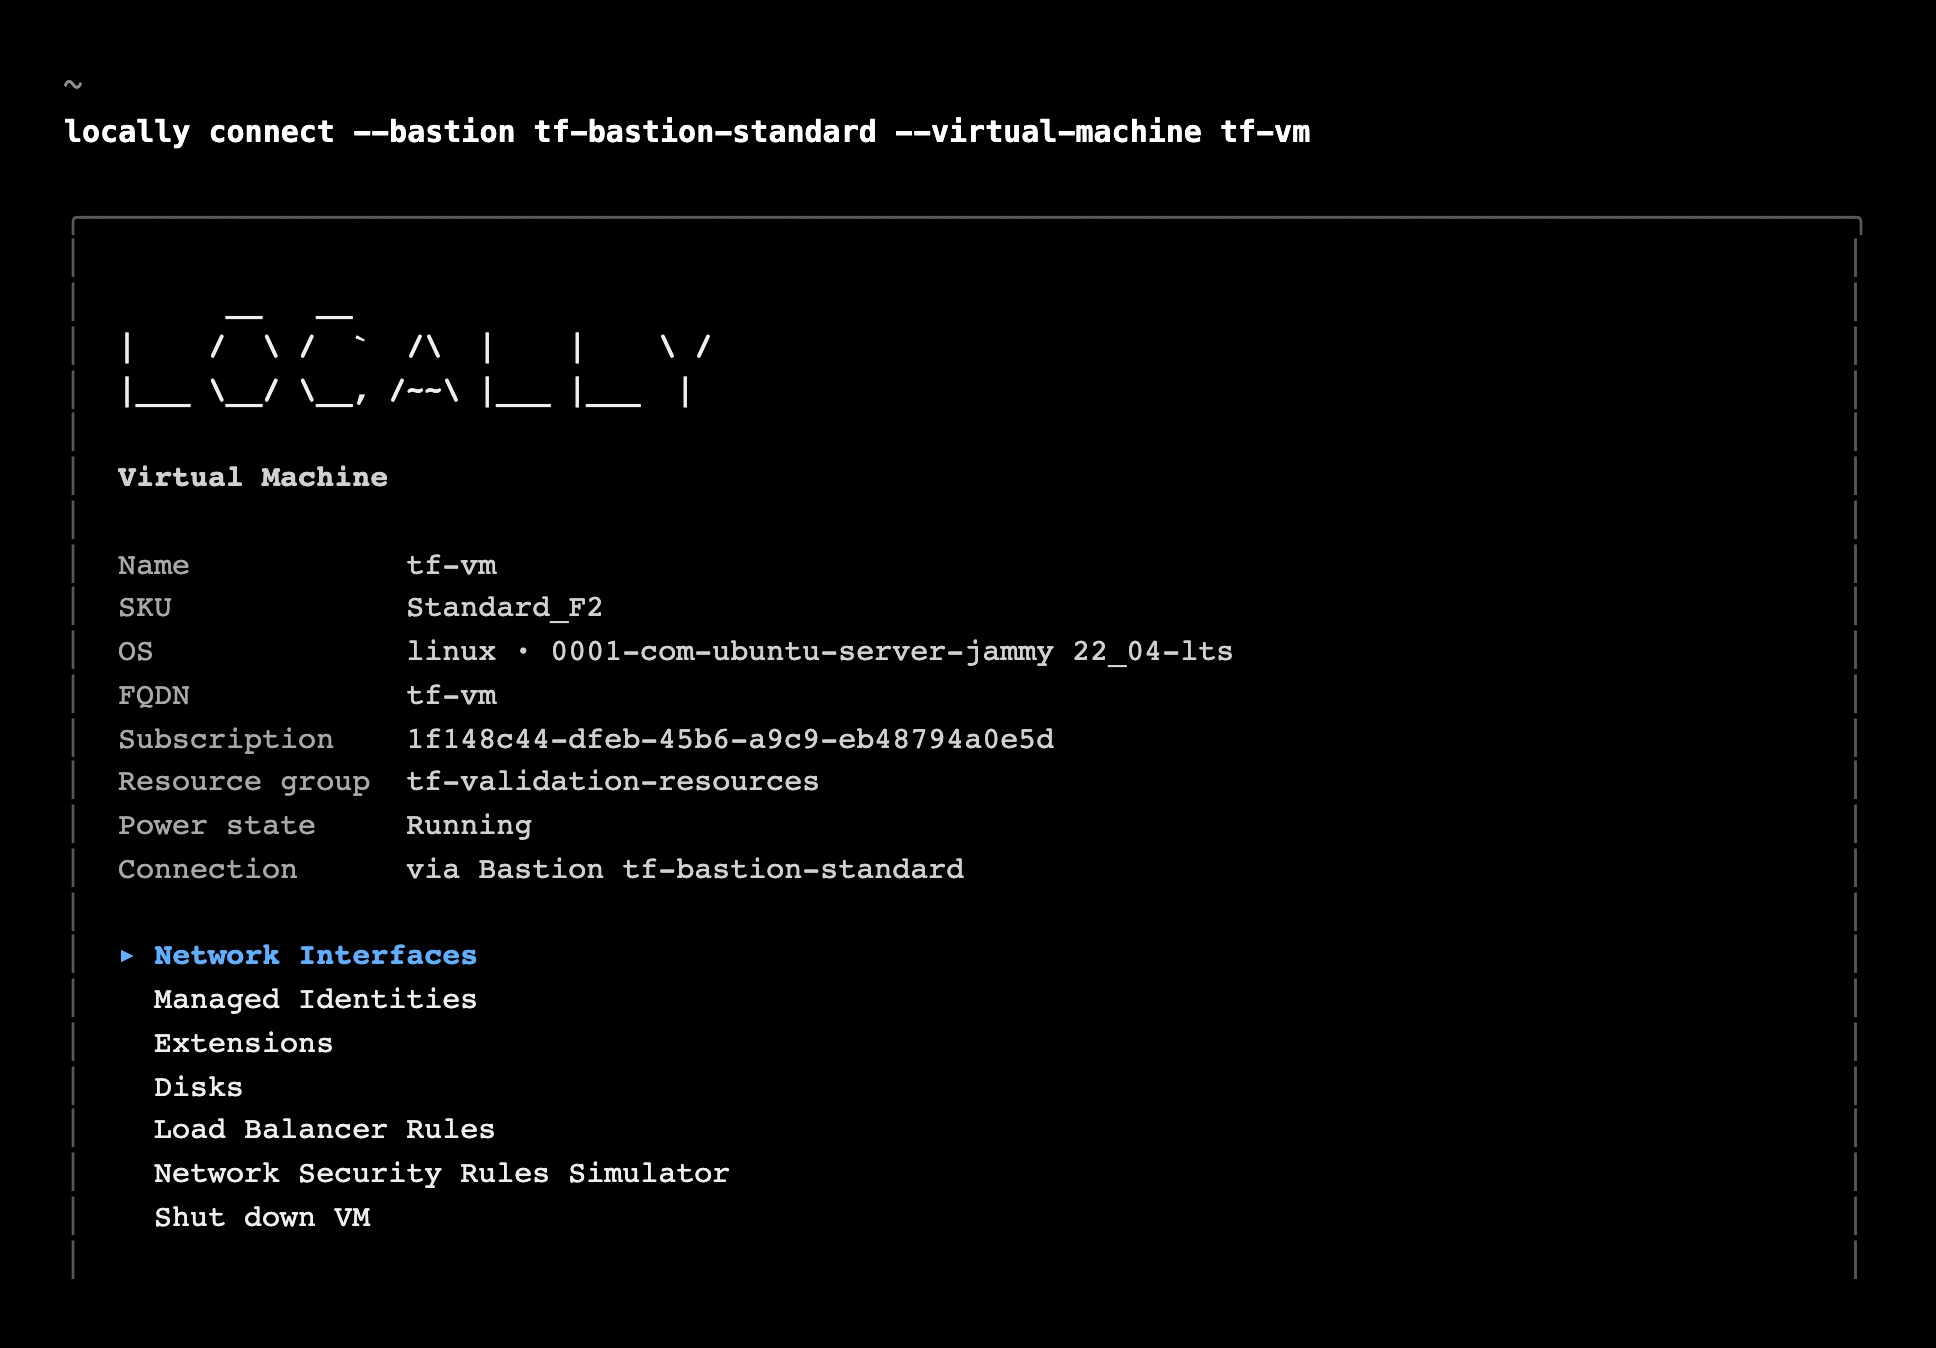
This opens an SSH session in your terminal, with the admin password filled in for you. Rather than a shell, what answers is a view of the Virtual Machine itself - its size, image and power state, network interfaces, the extensions that ran on it and more:
To run something inside the Virtual Machine, use a Run Command as we did above. The Virtual Machines Emulator covers what else you can do from here.
8. Tidy up
Finally, we can tidy up. To remove the Resource Group and everything within it, including the Virtual Machine's container:
                $


            locally run az group delete -n sample-vm --yes
There's nothing billable to clean up, since everything ran on your machine, but it's still worth checking your teardown scripts work here before you run them against Azure.
Doing this with other tooling
Whilst this guide used the Azure CLI, Virtual Machines work the same way through any of the tooling that Locally supports - a Microsoft.Compute/virtualMachines resource in HashiCorp Terraform or OpenTofu, Pulumi, Bicep or an ARM Template all provision against Locally in the same way, with its custom data run through cloud-init just the same.
Next steps
To connect to a Virtual Machine that has no Public IP, see Bastion.
Should you encounter any issues, please take a look at the troubleshooting section.
Sign in during Public Preview to get the Team plan free, plus an early-adopter discount when we launch. Sign in
