During Public Preview you can use the Team plan for free, and get an early-adopter discount at GA. Sign in
Provisioning a Container Instance
This guide shows you how to provision a Container Instance against Locally. As with the other guides we're going to use the Azure CLI, but the same resources can be provisioned with HashiCorp Terraform, Pulumi or Bicep too.
Before you start
- The Azure CLI (
az) installed. - Locally installed, with Locally Setup completed.
- Either Docker or Podman installed and running - Locally uses it to actually run the container. Without one, the Container Group is still created and reports as
Succeeded, but there's nothing running for it to point at, so the steps below that make a request to the container won't work.
1. Start Locally
Firstly, we need to launch Locally which we can do from a terminal by running:
                $


            locally build
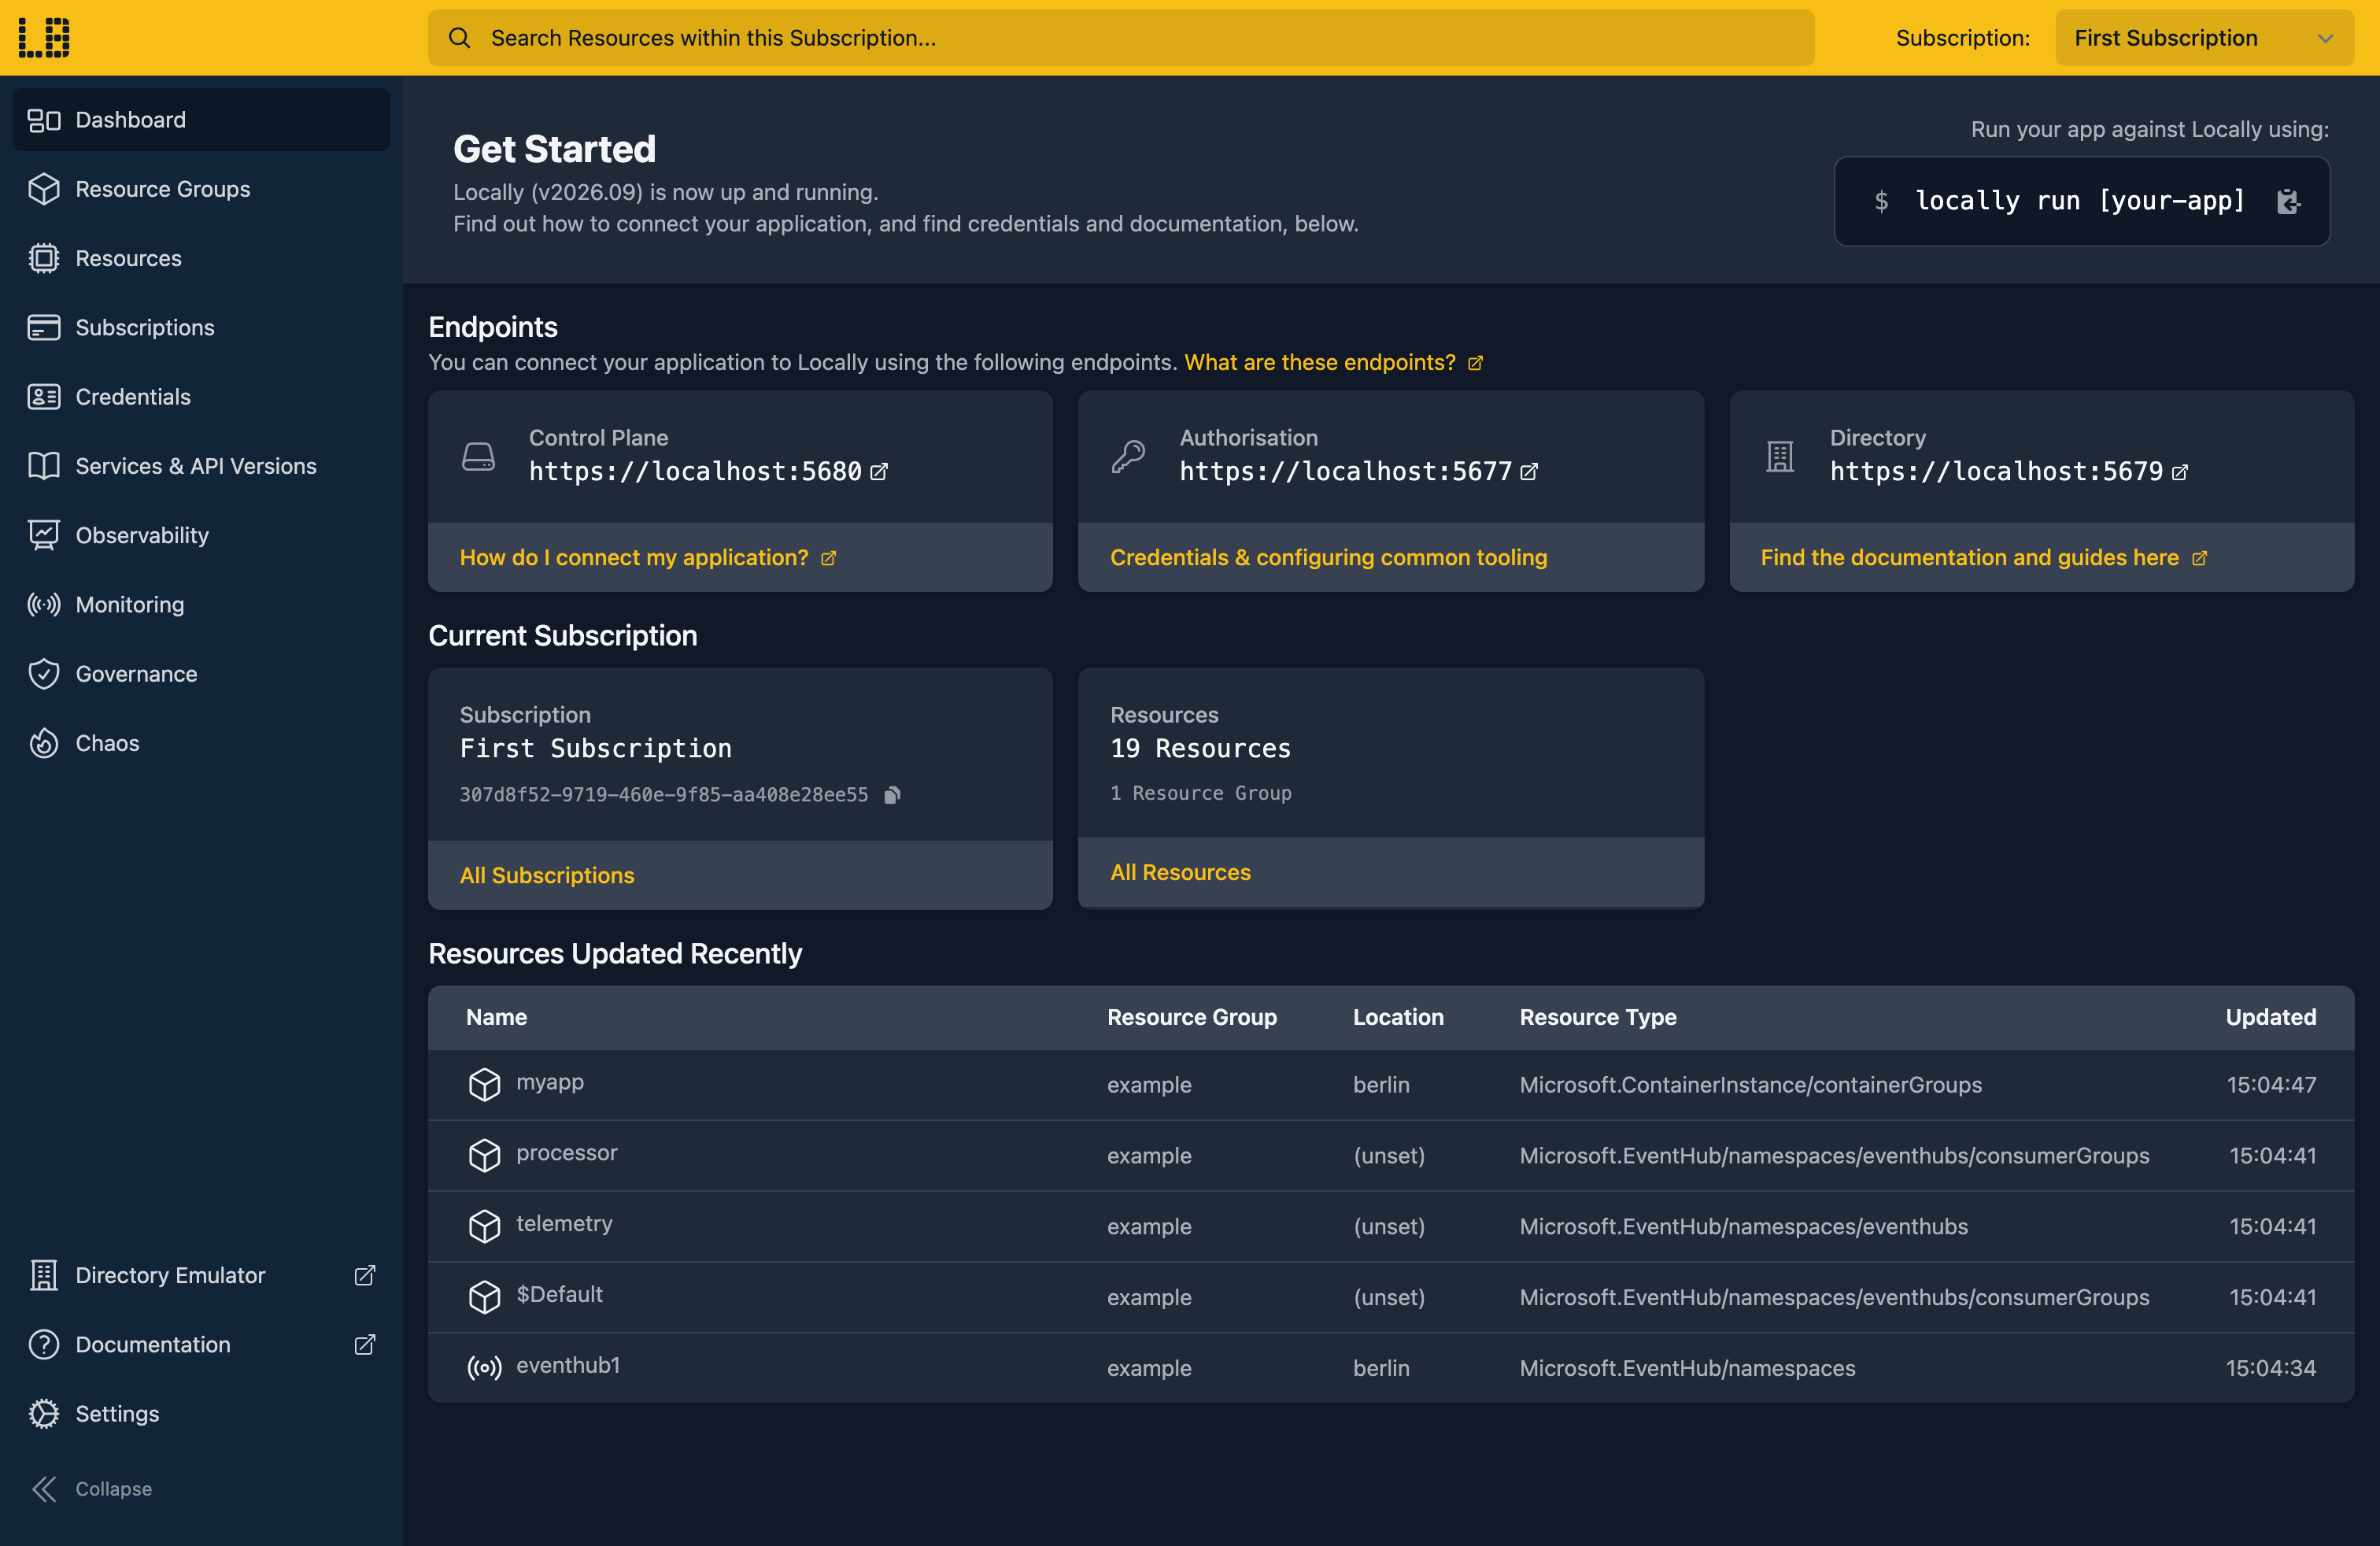
Once Locally has started, the Locally Dashboard will open automatically:
2. Create a Resource Group
Next we can create the Resource Group using the Azure CLI, which we can do in a new tab/window in the terminal by running:
                $


            locally run az group create -n sample-resources -l berlin
There's two things to note here:
- The Azure CLI supports Automatic Configuration, meaning that it can automatically be configured to work against Locally just by prefixing commands with
locally run. - Locally intentionally uses a different set of locations to Azure as a safety precaution, so that you can be confident you're deploying against Locally rather than regular Azure. You can also configure Locally to use the Azure locations too, but you'll want to be extra sure that you're prefixing commands with
locally runwhen you do.
With the Resource Group created, we can confirm it exists via:
                $


            locally run az group list
and we should see:
[
  {
    "note": "some fields skipped for brevity",

    "id": "/subscriptions/07a602cc-fbac-427d-8eaa-9cb80ae6f50d/resourceGroups/sample-resources",
    "location": "berlin",
    "name": "sample-resources",
    "properties": {
      "provisioningState": "Succeeded"
    },
    "type": "Microsoft.Resources/resourceGroups"
  }
]
3. Create the Container Group
Next we can create the Container Group within this Resource Group. For the purposes of this guide we're going to use the image traefik/whoami which echoes the request details back, but you can pick any container image:
                $


            locally run az container create -g sample-resources --name sample-aci --image traefik/whoami:latest --cpu 1 --memory 1 --port 80 --ip-address Public --dns-name-label sample-aci
Note
Which when provisioned should show:
{
  "note": "some fields skipped for brevity",

  "id": "/subscriptions/07a602cc-fbac-427d-8eaa-9cb80ae6f50d/resourceGroups/sample-resources/providers/Microsoft.ContainerInstance/containerGroups/sample-aci",
  "ipAddress": {
    "dnsNameLabel": "sample-aci",
    "fqdn": "sample-aci-berlin.gondola.locally",
    "type": "Public"
  },
  "name": "sample-aci",
  "provisioningState": "Succeeded",
  "type": "Microsoft.ContainerInstance/containerGroups"
}
4. Find it in the Dashboard
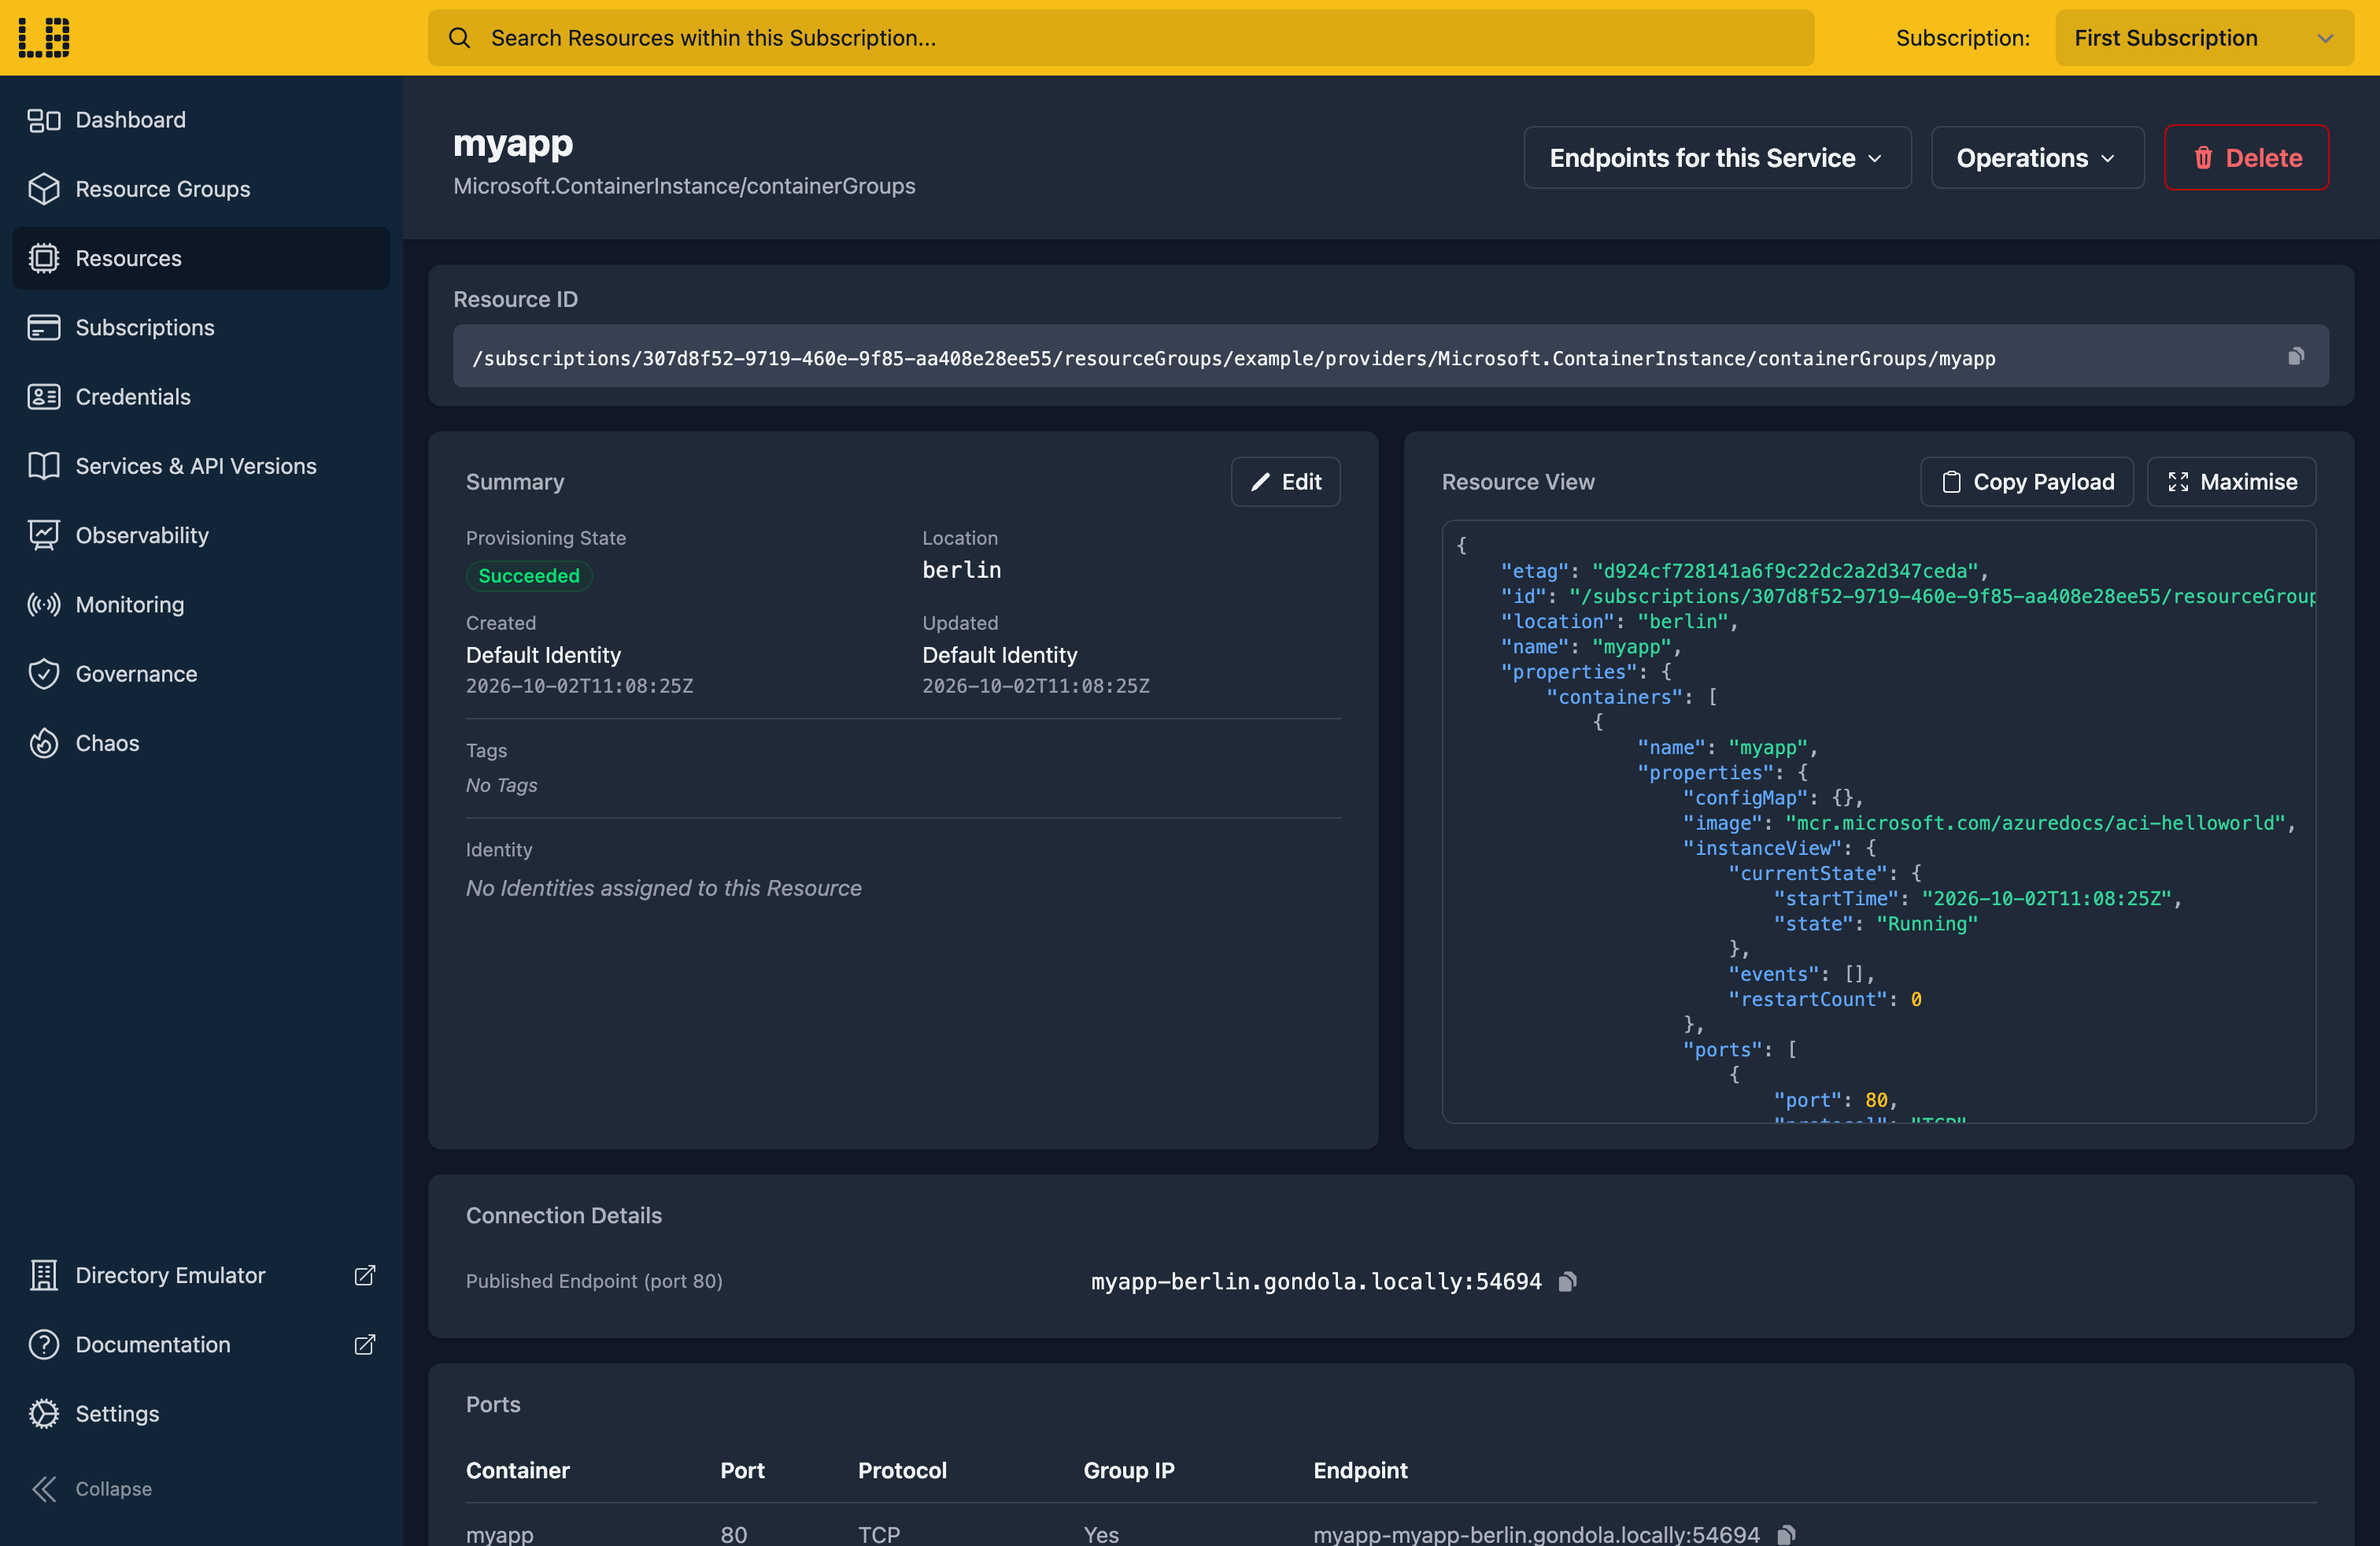
We can find that resource in the Locally Dashboard too:
With the Container Instance provisioned, we can retrieve it again at any point using az container show:
                $


            locally run az container show -g sample-resources -n sample-aci
Which returns the same Container Group we just created:
{
  "note": "some fields skipped for brevity",

  "containers": [
    {
      "image": "traefik/whoami:latest",
      "name": "sample-aci"
    }
  ],
  "id": "/subscriptions/07a602cc-fbac-427d-8eaa-9cb80ae6f50d/resourceGroups/sample-resources/providers/Microsoft.ContainerInstance/containerGroups/sample-aci",
  "ipAddress": {
    "fqdn": "sample-aci-berlin.gondola.locally"
  },
  "name": "sample-aci",
  "provisioningState": "Succeeded"
}
Note
az container show returns the Container Group rather than an individual container - the containers within it are in the containers block.5. Reach the running container
Locally actually runs the container, rather than just recording that you asked for one - so we can make a request to it and get a response back.
To find the address it's listening on, start with the hostname, which is in the Container Group's ipAddress.fqdn:
                $


            locally run az container show -g sample-resources -n sample-aci --query ipAddress.fqdn -o tsv
Which gives us:
sample-aci-berlin.gondola.locallyTwo things worth knowing about that address:
- The hostname comes from the
--dns-name-labelwe passed, combined with the location. Locally runs its own DNS server, which is what resolves it on your machine - there's no hosts file to edit, and nothing to configure beyond having run Locally Setup. - The port is assigned when the container starts, so it can differ from the
80we asked for, and will change if you recreate the Container Group. You'll find it on the Container Group's resource page in the Locally Dashboard - see the Container Instances Emulator for where.
Since traefik/whoami echoes back the details of whatever request it receives, we can make a request to the container, using the port from the Dashboard:
                $


            curl http://sample-aci-berlin.gondola.locally:<port>
And the container answers:
Hostname: sample-aci-sample-aci-berlin
IP: 127.0.0.1
IP: ::1
IP: 10.88.0.4
RemoteAddr: 10.88.0.4:34176
GET / HTTP/1.1
Host: sample-aci-berlin.gondola.locally:53606
User-Agent: curl/8.7.1
Accept: */*
Note
curl isn't prefixed with locally run, since it's talking to your container rather than to the Azure APIs. Every command that talks to Azure does still need the prefix.If you get a connection error on the first try, give it a few seconds - the container image may still be being pulled - and try again.
6. List the Container Groups
We can also list every Container Group within the Resource Group, which is useful once you've got more than one of them:
                $


            locally run az container list -g sample-resources
Since the full JSON is a little verbose, it's often easier to pick out just the fields you care about using the Azure CLI's --query argument:
                $


            locally run az container list -g sample-resources --query "[].{Name:name, Location:location, State:provisioningState}" -o table
Which gives us:
Name        Location    State
----------  ----------  ---------
sample-aci  berlin      Succeeded
Note
az container logs, az container exec, az container attach, and starting/stopping/restarting a Container Group) aren't fully supported yet.7. Tidy up
Finally, we can tidy up after ourselves. To remove just the Container Group:
                $


            locally run az container delete -g sample-resources -n sample-aci --yes
Or to remove the Resource Group and everything within it:
                $


            locally run az group delete -n sample-resources --yes
There's nothing billable to clean up, since everything ran on your machine, but it's still worth checking your teardown scripts work here before you run them against Azure.
We can confirm the Resource Group is gone with:
                $


            locally run az group list
Which should now return an empty list:
[]Doing this with other tooling
Whilst this guide used the Azure CLI, Container Instances work the same way through any of the tooling that Locally supports - a Microsoft.ContainerInstance/containerGroups resource in HashiCorp Terraform or OpenTofu, Pulumi, Bicep or an ARM Template all provision against Locally in the same way, with only the location changed.
Next steps
The Container Instances Emulator covers what runs and what's accepted but ignored. To run your own images, push them to a Container Registry, or see Container Apps.
Should you encounter any issues, please take a look at the troubleshooting section, reach out in our Discord or open an issue and we'll take a look.
Resource types this guide uses
These are the Azure resource types this guide creates in Locally:
- Microsoft.ContainerInstance/containerGroups
During Public Preview you can use the Team plan for free, and get an early-adopter discount at GA. Sign in
