Using Locally with Claude Desktop
Sign in during Public Preview to get the Team plan free, plus an early-adopter discount when we launch. Sign in
Using Locally with Claude Desktop
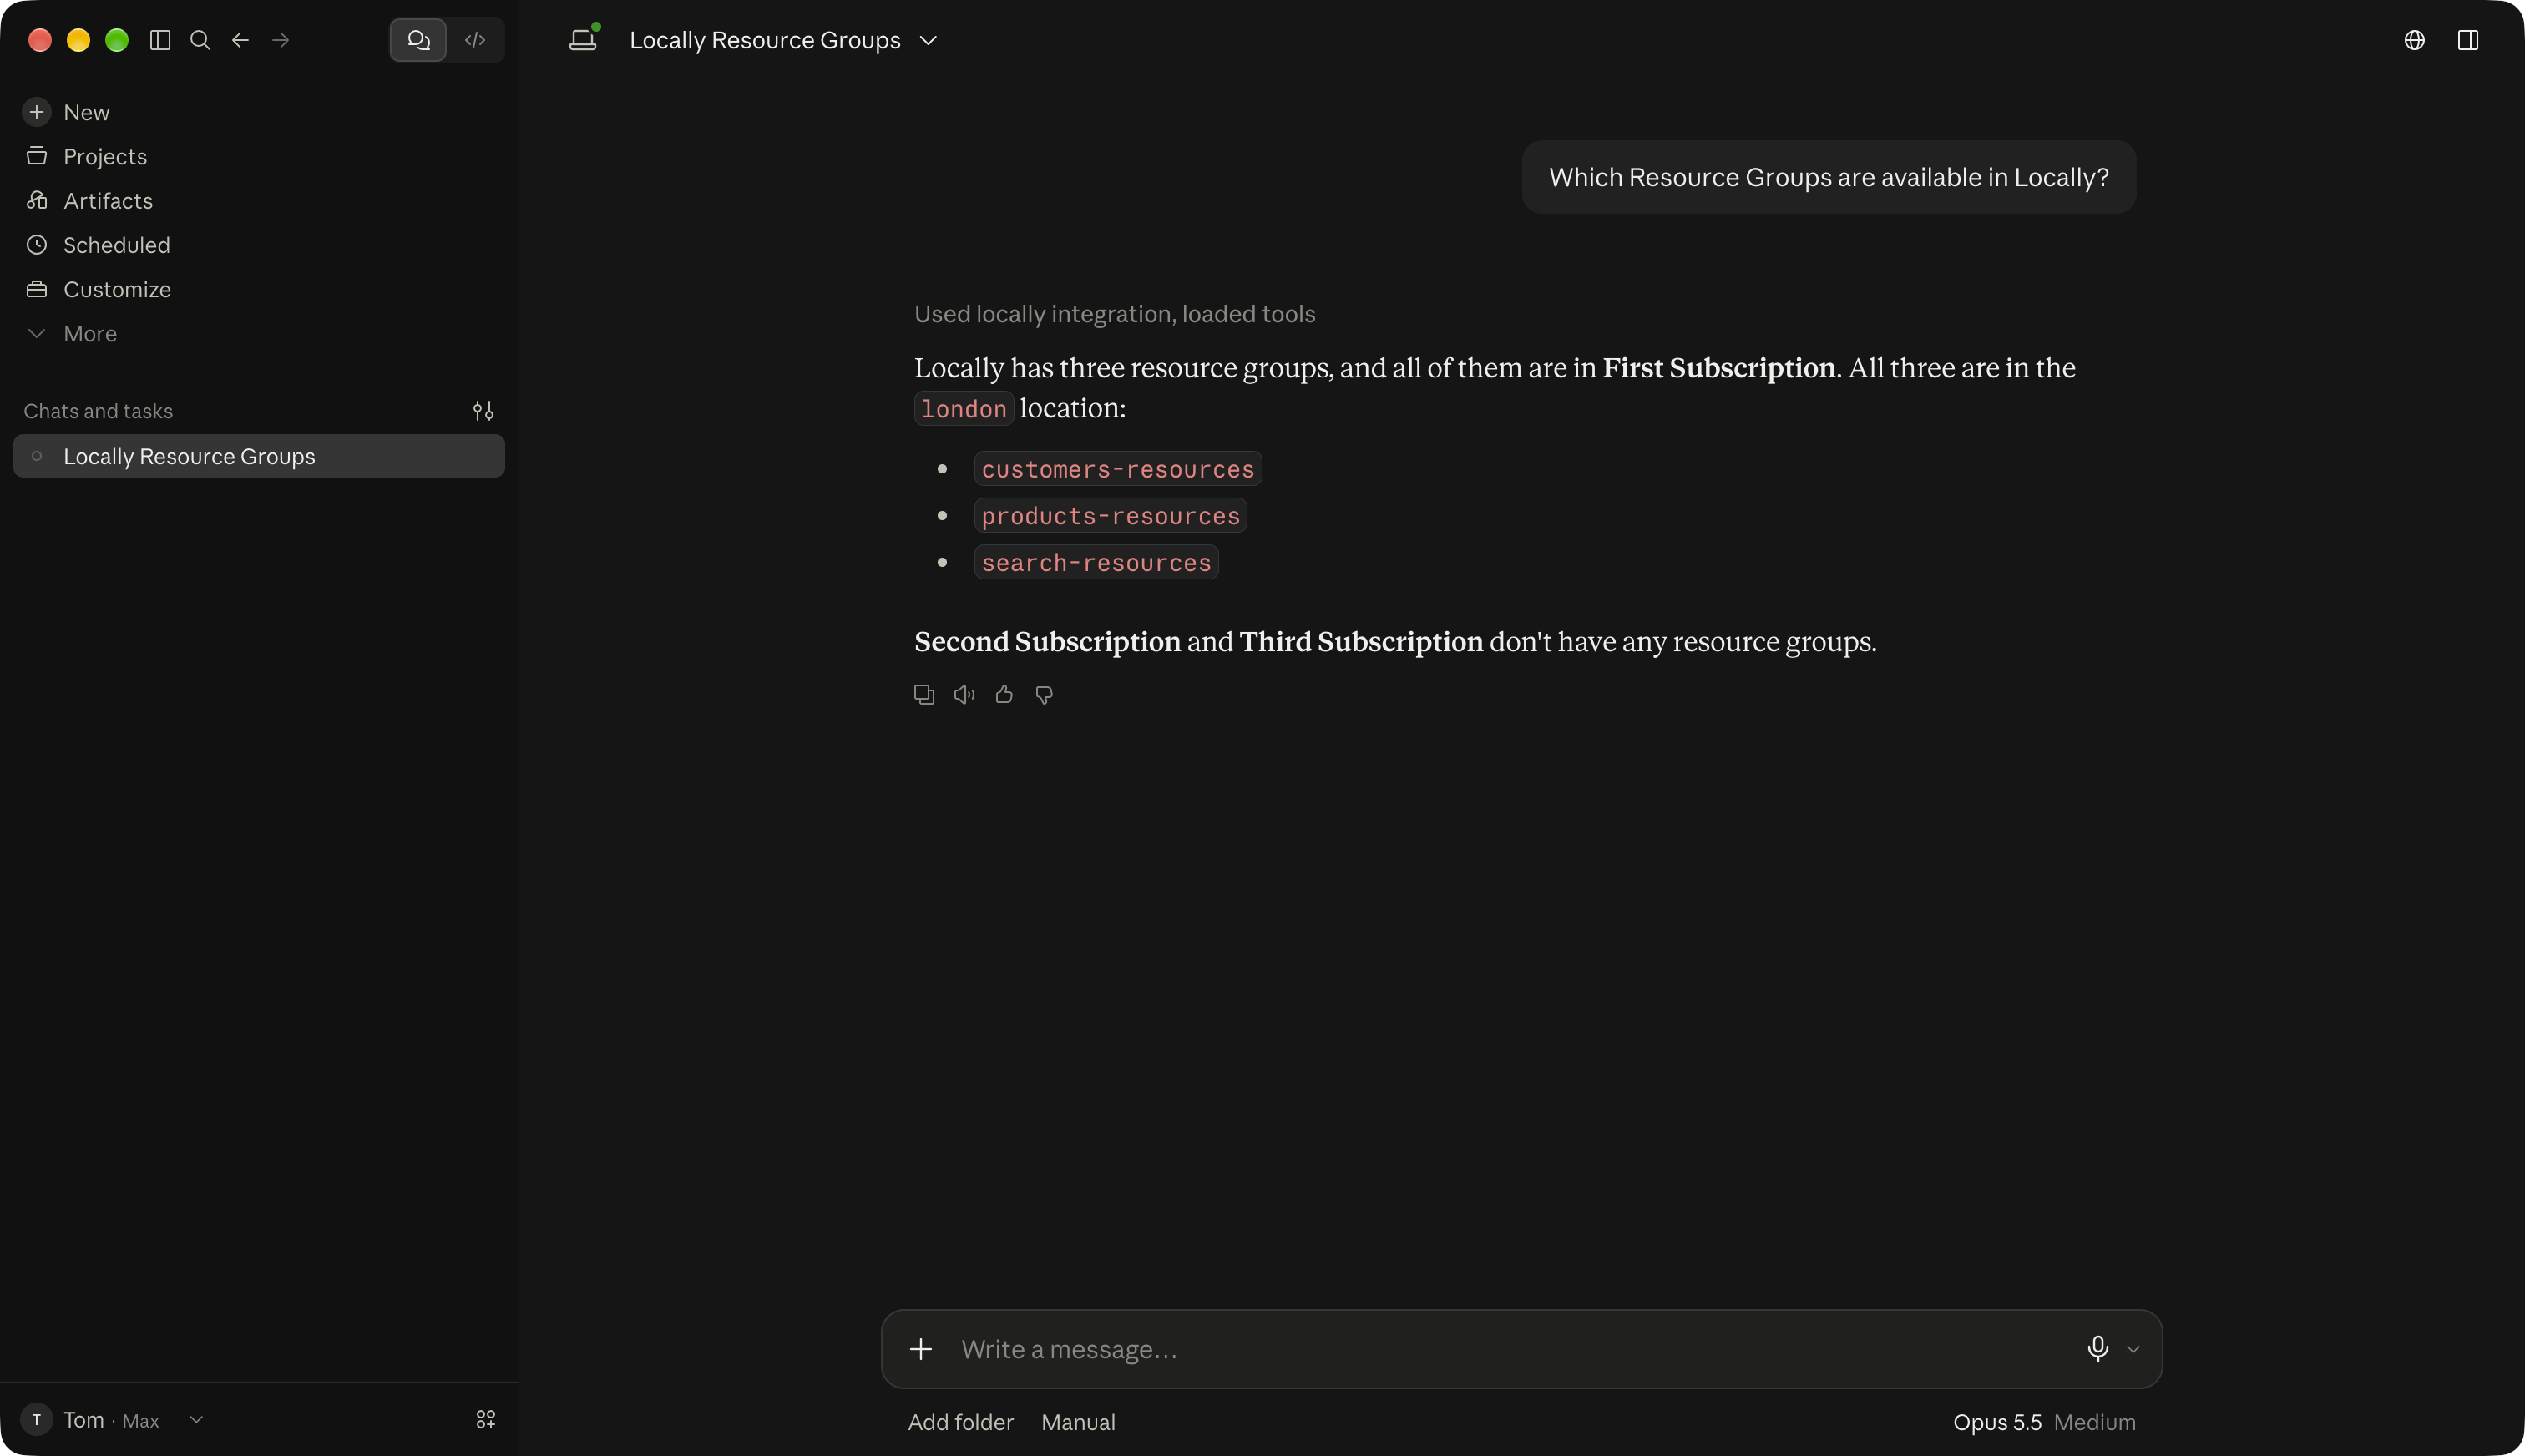
Locally's built-in MCP server lets Claude Desktop interact with the resources running in Locally. This guide covers installing, configuring and uninstalling it.
If you're using Claude Code, see Using Locally with Claude Code.
Install
Locally can register the MCP server with Claude Desktop for you:
                $


            locally mcp install claude-desktop
Claude Desktop will then need to be restarted to pick up the new MCP server.
Use the --force flag to overwrite an existing entry, which is useful in scripts or when updating an existing entry:
                $


            locally mcp install claude-desktop --force
To check the registration status across all supported clients on your machine:
                $


            locally mcp list
This will show each supported client as one of:
- not installed - the client is not installed on this machine.
- installed (no locally entry) - the client is installed but has no Locally MCP server entry.
- installed (locally entry registered) - the client is installed and the Locally MCP server is configured.
Manual Configuration
If you'd rather configure the MCP server yourself, edit Claude Desktop's configuration file. You can open it from Claude Desktop by going to Settings, then Developer, then Edit Config - or find it at:
- macOS:
~/Library/Application Support/Claude/claude_desktop_config.json - Windows:
%APPDATA%\Claude\claude_desktop_config.json
Then add Locally to the mcpServers section:
{
  "mcpServers": {
    "locally": {
      "command": "/path/to/locally",
      "args": [
        "mcp"
      ]
    }
  }
}
Replace /path/to/locally with the absolute path to the locally binary (which you can find by running which locally on macOS, or where locally on Windows). Claude Desktop doesn't use your shell's PATH, so a bare locally may not be found.
Claude Desktop will need to be restarted to pick up the new MCP server.
Next steps
The MCP Server page lists the tools Claude can use, from deploying templates to managing Key Vault Secrets. You can check what Claude has created in the Locally Dashboard.
Sign in during Public Preview to get the Team plan free, plus an early-adopter discount when we launch. Sign in
